Hi, I’m Abhilash! A seasoned web developer with 15 years of experience specializing in Ruby and Ruby on Rails. Since 2010, I’ve built scalable, robust web applications and worked with frameworks like Angular, Sinatra, Laravel, Node.js, Vue and React.
Passionate about clean, maintainable code and continuous learning, I share insights, tutorials, and experiences here. Let’s explore the ever-evolving world of web development together!
Now we’ll go full-on query performance pro mode using EXPLAIN ANALYZE and real plans. We’ll learn how PostgreSQL makes decisions, how to catch slow queries, and how your indexes make them 10x faster.
💎 Part 1: What is EXPLAIN ANALYZE?
EXPLAIN shows how PostgreSQL plans to execute your query.
ANALYZE runs the query and adds actual time, rows, loops, etc.
Syntax:
EXPLAIN ANALYZE
SELECT * FROM users WHERE username = 'bob';
✏️ Example 1: Without Index
SELECT * FROM users WHERE username = 'bob';
If username has no index, plan shows:
Seq Scan on users
  Filter: (username = 'bob')
  Rows Removed by Filter: 9999
❌ PostgreSQL scans all rows = Sequential Scan = slow!
➕ Add Index:
CREATE INDEX idx_users_username ON users (username);
Now rerun:
EXPLAIN ANALYZE SELECT * FROM users WHERE username = 'bob';
You’ll see:
Index Scan using idx_users_username on users
  Index Cond: (username = 'bob')
✅ PostgreSQL uses B-tree index 🚀 Massive speed-up!
🔥 Want even faster?
SELECT username FROM users WHERE username = 'bob';
If PostgreSQL shows:
Index Only Scan using idx_users_username on users
  Index Cond: (username = 'bob')
🎉 Index Only Scan! = covering index success! No heap fetch = lightning-fast.
⚠️ Note: Index-only scan only works if:
Index covers all selected columns
Table is vacuumed (PostgreSQL uses visibility map)
If you still get Seq scan output like:
test_db=# EXPLAIN ANALYSE SELECT * FROM users where username = 'aman_chetri';
                                           QUERY PLAN
-------------------------------------------------------------------------------------------------
 Seq Scan on users  (cost=0.00..1.11 rows=1 width=838) (actual time=0.031..0.034 rows=1 loops=1)
   Filter: ((username)::text = 'aman_chetri'::text)
   Rows Removed by Filter: 2
 Planning Time: 0.242 ms
 Execution Time: 0.077 ms
(5 rows)
even after adding an index, because PostgreSQL is saying:
🤔 “The table is so small (cost = 1.11), scanning the whole thing is cheaper than using the index.”
Also: Your query uses only SELECT username, which could be eligible for Index Only Scan, but heap fetch might still be needed due to visibility map.
🔧 Step-by-step Fix:
✅ 1. Add Data for Bigger Table
If the table is small (few rows), PostgreSQL will prefer Seq Scan no matter what.
Try adding ~10,000 rows:
INSERT INTO users (username, email, phone_number)
SELECT 'user_' || i, 'user_' || i || '@mail.com', '1234567890'
FROM generate_series(1, 10000) i;
Then VACUUM ANALYZE users; again and retry EXPLAIN.
✅ 2. Confirm Index Exists
First, check your index exists and is recognized:
\d users
You should see something like:
Indexes:
    "idx_users_username" btree (username)
If not, add:
CREATE INDEX idx_users_username ON users(username);
✅ 3. Run ANALYZE (Update Stats)
ANALYZE users;
This updates statistics — PostgreSQL might not be using the index if it thinks only one row matches or the table is tiny.
✅ 4. Vacuum for Index-Only Scan
Index-only scans require the visibility map to be set.
Run:
VACUUM ANALYZE users;
This marks pages in the table as “all-visible,” enabling PostgreSQL to avoid reading the heap.
✅ 5. Force PostgreSQL to Consider Index
You can turn off sequential scan temporarily (for testing):
SET enable_seqscan = OFF;

EXPLAIN SELECT username FROM users WHERE username = 'bob';
You should now see:
Index Scan using idx_users_username on users ...
⚠️ Use this only for testing/debugging — not in production.
💡 Extra Tip (optional): Use EXPLAIN (ANALYZE, BUFFERS)
EXPLAIN (ANALYZE, BUFFERS)
SELECT username FROM users WHERE username = 'bob';
This will show:
Whether heap was accessed
Buffer hits
Actual rows
📋 Summary
Step
Command
Check Index
\d users
Analyze table
ANALYZE users;
Vacuum for visibility
VACUUM ANALYZE users;
Disable seq scan for test
SET enable_seqscan = OFF;
Add more rows (optional)
INSERT INTO ...
🚨 How to catch bad index usage?
Always look for:
“Seq Scan” instead of “Index Scan” ➔ missing index
“Heap Fetch” ➔ not a covering index
“Rows Removed by Filter” ➔ inefficient filtering
“Loops: 1000+” ➔ possible N+1 issue
Common Pattern Optimizations
Pattern
Fix
WHERE column = ?
B-tree index on column
WHERE column LIKE 'prefix%'
B-tree works (with text_ops)
SELECT col1 WHERE col2 = ?
Covering index: (col2, col1) or (col2) INCLUDE (col1)
WHERE col BETWEEN ?
Composite index with range second: (status, created_at)
WHERE col IN (?, ?, ?)
Index still helps
ORDER BY col LIMIT 10
Index on col helps sort fast
⚡ Tip: Use pg_stat_statements to Find Slow Queries
Enable it in postgresql.conf:
shared_preload_libraries = 'pg_stat_statements'
Then run:
SELECT query, total_exec_time, calls
FROM pg_stat_statements
ORDER BY total_exec_time DESC
LIMIT 5;
🎯 Find your worst queries & optimize them with new indexes!
🧪 Try It Yourself
Want a little lab setup to practice?
CREATE TABLE users (
  user_id serial PRIMARY KEY,
  username VARCHAR(220),
  email VARCHAR(150),
  phone_number VARCHAR(20)
);

-- Insert 100K fake rows
INSERT INTO users (username, email, phone_number)
SELECT
  'user_' || i,
  'user_' || i || '@example.com',
  '999-000-' || i
FROM generate_series(1, 100000) i;
Then test:
EXPLAIN ANALYZE SELECT * FROM users WHERE username = 'user_5000';
Add INDEX ON username
Re-run, compare speed!
🎯 Extra Pro Tools for Query Performance
EXPLAIN ANALYZE → Always first tool
pg_stat_statements → Find slow queries in real apps
auto_explain → Log slow plans automatically
pgBadger or pgHero → Visual query monitoring
💥 Now We Know:
✅ How to read query plans ✅ When you’re doing full scans vs index scans ✅ How to achieve index-only scans ✅ How to catch bad performance early ✅ How to test and fix in real world
Let’s look into some of the features of sql data indexing. This will be super helpful while developing our Rails 8 Application.
💎 Part 1: What is a Covering Index?
Normally when you query:
SELECT * FROM users WHERE username = 'bob';
Database searches username index (secondary).
Finds a pointer (TID or PK).
Then fetches full row from table (heap or clustered B-tree).
Problem:
Heap fetch = extra disk read.
Clustered B-tree fetch = extra traversal.
📜 Covering Index idea:
✅ If the index already contains all the columns you need, ✅ Then the database does not need to fetch the full row!
It can answer the query purely by scanning the index! ⚡
Boom — one disk read, no extra hop!
✏️ Example in PostgreSQL:
Suppose your query is:
SELECT username FROM users WHERE username = 'bob';
You only need username.
But by default, PostgreSQL indexes only store the index column (here, username) + TID.
✅ So in this case — already covering!
No heap fetch needed!
✏️ Example in MySQL InnoDB:
Suppose your query is:
SELECT username FROM users WHERE username = 'bob';
Secondary index (username) contains:
username (indexed column)
user_id (because secondary indexes in InnoDB always store PK)
♦️ So again, already covering! No need to jump to the clustered index!
🎯 Key point:
If your query only asks for columns already inside the index, then only the index is touched ➔ no second lookup ➔ super fast!
💎 Part 2: Real SQL Examples
✨ PostgreSQL
Create a covering index for common query:
CREATE INDEX idx_users_username_email ON users (username, email);
Now if you run:
SELECT email FROM users WHERE username = 'bob';
Postgres can:
Search index on username
Already have email in index
✅ No heap fetch!
(And Postgres is smart: it checks index-only scan automatically.)
✨ MySQL InnoDB
Create a covering index:
CREATE INDEX idx_users_username_email ON users (username, email);
✅ Now query:
SELECT email FROM users WHERE username = 'bob';
Same behavior:
Only secondary index read.
No need to touch primary clustered B-tree.
💎 Part 3: Tips to design smart Covering Indexes
✅ If your query uses WHERE on col1 and SELECTcol2, ✅ Best to create index: (col1, col2).
✅ Keep indexes small — don’t add 10 columns unless needed. ✅ Avoid huge TEXT or BLOB columns in covering indexes — they make indexes heavy.
✅ Composite indexes are powerful:
CREATE INDEX idx_users_username_email ON users (username, email);
→ Can be used for:
WHERE username = ?
WHERE username = ? AND email = ?
etc.
✅ Monitor index usage:
PostgreSQL: EXPLAIN ANALYZE
MySQL: EXPLAIN
✅ Always check if Index Only Scan or Using Index appears in EXPLAIN plan!
📚 Quick Summary Table
Database
Normal Query
With Covering Index
PostgreSQL
B-tree ➔ Heap fetch (unless TID optimization)
B-tree scan only
MySQL InnoDB
Secondary B-tree ➔ Primary B-tree
Secondary B-tree only
Result
2 steps
1 step
Speed
Slower
Faster
🏆 Great! — Now We Know:
🧊 How heap fetch works! 🧊 How block lookup is O(1)! 🧊 How covering indexes skip heap fetch! 🧊 How to create super fast indexes for PostgreSQL and MySQL!
🦾 Advanced Indexing Tricks (Real Production Tips)
Now it’s time to look into super heavy functionalities that Postgres supports for making our sql data search/fetch super fast and efficient.
1. 🎯 Partial Indexes (PostgreSQL ONLY)
✅ Instead of indexing the whole table, ✅ You can index only the rows you care about!
Example:
Suppose 95% of users have status = 'inactive', but you only search active users:
SELECT * FROM users WHERE status = 'active' AND email = 'bob@example.com';
👉 Instead of indexing the whole table:
CREATE INDEX idx_active_users_email ON users (email) WHERE status = 'active';
♦️ PostgreSQL will only store rows with status = 'active' in this index!
Advantages:
Smaller index = Faster scans
Less space on disk
Faster index maintenance (less updates/inserts)
Important:
MySQL (InnoDB) does NOT support partial indexes 😔 — only PostgreSQL has this superpower.
2. 🎯 INCLUDE Indexes (PostgreSQL 11+)
✅ Normally, a composite index uses all columns for sorting/searching. ✅ With INCLUDE, extra columns are just stored in index, not used for ordering.
Example:
CREATE INDEX idx_username_include_email ON users (username) INCLUDE (email);
Meaning:
username is indexed and ordered.
email is only stored alongside.
Now query:
SELECT email FROM users WHERE username = 'bob';
➔ Index-only scan — no heap fetch.
Advantages:
Smaller & faster than normal composite indexes.
Helps to create very efficient covering indexes.
Important:
MySQL 8.0 added something similar with INVISIBLE columns but it’s still different.
3. 🎯 Composite Index Optimization
✅ Always order columns inside index smartly based on query pattern.
Golden Rules:
⚜️ Equality columns first (WHERE col = ?) ⚜️ Range columns second (WHERE col BETWEEN ?) ⚜️ SELECT columns last (for covering)
Example:
If query is:
SELECT email FROM users WHERE status = 'active' AND created_at > '2024-01-01';
Best index:
CREATE INDEX idx_users_status_created_at ON users (status, created_at) INCLUDE (email);
♦️ status first (equality match) ♦️ created_at second (range) ♦️ email included (covering)
Bad Index: (wrong order)
CREATE INDEX idx_created_at_status ON users (created_at, status);
→ Will not be efficient!
4. 🎯 BRIN Indexes (PostgreSQL ONLY, super special!)
✅ When your table is very huge (millions/billions of rows), ✅ And rows are naturally ordered (like timestamp, id increasing), ✅ You can create a BRIN (Block Range Index).
Example:
CREATE INDEX idx_users_created_at_brin ON users USING BRIN (created_at);
♦️ BRIN stores summaries of large ranges of pages (e.g., min/max timestamp per 128 pages).
♦️ Ultra small index size.
♦️ Very fast for large range queries like:
SELECT * FROM users WHERE created_at BETWEEN '2024-01-01' AND '2024-04-01';
Important:
BRIN ≠ B-tree
BRIN is approximate, B-tree is precise.
Only useful if data is naturally correlated with physical storage order.
MySQL?
MySQL does not have BRIN natively. PostgreSQL has a big advantage here.
5. 🎯 Hash Indexes (special case)
✅ If your query is always exact equality (not range), ✅ You can use hash indexes.
Example:
CREATE INDEX idx_users_username_hash ON users USING HASH (username);
Useful for:
Simple WHERE username = 'bob'
Never ranges (BETWEEN, LIKE, etc.)
⚠️ Warning:
Hash indexes used to be “lossy” before Postgres 10.
Now they are safe, but usually B-tree is still better unless you have very heavy point lookups.
😎 PRO-TIP: Which Index Type to Use?
Use case
Index type
Search small ranges or equality
B-tree
Search on huge tables with natural order (timestamps, IDs)
BRIN
Only exact match, super heavy lookup
Hash
Search only small part of table (active users, special conditions)
Partial index
Need to skip heap fetch
INCLUDE / Covering Index
🗺️ Quick Visual Mindmap:
Your Query
│
├── Need Equality + Range? ➔ B-tree
│
├── Need Huge Time Range Query? ➔ BRIN
│
├── Exact equality only? ➔ Hash
│
├── Want Smaller Index (filtered)? ➔ Partial Index
│
├── Want to avoid Heap Fetch? ➔ INCLUDE columns (Postgres) or Covering Index
🏆 Now we Know:
🧊 Partial Indexes 🧊 INCLUDE Indexes 🧊 Composite Index order tricks 🧊 BRIN Indexes 🧊 Hash Indexes 🧊 How to choose best Index
MySQL InnoDB: Directly find the row inside the PK B-tree (no extra lookup).
✅ MySQL is a little faster here because it needs only 1 step!
2. SELECT username FROM users WHERE user_id = 102; (Only 1 Column)
PostgreSQL: Might do an Index Only Scan if all needed data is in the index (very fast).
MySQL: Clustered index contains all columns already, no special optimization needed.
✅ Both can be very fast, but PostgreSQL shines if the index is “covering” (i.e., contains all needed columns). Because index table has less size than clustered index of mysql.
3. SELECT * FROM users WHERE username = 'Bob'; (Secondary Index Search)
PostgreSQL: Secondary index on username ➔ row pointer ➔ fetch table row.
MySQL: Secondary index on username ➔ get primary key ➔ clustered index lookup ➔ fetch data.
✅ Both are 2 steps, but MySQL needs 2 different B-trees: secondary ➔ primary clustered.
Consider the below situation:
SELECT username FROM users WHERE user_id = 102;
user_id is the Primary Key.
You only want username, not full row.
Now:
🔵 PostgreSQL Behavior
👉 In PostgreSQL, by default:
It uses the primary key btree to find the row pointer.
Then fetches the full row from the table (heap fetch).
👉 But PostgreSQL has an optimization called Index-Only Scan.
If all requested columns are already present in the index,
And if the table visibility map says the row is still valid (no deleted/updated row needing visibility check),
Then Postgres does not fetch the heap.
👉 So in this case:
If the primary key index also stores username internally (or if an extra index is created covering username), Postgres can satisfy the query just from the index.
✅ Result: No table lookup needed ➔ Very fast (almost as fast as InnoDB clustered lookup).
📢 Postgres primary key indexes usually don’t store extra columns, unless you specifically create an index that includes them (INCLUDE (username) syntax in modern Postgres 11+).
🟠 MySQL InnoDB Behavior
In InnoDB: Since the primary key B-tree already holds all columns (user_id, username, email), It directly finds the row from the clustered index.
So when you query by PK, even if you only need one column, it has everything inside the same page/block.
✅ One fast lookup.
🔥 Why sometimes Postgres can still be faster?
If PostgreSQL uses Index-Only Scan, and the page is already cached, and no extra visibility check is needed, Then Postgres may avoid touching the table at all and only scan the tiny index pages.
In this case, for very narrow queries (e.g., only 1 small field), Postgres can outperform even MySQL clustered fetch.
💡 Because fetching from a small index page (~8KB) is faster than reading bigger table pages.
🎯 Conclusion:
✅ MySQL clustered index is always fast for PK lookups. ✅ PostgreSQL can be even faster for small/narrow queries if Index-Only Scan is triggered.
👉 Quick Tip:
In PostgreSQL, you can force an index to include extra columns by using: CREATE INDEX idx_user_id_username ON users(user_id) INCLUDE (username); Then index-only scans become more common and predictable! 🚀
Isn’t PostgreSQL also doing 2 B-tree scans? One for secondary index and one for table (row_id)?
When you query with a secondary index, like:
SELECT * FROM users WHERE username = 'Bob';
In MySQL InnoDB, I said:
Find in secondary index (username ➔ user_id)
Then go to primary clustered index (user_id ➔ full row)
Let’s look at PostgreSQL first:
♦️ Step 1: Search Secondary Index B-tree on username.
It finds the matching TID (tuple ID) or row pointer.
TID is a pair (block_number, row_offset).
Not a B-tree! Just a physical pointer.
♦️ Step 2: Use the TID to directly jump into the heap (the table).
The heap (table) is not a B-tree — it’s just a collection of unordered pages (blocks of rows).
PostgreSQL goes directly to the block and offset — like jumping straight into a file.
🔔 Important:
Secondary index ➔ TID ➔ heap fetch.
No second B-tree traversal for the table!
🟠 Meanwhile in MySQL InnoDB:
♦️ Step 1: Search Secondary Index B-tree on username.
It finds the Primary Key value (user_id).
♦️ Step 2: Now, search the Primary Key Clustered B-tree to find the full row.
Need another B-tree traversal based on user_id.
🔔 Important:
Secondary index ➔ Primary Key B-tree ➔ data fetch.
Two full B-tree traversals!
Real-world Summary:
♦️ PostgreSQL
Secondary index gives a direct shortcut to the heap.
One B-tree scan (secondary) ➔ Direct heap fetch.
♦️ MySQL
Secondary index gives PK.
Then another B-tree scan (primary clustered) to find full row.
✅ PostgreSQL does not scan a second B-tree when fetching from the table — just a direct page lookup using TID.
✅ MySQL does scan a second B-tree (primary clustered index) when fetching full row after secondary lookup.
Is heap fetch a searching technique? Why is it faster than B-tree?
📚 Let’s start from the basics:
When PostgreSQL finds a match in a secondary index, what it gets is a TID.
♦️ A TID (Tuple ID) is a physical address made of:
Block Number (page number)
Offset Number (row slot inside the page)
Example:
TID = (block_number = 1583, offset = 7)
🔵 How PostgreSQL uses TID?
It directly calculates the location of the block (disk page) using block_number.
It reads that block (if not already in memory).
Inside that block, it finds the row at offset 7.
♦️ No search, no btree, no extra traversal — just:
Find the page (via simple number addressing)
Find the row slot
📈 Visual Example
Secondary index (username ➔ TID):
username
TID
Alice
(1583, 7)
Bob
(1592, 3)
Carol
(1601, 12)
♦️ When you search for “Bob”:
Find (1592, 3) from secondary index B-tree.
Jump directly to Block 1592, Offset 3.
Done ✅!
Answer:
Heap fetch is NOT a search.
It’s a direct address lookup (fixed number).
Heap = unordered collection of pages.
Pages = fixed-size blocks (usually 8 KB each).
TID gives an exact GPS location inside heap — no searching required.
That’s why heap fetch is faster than another B-tree search:
No binary search, no B-tree traversal needed.
Only a simple disk/memory read + row offset jump.
🌿 B-tree vs 📁 Heap Fetch
Action
B-tree
Heap Fetch
What it does
Binary search inside sorted tree nodes
Direct jump to block and slot
Steps needed
Traverse nodes (root ➔ internal ➔ leaf)
Directly read page and slot
Time complexity
O(log n)
O(1)
Speed
Slower (needs comparisons)
Very fast (direct)
🎯 Final and short answer:
♦️ In PostgreSQL, after finding the TID in the secondary index, the heap fetch is a direct, constant-time (O(1)) access — no B-tree needed! ♦️ This is faster than scanning another B-tree like in MySQL InnoDB.
🧩 Our exact question:
When we say:
Jump directly to Block 1592, Offset 3.
We are thinking:
There are thousands of blocks.
How can we directly jump to block 1592?
Shouldn’t that be O(n) (linear time)?
Shouldn’t there be some traversal?
🔵 Here’s the real truth:
No traversal needed.
No O(n) work.
Accessing Block 1592 is O(1) — constant time.
📚 Why?
Because of how files, pages, and memory work inside a database.
When PostgreSQL stores a table (the “heap”), it saves it in a file on disk. The file is just a long array of fixed-size pages.
Each page = 8KB (default in Postgres).
Each block = 1 page = fixed 8KB chunk.
Block 0 is the first 8KB.
Block 1 is next 8KB.
Block 2 is next 8KB.
…
Block 1592 = (1592 × 8 KB) offset from the beginning.
✅ So block 1592 is simply located at 1592 × 8192 bytes offset from the start of the file.
✅ Operating systems (and PostgreSQL’s Buffer Manager) know exactly how to seek to that byte position without reading everything before it.
Let’s walk through a real-world example using a schema we are already working on: a shopping app that sells clothing for women, men, kids, and infants.
We’ll look at how candidate keys apply to real tables like Users, Products, Orders, etc.
Here, a combination of order_id and product_id uniquely identifies a row — i.e., what product was ordered in which order — making it a composite candidate key, and we’ve selected it as the primary key.
👀 Summary of Candidate Keys by Table
Table
Candidate Keys
Primary Key Used
Users
user_id, email, username
user_id
Products
product_id, sku
product_id
Orders
order_id, order_number
order_id
OrderItems
(order_id, product_id)
(order_id, product_id)
Let’s explore how to implement candidate keys in both SQL and Rails (Active Record). Since we are working on a shopping app in Rails 8, I’ll show how to enforce uniqueness and data integrity in both layers:
🔹 1. Candidate Keys in SQL (PostgreSQL Example)
Let’s take the Users table with multiple candidate keys (email, username, and user_id).
CREATE TABLE users (
  user_id SERIAL PRIMARY KEY,
  email VARCHAR(255) NOT NULL UNIQUE,
  username VARCHAR(100) NOT NULL UNIQUE,
  phone_number VARCHAR(20)
);
user_id: chosen as the primary key
email and username: candidate keys, enforced via UNIQUE constraints
If you examine the above table, there will be repetitive product items if consider for a size of an item there comes so many colours. We need to create different product rows for each size different colours.
So Let’s split the table into two.
1. Product Table
class CreateProducts < ActiveRecord::Migration[8.0]
  def change
    def change
      create_table :products do |t|
        t.string  :name
        t.text    :description
        t.string  :category   # women, men, kids, infants
        t.decimal :rating, precision: 2, scale: 1, default: 0.0

        t.timestamps
      end

      add_index :products, :category
    end
  end
end
2. Product Variant Table
class CreateProductVariants < ActiveRecord::Migration[8.0]
  def change
    create_table :product_variants do |t|
      t.references :product, null: false, foreign_key: true
      t.string  :sku, null: false
      t.decimal :price, precision: 10, scale: 2
      t.string  :size
      t.string  :color
      t.integer :stock_quantity, default: 0
      t.jsonb   :specs, default: {}, null: false

      t.timestamps
    end

    # GIN index for fast JSONB attribute searching
    add_index :product_variants, :specs, using: :gin
    add_index :product_variants, [ :product_id, :size, :color ], unique: true
    add_index :product_variants, :sku, unique: true
  end
end
Data normalization is a core concept in database design that helps organize data efficiently, eliminate redundancy, and ensure data integrity.
🔍 What Is Data Normalization?
Normalization is the process of structuring a relational database in a way that:
Reduces data redundancy (no repeated data)
Prevents anomalies in insert, update, or delete operations
Improves data integrity
It breaks down large, complex tables into smaller, related tables and defines relationships using foreign keys.
🧐 Why Normalize?
Problem Without Normalization
How Normalization Helps
Duplicate data everywhere
Moves repeated data into separate tables
Inconsistent values
Enforces rules and relationships
Hard to update data
Isolates each concept so it’s updated once
Wasted storage
Reduces data repetition
📚 Normal Forms (NF)
Each Normal Form (NF) represents a level of database normalization. The most common are:
ite key (student_id, course_id), and student_name depends only on student_id, it should go into a separate table.
Think of normalization as organizing SQL tables to reduce duplication, inconsistency, and update problems.
1NF – First Normal Form
Rule: Each column should contain atomic/single values. No lists or repeating groups.
❌ Not 1NF
id
name
phone_numbers
1
John
9876, 8765
phone_numbers contains multiple values.
✅ 1NF
customers
id
name
1
John
customer_phones
id
customer_id
phone
1
1
9876
2
1
8765
Easy way to remember:
One cell = one value.
2NF – Second Normal Form
Rule: Must already be in 1NF, and every non-key column must depend on the whole primary key, not just part of it.
This matters mainly when you have a composite primary key.
❌ Not 2NF
Suppose:
order_items
order_id
product_id
order_date
product_name
qty
101
10
2026-09-12
Laptop
2
101
20
2026-09-12
Mouse
1
Primary key:
(order_id, product_id)
But:
order_date -> depends only on order_id
product_name -> depends only on product_id
qty -> depends on both
So order_date and product_name don’t depend on the whole key.
✅ 2NF
orders
order_id
order_date
101
2026-09-12
products
product_id
product_name
10
Laptop
20
Mouse
order_items
order_id
product_id
qty
101
10
2
101
20
1
Easy way to remember:
No column should depend on only part of a composite key.
3NF – Third Normal Form
Rule: Must be in 2NF, and non-key columns should not depend on other non-key columns.
❌ Not 3NF
employees
employee_id
employee_name
dept_id
dept_name
1
John
10
Engineering
2
Mary
10
Engineering
Here:
employee_id -> dept_id
dept_id -> dept_name
So:
employee_id -> dept_name
indirectly.
dept_name depends on another non-key column (dept_id).
✅ 3NF
employees
employee_id
employee_name
dept_id
1
John
10
2
Mary
10
departments
dept_id
dept_name
10
Engineering
Easy way to remember:
Non-key columns should depend on the key, the whole key, and nothing but the key.
The simplest mental model
1NF
↓
No multiple values in one cell
2NF
↓
No dependency on part of a composite key
3NF
↓
No dependency between non-key columns
Or the classic int. phrase:
3NF: Every non-key attribute depends on the key, the whole key, and nothing but the key.
Int.-friendly example
1NF → "phone = 9876,8765" ❌
split into rows ✅
2NF → (order_id, product_id) is the key
order_date depends only on order_id ❌
move it to orders ✅
3NF → dept_id -> dept_name
dept_name shouldn't live in employees ✅
move it to departments
⚖️ Normalization vs. Denormalization
✅ Normalization = Good for consistency, long-term maintenance
⚠️ Denormalization = Good for performance in read-heavy systems (like reporting dashboards)
Use normalization as a default practice, then selectively denormalize if performance requires it.
Delete button example (Rails 7+)
<%= link_to "Delete Product",
              @product,
              data: { turbo_method: :delete, turbo_confirm: "Are you sure you want to delete this product?" },
              class: "inline-block px-4 py-2 bg-red-100 text-red-600 border border-red-300 rounded-md hover:bg-red-600 hover:text-white font-semibold transition duration-300 transform hover:scale-105" %>
Hover effects and transitions for a smooth UI experience.
Add Brand to products table
Let’s add brand column to the product table:
✗ rails g migration add_brand_to_products brand:string:
index
class AddBrandToProducts < ActiveRecord::Migration[8.0]
  def change
    # Add 'brand' column
    add_column :products, :brand, :string

    # Add index for brand
    add_index :products, :brand
  end
end
❗️Important Note:
❌ PostgreSQL does not support BEFORE or AFTER when adding a column.
Caused by:
PG::SyntaxError: ERROR:  syntax error at or near "BEFORE" (PG::SyntaxError)
LINE 1: ...LTER TABLE products ADD COLUMN brand VARCHAR(255) BEFORE des...
PostgreSQL (default in Rails) does not support column order (they’re always returned in the order they were created).
If you’re using MySQL, you could use raw SQL for positioning as shown below.
If I USEMySQL, I would like to see the brand name as first column of the table products. You can do that by changing the migration to:
class AddBrandToProducts < ActiveRecord::Migration[8.0]
  def up
    execute "ALTER TABLE products ADD COLUMN brand VARCHAR(255) BEFORE description;"
    add_index :products, :brand
  end

  def down
    remove_index :products, :brand
    remove_column :products, :brand
  end
end
Reverting Previous Migrations
You can use Active Record’s ability to rollback migrations using the revert method:
require_relative "20121212123456_example_migration"

class FixupExampleMigration < ActiveRecord::Migration[8.0]
  def change
    revert ExampleMigration

    create_table(:apples) do |t|
      t.string :variety
    end
  end
end
The revert method also accepts a block of instructions to reverse. This could be useful to revert selected parts of previous migrations.
If you’ve already built a Rails 8 app using the default SQLite setup and now want to switch to PostgreSQL, here’s a clean step-by-step guide to make the transition smooth:
1.🔧 Setup PostgreSQL in macOS
🔷 Step 1: Install PostgreSQL via Homebrew
Run the following:
brew install postgresql
This created a default database cluster for me, check the output. So you can skip the Step 3.
==> Summary
🍺  /opt/homebrew/Cellar/postgresql@14/14.17_1: 3,330 files, 45.9MB

==> Running `brew cleanup postgresql@14`...
==> postgresql@14
This formula has created a default database cluster with:
  initdb --locale=C -E UTF-8 /opt/homebrew/var/postgresql@14

To start postgresql@14 now and restart at login:
  brew services start postgresql@14

Or, if you don't want/need a background service you can just run:
  /opt/homebrew/opt/postgresql@14/bin/postgres -D /opt/homebrew/var/postgresql@14
Sometimes Homebrew does this automatically. If not:
initdb /opt/homebrew/var/postgresql@<version>
Or a more general version:
initdb /usr/local/var/postgres
Key functions of initdb: Creates a new database cluster, Initializes the database cluster’s default locale and character set encoding, Runs a vacuum command.
In essence, initdb prepares the environment for a PostgreSQL database to be used and provides a foundation for creating and managing databases within that cluster
🔷 Step 4: Create a User and Database
PostgreSQL uses a role-based access control. Create a user with superuser privileges:
# createuser creates a new Postgres user
createuser -s postgres
createuser is a shell script wrapper around the SQL command CREATE USER via the Postgres interactive terminal psql. Thus, there is nothing special about creating users via this or other methods
Then switch to psql:
psql postgres
You can also create a database:
createdb <db_name>
🔷 Step 5: Connect and Use psql
psql -d <db_name>
Inside the psql shell, try:
\l    -- list databases
\dt   -- list tables
\q    -- quit
Then go to http://localhost:3000 and confirm everything works.
7. Check psql manually (Optional)
psql -d your_app_name_development
Then run:
\dt     -- view tables
\q      -- quit
8. Update .gitignore
Note: If not already added /storage/*
Make sure SQLite DBs are not accidentally committed:
/storage/*.sqlite3
/storage/*.sqlite3-journal
After moving into PostgreSQL
I was getting an issue with postgres column, where I have the following data in the migration:
# migration
t.decimal :rating, precision: 1, scale: 1

# log
ActiveRecord::RangeError (PG::NumericValueOutOfRange: ERROR:  numeric field overflow
12:44:36 web.1  | DETAIL:  A field with precision 1, scale 1 must round to an absolute value less than 1.
12:44:36 web.1  | )
Value passed is: 4.3. I was not getting this issue in SqLite DB.
What does precision: 1, scale: 1 mean?
precision: Total number of digits (both left and right of the decimal).
scale: Number of digits after the decimal point
If you want to store ratings like 4.3, 4.5, etc., a good setup is:
t.decimal :rating, precision: 2, scale: 1
# revert and migrate for products table

✗ rails db:migrate:down VERSION=2025031XXXXX -t
✗ rails db:migrate:up VERSION=2025031XXXXXX -t
Then go to http://localhost:3000 and confirm everything works.
For a Ruby on Rails 8 application, the choice of database depends on your specific needs, but here’s a breakdown of the best options and when to use each:
PostgreSQL (Highly Recommended)
Best overall choice for most Rails apps.
Why:
First-class support in Rails.
Advanced features like full-text search, JSONB support, CTEs, window functions.
Strong consistency and reliability.
Scales well vertically and horizontally (with tools like Citus).
Used by: GitHub, Discourse, Basecamp, Shopify.
Use if:
You’re building a standard Rails web app or API.
You need advanced query features or are handling complex data types (e.g., JSON).
SQLite (For development/testing only)
Lightweight, file-based.
Fast and easy to set up.
But not recommended for production.
Use if:
You’re building a quick prototype or local dev/testing app.
NOT for multi-user production environments.
MySQL / MariaDB
Also supported by Rails.
Can work fine for simpler applications.
Lacks some advanced features (like robust JSON support or full Postgres-style indexing).
Not the default in many modern Rails setups.
Use if:
Your team already has MySQL infrastructure or legacy systems.
You need horizontal scaling with Galera Cluster or similar setups.
Others (NoSQL like MongoDB, Redis, etc.)
Use Redis for caching and background job data (not as primary DB).
Use MongoDB or other NoSQL only if your data model really demands it (e.g., unstructured documents, event sourcing).
Recommendation Summary:
Use Case
Recommended DB
Production web/API app
PostgreSQL
Dev/prototyping/local testing
SQLite
Legacy systems/MySQL infrastructure
MySQL/MariaDB
Background jobs/caching
Redis
Special needs (e.g., documents)
MongoDB (with caution)
If you’re starting fresh or building something scalable and modern with Rails 8, go with PostgreSQL.
Let’s break that down:
💬 What does “robust JSON support” mean?
PostgreSQL supports a special column type: json and jsonb, which lets you store structured JSON data directly in your database — like hashes or objects.
Why it matters:
You can store dynamic data without needing to change your schema.
You can query inside the JSON using SQL (->, ->>, @>, etc.).
You can index parts of the JSON — for speed.
🔧 Example:
You have a products table with a specs column that holds tech specs in JSON:
SELECT * FROM products WHERE specs->>'color' = 'black';
Or check if the JSON contains a value:
SELECT * FROM products WHERE specs @> '{"brand": "Libas"}';
You can even indexspecs->>'color' to make these queries fast.
💬 What does “full Postgres-style indexing” mean?
PostgreSQL supports a wide variety of powerful indexing options, which improve query performance and flexibility.
⚙️ Types of Indexes PostgreSQL supports:
Index Type
Use Case
B-Tree
Default; used for most equality and range searches
GIN (Generalized Inverted Index)
Fast indexing for JSON, arrays, full-text search
Partial Indexes
Index only part of the data (e.g., WHERE active = true)
Expression Indexes
Index a function or expression (e.g., LOWER(email))
Covering Indexes (INCLUDE)
Fetch data directly from the index, avoiding table reads
B-Tree Indexes: B-tree indexes are more suitable for single-value columns.
When to Use GIN Indexes: When you frequently search for specific elements within arrays, JSON documents, or other composite data types.
Example for GIN Indexes: Imagine you have a table with a JSONB column containing document metadata. A GIN index on this column would allow you to quickly find all documents that have a specific author or belong to a particular category.
Why does this matter for our shopping app?
We can store and filter products with dynamic specs (e.g., kurtas, shorts, pants) without new columns.
Full-text search on product names/descriptions.
Fast filters: color = 'red' AND brand = 'Libas' even if those are stored in JSON.
Index custom expressions like LOWER(email) for case-insensitive login.
💬 What are Common Table Expressions (CTEs)?
CTEs are temporary result sets you can reference within a SQL query — like defining a mini subquery that makes complex SQL easier to read and write.
WITH recent_orders AS (
  SELECT * FROM orders WHERE created_at > NOW() - INTERVAL '7 days'
)
SELECT * FROM recent_orders WHERE total > 100;
Breaking complex queries into readable parts.
Re-using result sets without repeating subqueries.
In Rails (via with from gems like scenic or with_cte):
Window functions perform calculations across rows related to the current row — unlike aggregate functions, they don’t group results into one row.
🔧 Example: Rank users by their score within each team:
SELECT
  user_id,
  team_id,
  score,
  RANK() OVER (PARTITION BY team_id ORDER BY score DESC) AS rank
FROM users;
Use cases:
Ranking rows (like leaderboards).
Running totals or moving averages.
Calculating differences between rows (e.g. “How much did this order increase from the last?”).
🛤 In Rails:
Window functions are available through raw SQL or Arel. Here’s a basic example:
User
  .select("user_id, team_id, score, RANK() OVER (PARTITION BY team_id ORDER BY score DESC) AS rank")
CTEs and Window functions are fully supported in PostgreSQL, making it the go-to DB for any Rails 8 app that needs advanced querying.
JSONB Support
JSONB stands for “JSON Binary” and is a binary representation of JSON datathat allows for efficient storage and retrieval of complex data structures.
This can be useful when you have data that doesn’t fit neatly into traditional relational database tables, such as nested or variable-length data structures.
Absolutely — storing JSON in a relational database (like PostgreSQL) can be super powerful when used wisely. It gives you schema flexibility without abandoning the structure and power of SQL. Here are real-world use cases for using JSON columns in relational databases:
Here are real-world use cases for using JSON columns in relational databases:
🔧 1. Flexible Metadata / Extra Attributes
Let users store arbitrary attributes that don’t require schema changes every time.
A lightweight version that only declares attribute accessors for keys inside a JSON column. Doesn’t include serialization logic — so you usually use it with a json/jsonb/text column that already works as a Hash.
👉 Example:
class User < ApplicationRecord
  store_accessor :settings, :theme, :notifications
end
This gives you:
user.theme, user.theme=
user.notifications, user.notifications=
🤔 When to Use Each?
Feature
When to Use
store
When you need both serialization and accessors
store_accessor
When your column is already serialized (jsonb, etc.)
If you’re using PostgreSQL with jsonb columns — it’s more common to just use store_accessor.
Querying JSON Fields
User.where("settings ->> 'theme' = ?", "dark")
Or if you’re using store_accessor:
User.where(theme: "dark")
💡 But remember: you’ll only be able to query these fields efficiently if you’re using jsonb + proper indexes.
🔥 Conclusion:
PostgreSQL can store, search, and index inside JSON fields natively.
This lets you keep your schema flexible and your queries fast.
Combined with its advanced indexing, it’s ideal for a modern e-commerce app with dynamic product attributes, filtering, and searching.
To install and set up PostgreSQL on macOS, you have a few options. The most common and cleanest method is using Homebrew. Here’s a step-by-step guide:
Switching to a feature-branch workflow with pull requests is a great move for team collaboration, code review, and better CI/CD practices. Here’s how you can transition our Rails 8 app to a proper CI/CD pipeline using GitHub and GitHub Actions.
🔄 Workflow Change: Feature Branch + Pull Request
1. Create a new branch for each feature/task:
git checkout -b feature/feature-name
2. Push it to GitHub:
git push origin feature/feature-name
3. Open a Pull Request on GitHub from feature/feature-name to main.
4. Enable branch protection (optional but recommended):
Note: You can set up branch protection rules in GitHub for free only on public repositories.
About protected branches
You can protect important branches by setting branch protection rules, which define whether collaborators can delete or force push to the branch and set requirements for any pushes to the branch, such as passing status checks or a linear commit history.
You can create a branch protection rule in a repository for a specific branch, all branches, or any branch that matches a name pattern you specify with fnmatch syntax. For example, to protect any branches containing the word release, you can create a branch rule for *release*
Go to your repo → Settings → Branches → Protect main.
Require pull request reviews before merging.
Require status checks to pass before merging (CI tests).
Basically github actions allow us to run some actions (ex: testing the code) if an event occurs during the code changes/commit/push (it mostly related to a branch).
Our Goal:When we push to a feature branch test the code before merging it to the main branch so that we can ensure nothing is broken before going the code into live.
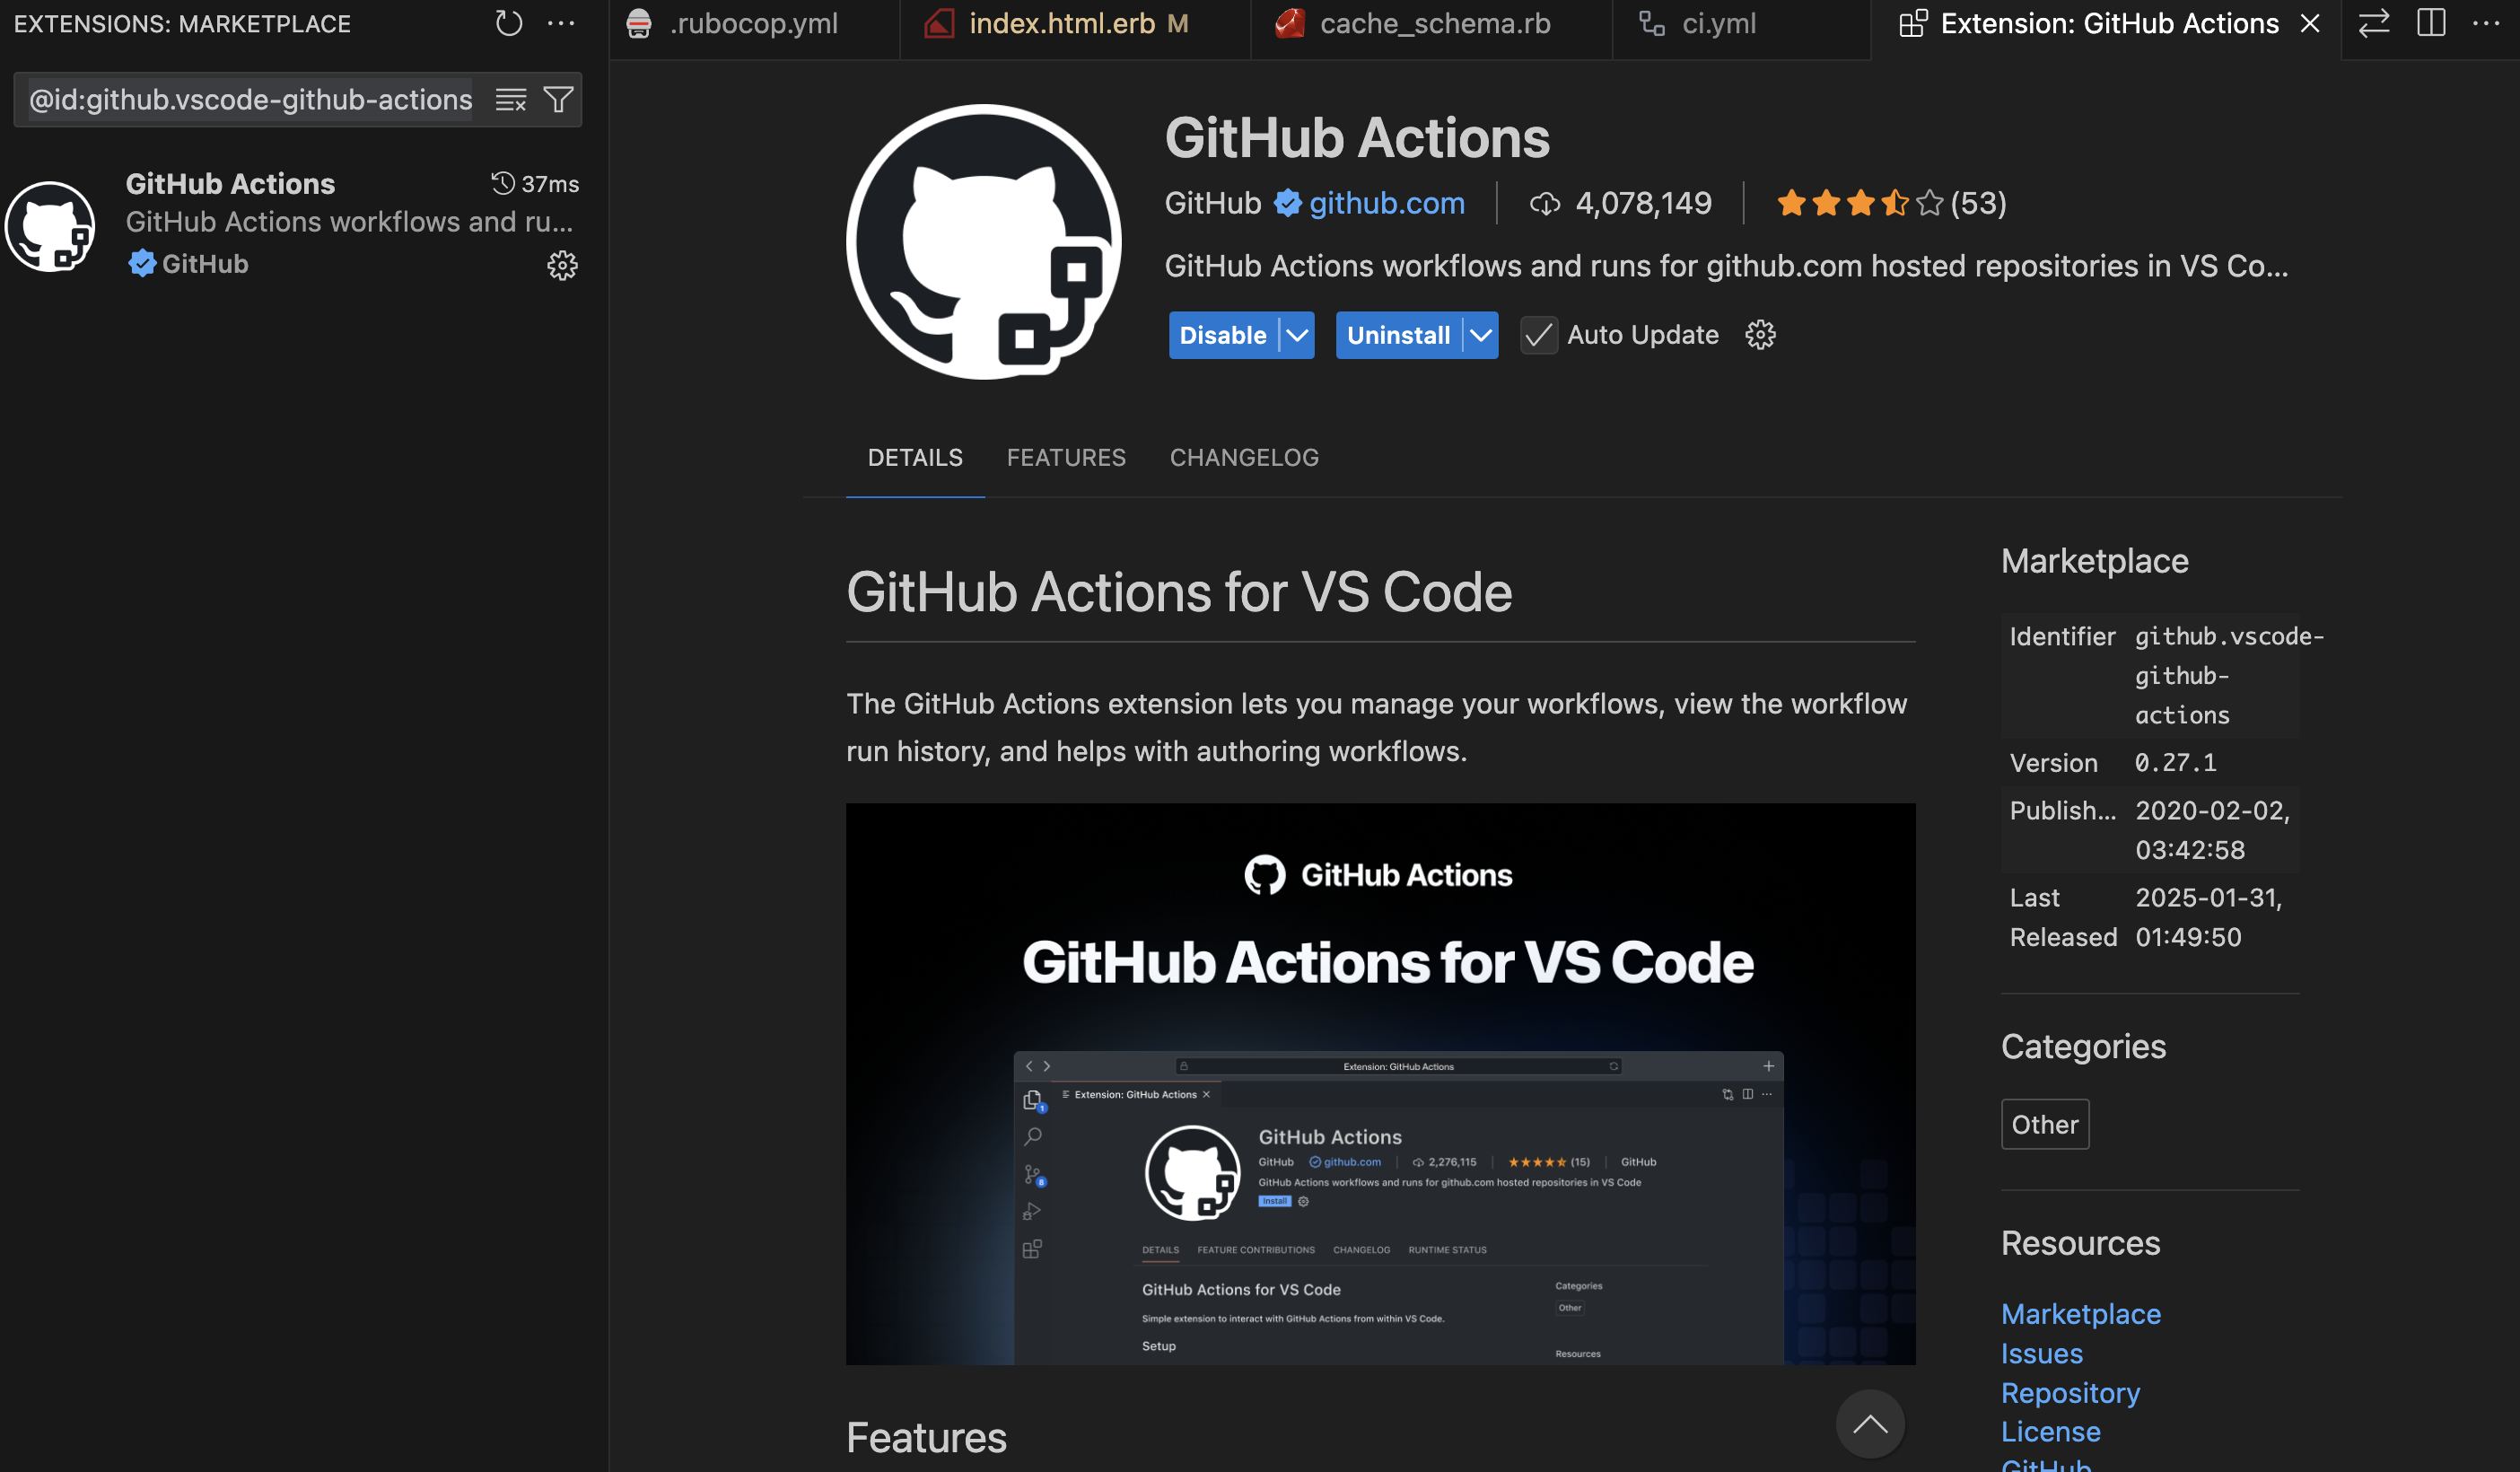
You can try the VS Code plugin for helping the Github Actions workflow (best for auto-complete the data we needed and auto-populate the env variables etc from our github account):
Sign in using your github account and grant access to the public repositories.
If you try to push to main branch, you will find the following error:
remote: error: GH006: Protected branch update failed for refs/heads/main.
remote:
remote: - Changes must be made through a pull request.
remote:
remote: - Cannot change this locked branch
To github.com:<username>/<project>.git
 ! [remote rejected] main -> main (protected branch hook declined)
We will be finishing Database and all other setup for our Web Application before starting CI/CD setup.
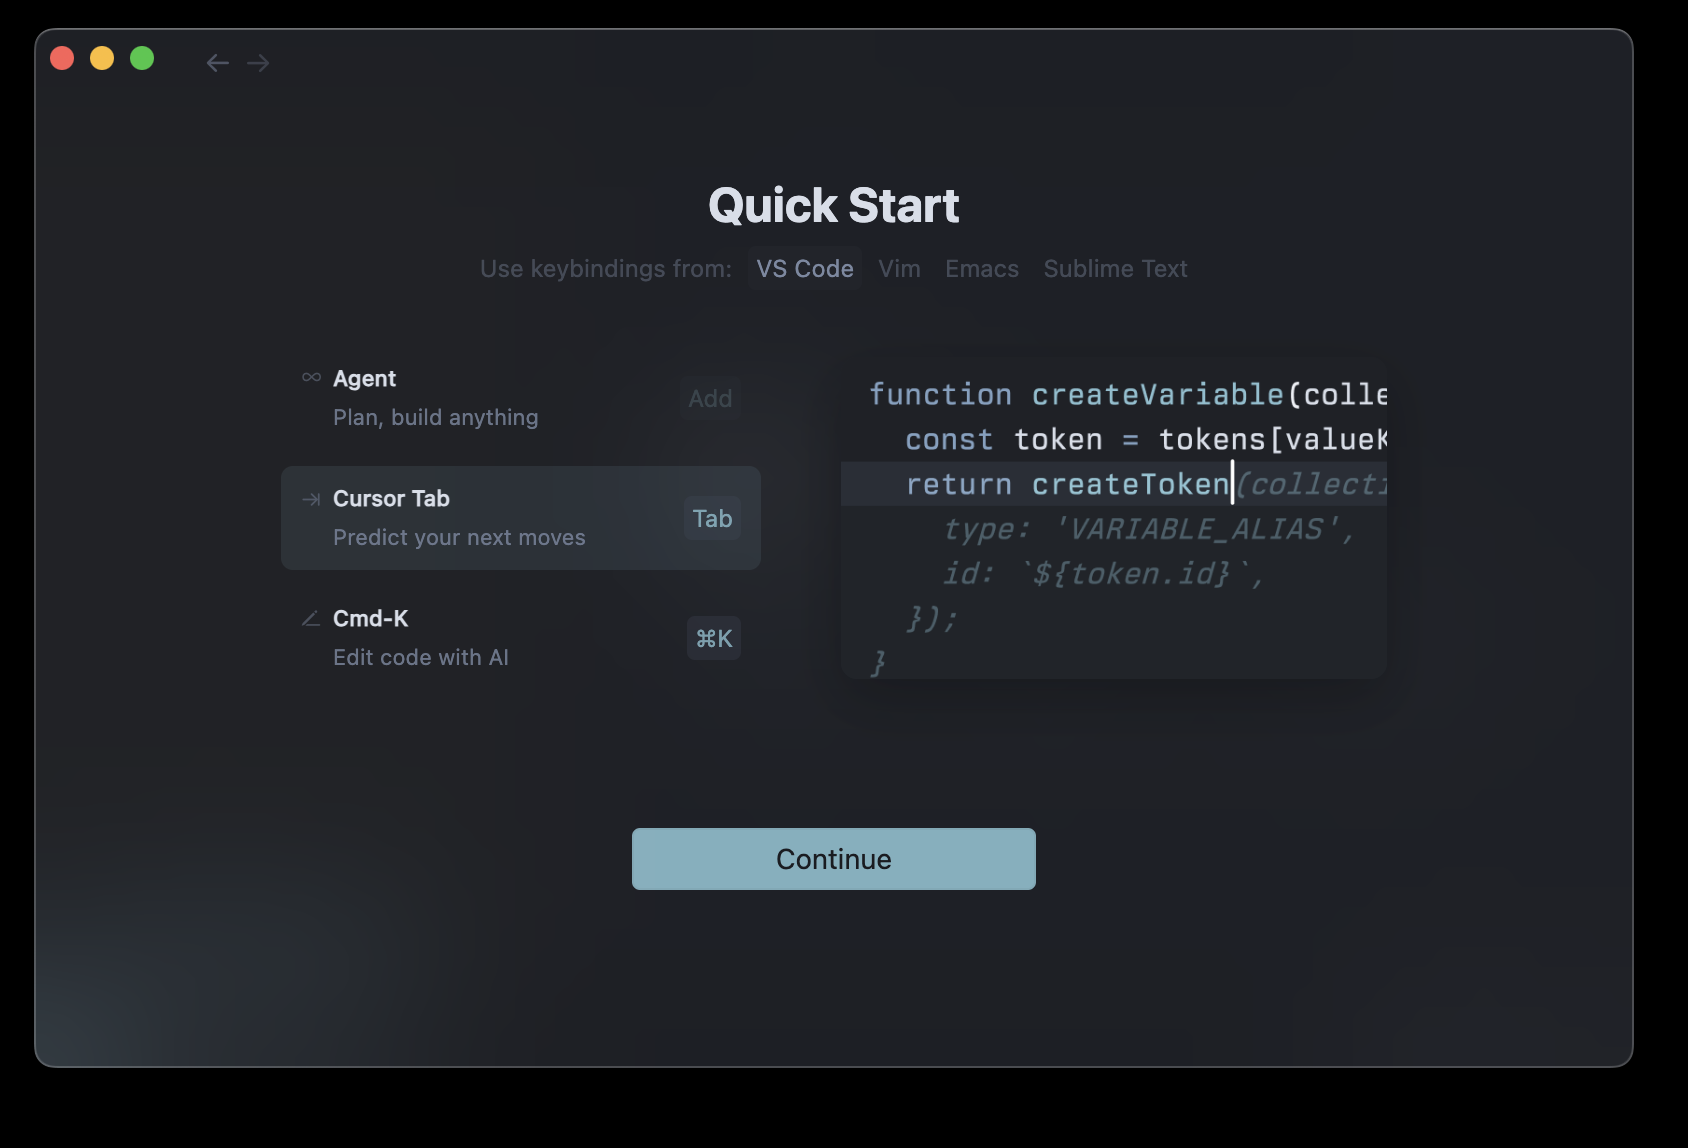
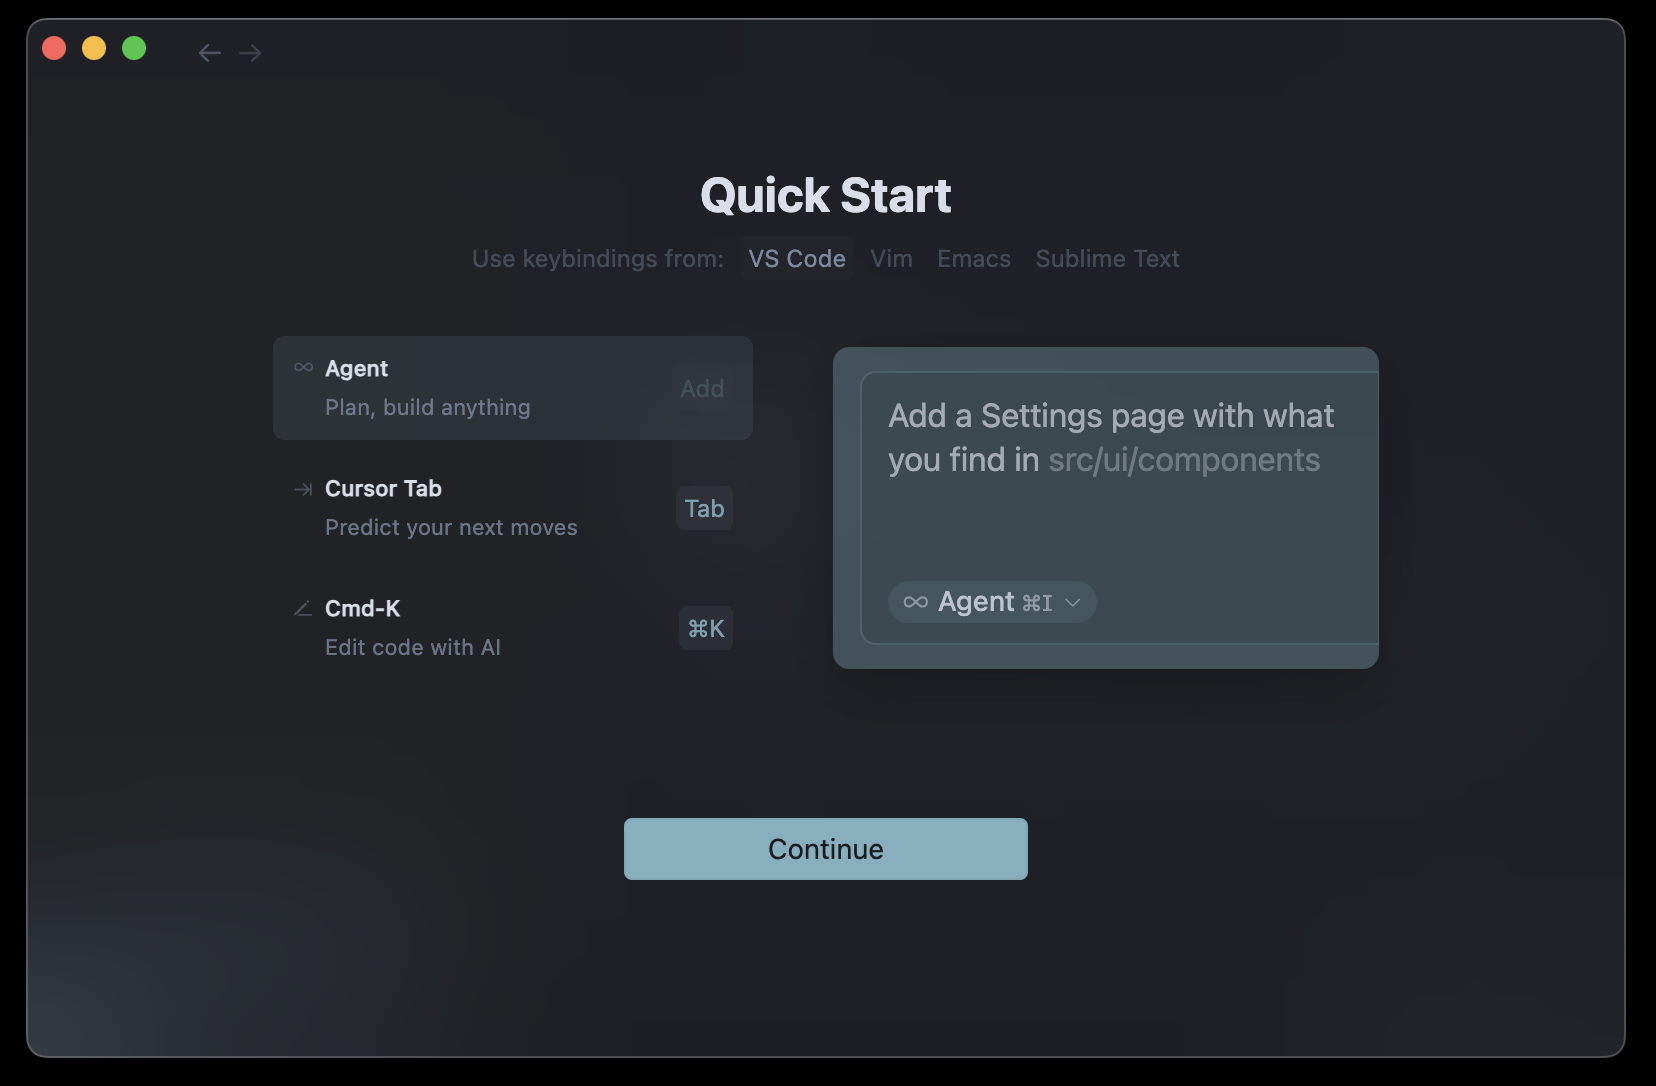
Cursor AI is an innovative AI-powered code editor developed by Anysphere Inc., designed to enhance developer productivity by integrating advanced artificial intelligence features directly into the coding environment. It is a fork of Visual Studio Code with additional AI features like code generation, smart rewrites, and codebase queries. (Wikipedia)
What is Cursor AI?
Cursor AI is a smart code editor that assists developers in writing, debugging, and optimizing code. It offers AI-powered suggestions, real-time error detection, and the ability to interact with existing code through natural language prompts. This makes it a valuable tool for both experienced developers and newcomers to programming.(Reddit)
The Evolution of Cursor AI
Cursor AI was founded in early 2022 by four MIT graduates: Michael Truell, Sualeh Asif, Arvid Lunnemark, and Aman Sanger. Initially focusing on mechanical engineering tools, the team pivoted to programming after identifying a larger opportunity and aligning with their expertise. (Medium, lennysnewsletter.com)
Launched in 2023, Cursor AI quickly gained traction, reaching $100 million in annual recurring revenue within 12 months, making it one of the fastest-growing SaaS startups. By April 2025, the company achieved a $9 billion valuation following a $900 million funding round. (productmarketfit.tech, Financial Times)
Installing Cursor AI on macOS
To install Cursor AI on your MacBook:
Download: Visit the Cursor Downloads page and select the appropriate version for your Mac (Universal, Arm64, or x64).(Cursor)
Install: Run the downloaded installer and follow the on-screen instructions.
Launch: After installation, open Cursor from the Applications folder.(apidog)
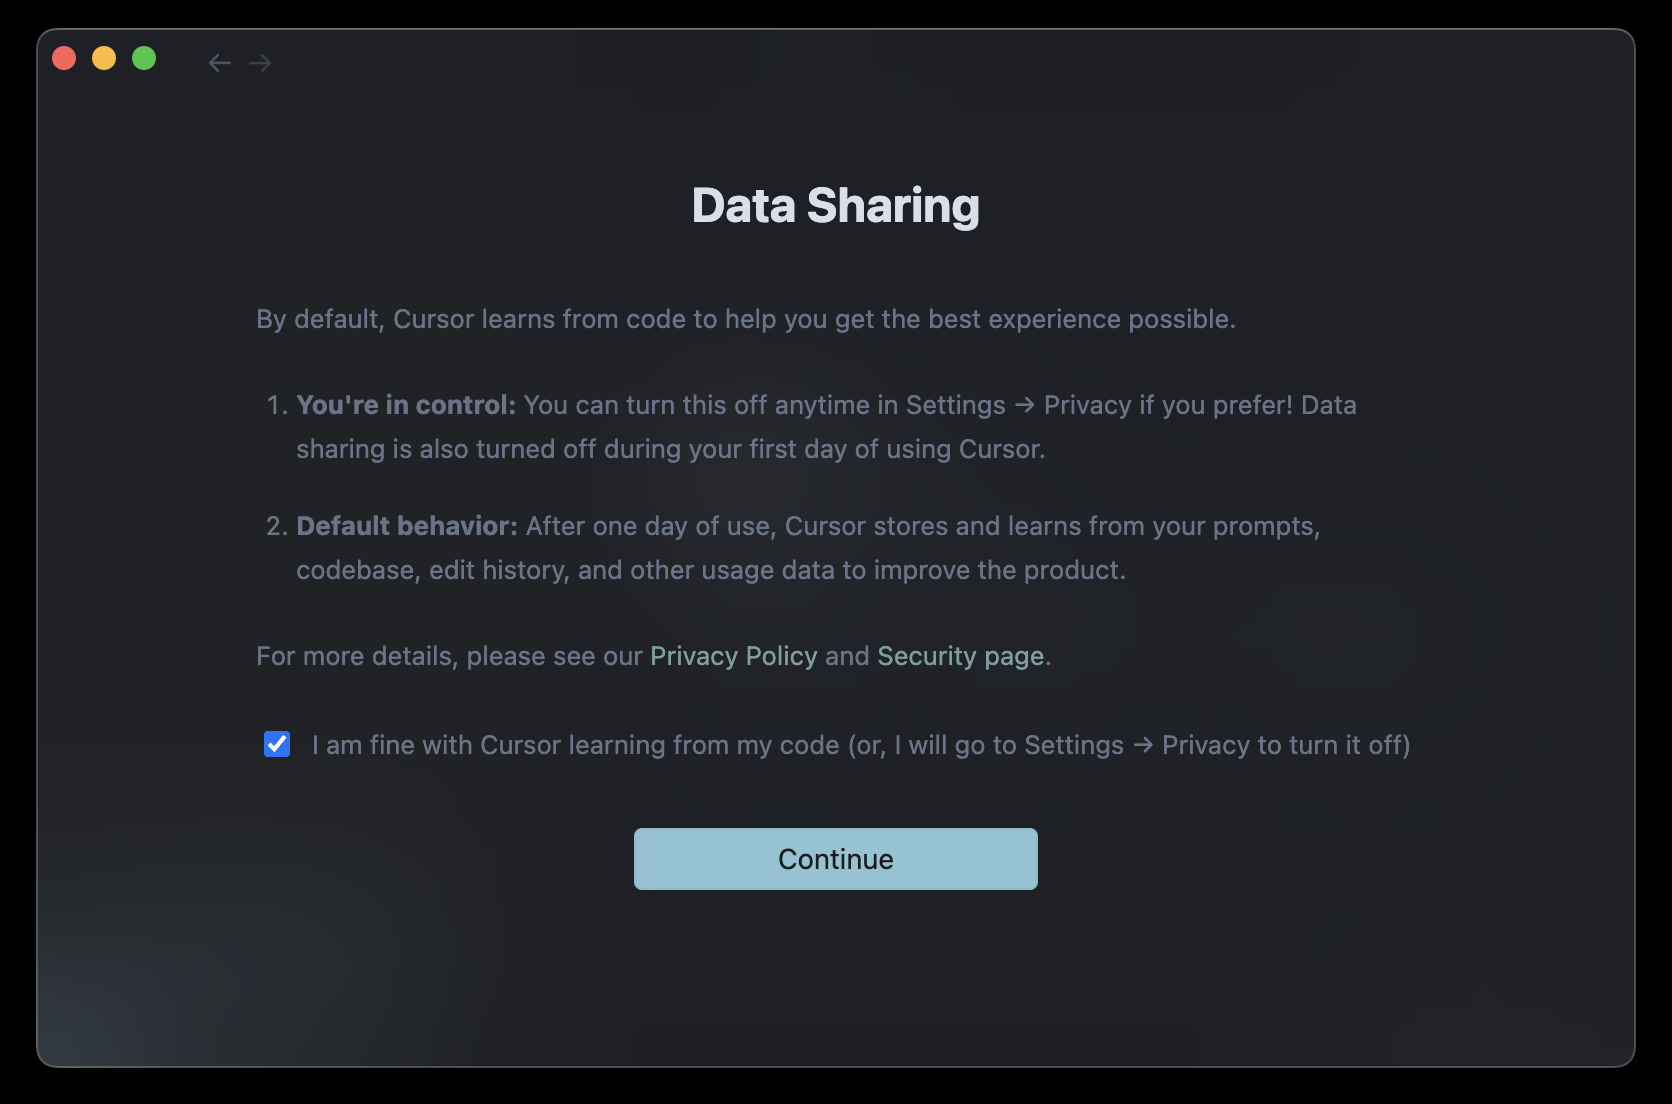
Setup: On first launch, you’ll be prompted to configure settings to get started. (Cursor)
For a visual guide, you can refer to this tutorial:
In today’s fast-paced development environment, tools that enhance productivity are invaluable. Cursor AI stands out by integrating AI directly into the coding process, allowing developers to:(Reddit)
Generate code snippets based on natural language prompts.
Performance optimization is critical for delivering fast, responsive Rails applications. This comprehensive guide covers the most important profiling tools you should implement in your Rails 8 application, complete with setup instructions and practical examples.
Why Profiling Matters
Before diving into tools, let’s understand why profiling is essential:
Identify bottlenecks: Pinpoint exactly which parts of your application are slowing things down
Optimize resource usage: Reduce memory consumption and CPU usage
Improve user experience: Faster response times lead to happier users
Reduce infrastructure costs: Efficient applications require fewer server resources
Essential Profiling Tools for Rails 8
1. Rack MiniProfiler
What it does: Provides real-time profiling of your application’s performance directly in your browser.
Why it’s important: It’s the quickest way to see performance metrics without leaving your development environment.
# In your controller or service object
result = RubyProf.profile do
  # Code you want to profile
end

printer = RubyProf::GraphPrinter.new(result)
printer.print(STDOUT, {})
For StackProf:
StackProf.run(mode: :cpu, out: 'tmp/stackprof.dump') do
  # Code to profile
end
require 'benchmark/ips'

Benchmark.ips do |x|
  x.report("addition") { 1 + 2 }
  x.report("addition with to_s") { (1 + 2).to_s }
  x.compare!
end
Advanced Features:
Benchmark.ips do |x|
  x.time = 5 # Run each benchmark for 5 seconds
  x.warmup = 2 # Warmup time of 2 seconds

  x.report("Array#each") { [1,2,3].each { |i| i * i } }
  x.report("Array#map") { [1,2,3].map { |i| i * i } }

  # Add custom statistics
  x.config(stats: :bootstrap, confidence: 95)

  x.compare!
end
# Memory measurement
require 'benchmark/memory'

Benchmark.memory do |x|
  x.report("method1") { ... }
  x.report("method2") { ... }
  x.compare!
end

# Disable GC for more consistent results
Benchmark.ips do |x|
  x.config(time: 5, warmup: 2, suite: GCSuite.new)
end
Sample Output:
Warming up --------------------------------------
            addition    281.899k i/100ms
  addition with to_s    261.831k i/100ms
Calculating -------------------------------------
            addition      8.614M (± 1.2%) i/s -     43.214M in   5.015800s
  addition with to_s      7.017M (± 1.8%) i/s -     35.347M in   5.038446s

Comparison:
            addition:  8613594.0 i/s
  addition with to_s:  7016953.3 i/s - 1.23x slower
Key Advantages
Accurate comparisons with statistical significance
Warmup phase eliminates JIT/caching distortions
Memory measurements available through extensions
Customizable reporting with various statistics options
10. Rails Performance (Dashboard)
What is Rails Performance?
Rails Performance is a self-hosted alternative to New Relic/Skylight that provides:
# config/initializers/rails_performance.rb
RailsPerformance.setup do |config|
  config.redis = Redis.new # optional, will use Rails.cache otherwise
  config.duration = 4.hours # store requests for 4 hours
  config.enabled = Rails.env.production?
  config.http_basic_authentication_enabled = true
  config.http_basic_authentication_user_name = 'admin'
  config.http_basic_authentication_password = 'password'
end
Accessing the Dashboard:
After installation, access the dashboard at:
http://localhost:3000/rails/performance
Custom Tracking:
# Track custom events
RailsPerformance.trace("custom_event", tags: { type: "import" }) do
  # Your code here
end

# Track background jobs
class MyJob < ApplicationJob
  around_perform do |job, block|
    RailsPerformance.trace(job.class.name, tags: job.arguments) do
      block.call
    end
  end
end
# Add custom fields to requests
RailsPerformance.attach_extra_payload do |payload|
  payload[:user_id] = current_user.id if current_user
end

# Track slow queries
ActiveSupport::Notifications.subscribe("sql.active_record") do |*args|
  event = ActiveSupport::Notifications::Event.new(*args)
  if event.duration > 100 # ms
    RailsPerformance.trace("slow_query", payload: {
      sql: event.payload[:sql],
      duration: event.duration
    })
  end
end
Sample Dashboard Views:
Requests Overview:
Average response time
Requests per minute
Slowest actions
Detailed Request View:
SQL queries breakdown
View rendering time
Memory allocation
Background Jobs:
Job execution time
Failures
Queue times
Key Advantages
Self-hosted solution – No data leaves your infrastructure
Simple setup – No complex dependencies
Historical data – Track performance over time
Custom events – Track any application events
Background jobs – Full visibility into async processes
Implementing a Complete Profiling Strategy
For a comprehensive approach, combine these tools at different stages:
Development:
Rack MiniProfiler (always on)
Bullet (catch N+1s early)
RubyProf/StackProf (for deep dives)
CI Pipeline:
Derailed Benchmarks
Memory tests
Production:
Skylight or AppSignal
Error tracking with performance context
Sample Rails 8 Configuration
Here’s how to set up a complete profiling environment in a new Rails 8 app:
# Gemfile

# Development profiling
group :development do
  # Basic profiling
  gem 'rack-mini-profiler'
  gem 'bullet'

  # Deep profiling
  gem 'ruby-prof'
  gem 'stackprof'
  gem 'memory_profiler'
  gem 'flamegraph'

  # Benchmarking
  gem 'derailed_benchmarks', require: false
  gem 'benchmark-ips'

  # Dashboard
  gem 'rails_performance'
end

# Production monitoring (choose one)
group :production do
  gem 'skylight'
  # or
  gem 'appsignal'
  # or
  gem 'newrelic_rpm' # Alternative option
end
Then create an initializer for development profiling:
# config/initializers/profiling.rb
if Rails.env.development?
  require 'rack-mini-profiler'
  Rack::MiniProfilerRails.initialize!(Rails.application)

  Rails.application.config.after_initialize do
    Bullet.enable = true
    Bullet.alert = true
    Bullet.bullet_logger = true
    Bullet.rails_logger = true
  end
end
Conclusion
Profiling your Rails 8 application shouldn’t be an afterthought. By implementing these tools throughout your development lifecycle, you’ll catch performance issues early, maintain a fast application, and provide better user experiences.
Remember:
Use development tools like MiniProfiler and Bullet daily
Run deeper profiles with RubyProf before optimization work
Monitor production with Skylight or AppSignal
Establish performance benchmarks with Derailed
With this toolkit, you’ll be well-equipped to build and maintain high-performance Rails 8 applications.