A comprehensive technical deep-dive into Cursor’s architecture, capabilities, and how to wield it effectively.
1. How Cursor Started: From MIT Dorm to $10B Valuation
Cursor didn’t emerge from a traditional enterprise software company. It was born in 2022 when four MIT students—Michael Truell, Sualeh Asif, Arvid Lunnemark, and Aman Sanger—founded Anysphere with a contrarian thesis: instead of bolting AI onto existing editors (like GitHub Copilot’s extension approach), they would build an AI-first code editor from the ground up.
The key architectural bet was simple but profound: fork VS Code and embed AI into the core runtime rather than as an extension. This meant AI could access the full editor context—open files, project structure, terminal output, and git state—without the latency and permission boundaries that plague extension-based assistants.
By September 2023, Cursor had raised $8M from OpenAI (with $11M total), with the founders publicly stating their ambition: “a code editor that makes it nearly impossible to write bugs” and enables developers to “create thousands of lines of code with minimal input.”
They entered a market dominated by Copilot (launched 2021) and newcomers like Codeium and Tabnine. Their differentiator wasn’t just better models—it was multi-file editing. Early AI models were too slow for this; by the time GPT-4 and Claude arrived, Cursor’s architecture was ready to exploit them.
2. The AI Era of Coding
We’re past the “AI-assisted coding” phase. We’re in the AI-augmented development era, where the question isn’t whether to use AI, but how to integrate it into your workflow without sacrificing quality, security, or control.
The shift has three dimensions:
- From autocomplete to agents: Tab completion (Copilot-style) is table stakes. The frontier is autonomous agents that plan, execute, and verify multi-step tasks across your codebase.
- From single-file to codebase-aware: Context windows have exploded (100K+ tokens). AI can now reason over entire repos, not just the file you’re editing.
- From chat to tool use: AI assistants now call APIs, run terminals, query databases, and control browsers via protocols like MCP (Model Context Protocol).
Developers who treat AI as “fancy autocomplete” are leaving 3–5x productivity gains on the table. Those who learn to orchestrate agents, rules, and context effectively are redefining what “senior engineer” means.
3. Cursor in 2024 / 2025: The Acceleration
2024: Composer, Agents, and Context
- Composer with Agent (Nov–Dec 2024): Sidebar UI with inline diffs; agents that pick their own context and use the terminal.
- Yolo Mode: Agents auto-run terminal commands with exit code visibility.
- @Context References:
@docs,@git,@web,@folder,@Lint Errorsfor flexible context selection. - Commit message generation: Automatic git commit messages from diffs.
2025: Agent as Default, Rules, and Model Explosion
- Agent as Default (v0.46, Feb 2025): Chat, Composer, and Agent unified into one interface. Agent is now the primary mode.
.cursor/rules& Project Rules: Repository-level rules in.cursor/rulesthat agents automatically apply. Visual indicators show when rules are active.- Web Search Integration: Agents automatically search the web for current information without explicit commands.
- Deepseek Support: Deepseek R1 and v3 models, self-hosted in the US.
- Fusion Tab Model: Cursor-trained model for code jumps and long context—~100ms faster completions, 30% reduced time-to-first-token.
- Credit-based billing (June 2025): Shift from request-based to credit-based pricing.
4. How Cursor Works and the Models It Provides
Architecture Overview
Cursor is a fork of VS Code with AI baked into the runtime. Key components:
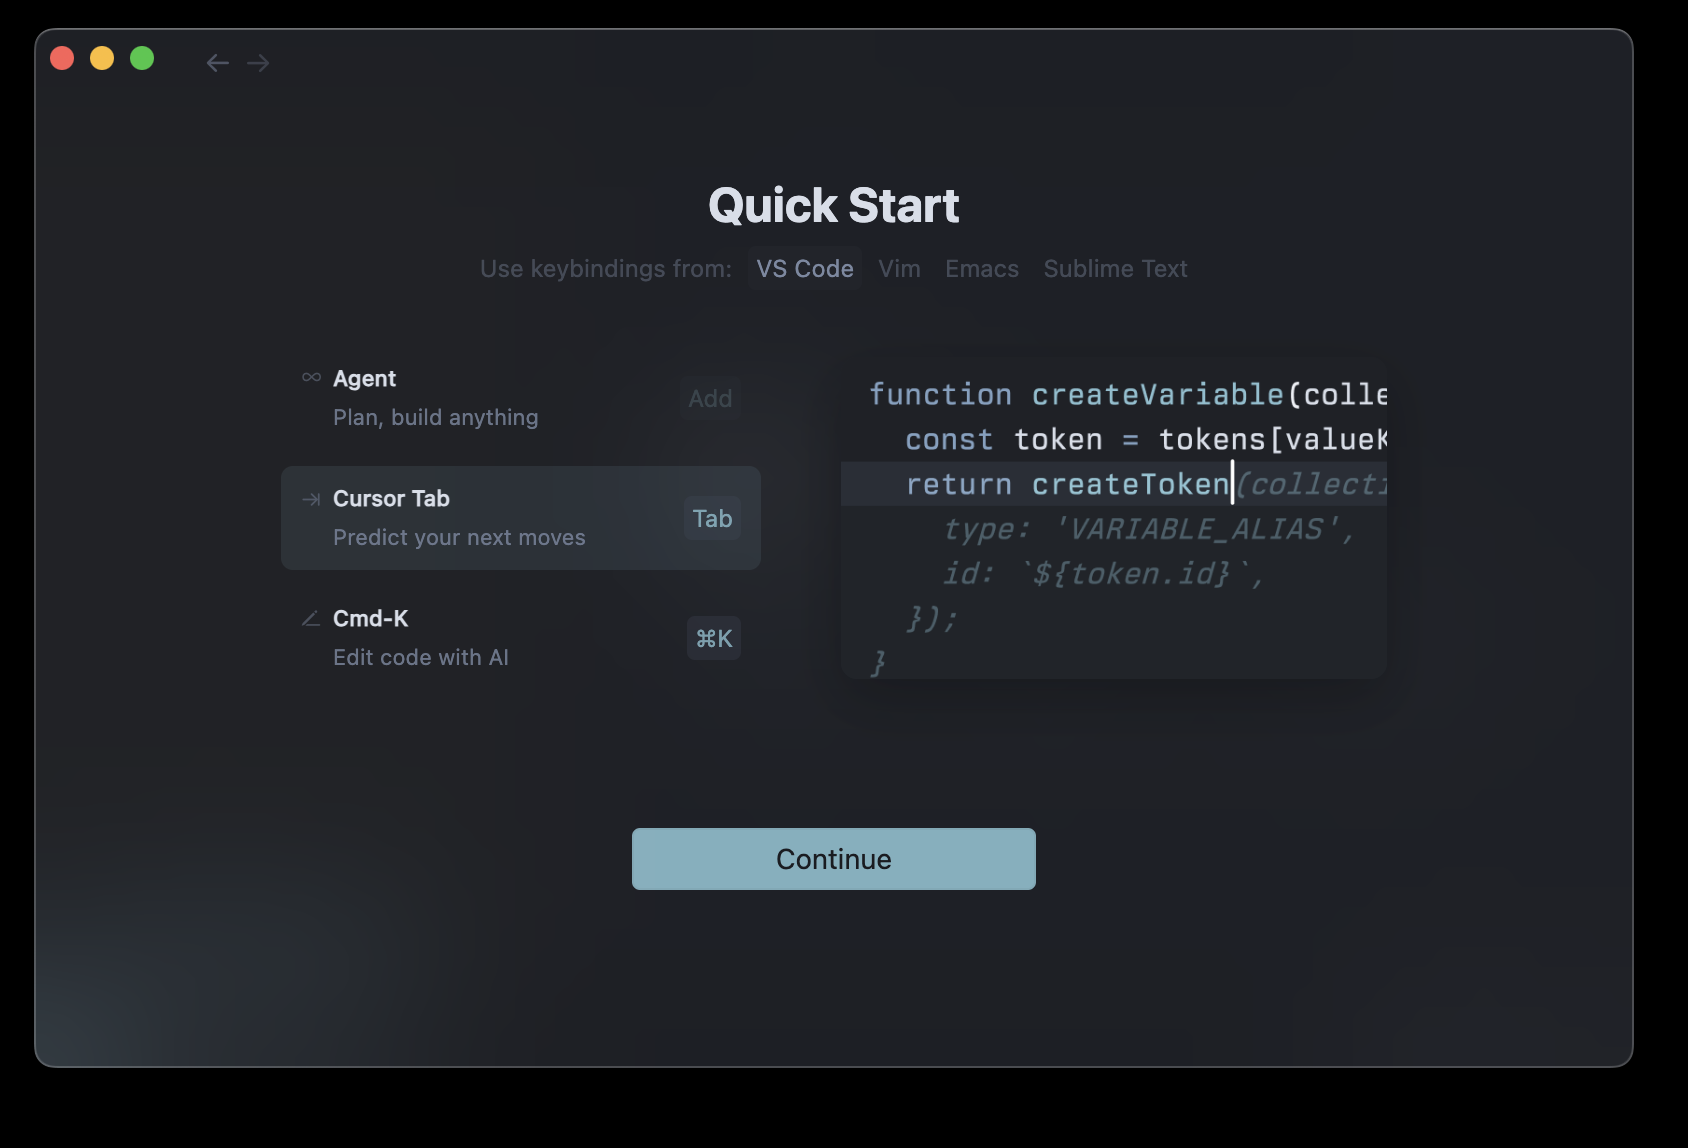
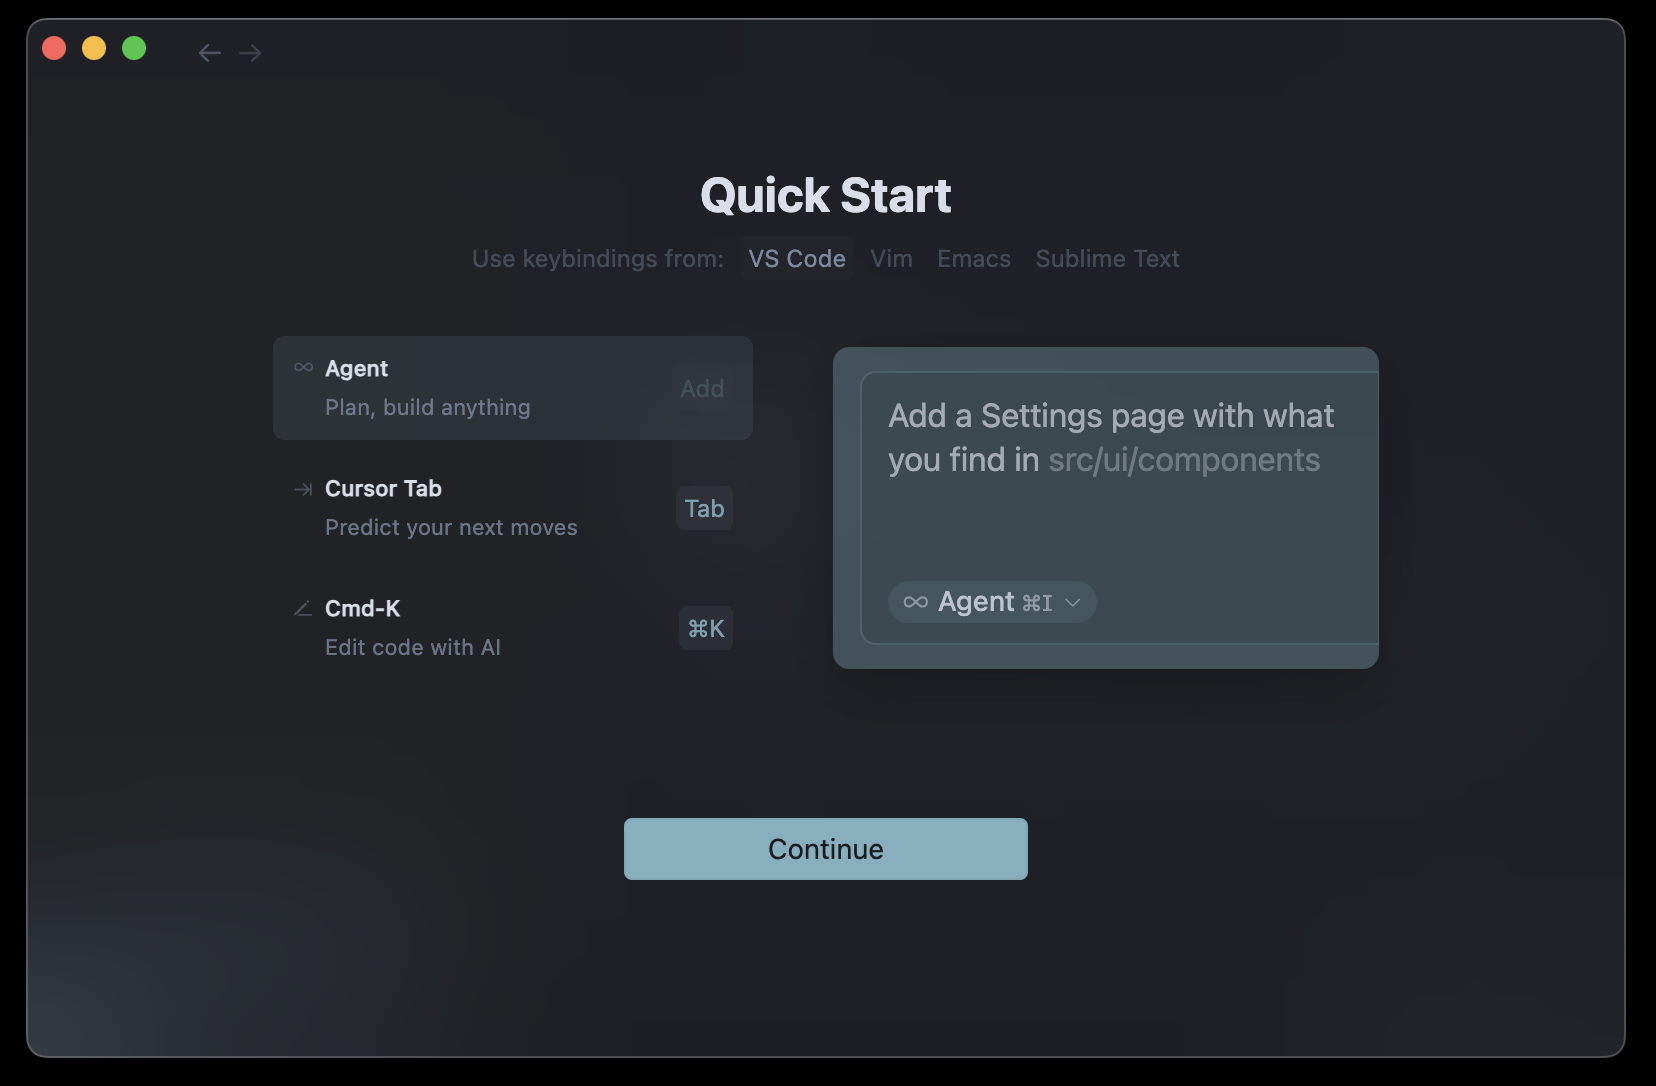
- Tab (inline completions): Real-time suggestions as you type. Uses Cursor’s proprietary Fusion model and third-party models.
- Agent / Composer: Multi-turn, multi-file editing. Can read files, run commands, apply edits, and iterate.
- Chat: Conversational interface for questions, explanations, and quick edits.
- Rules & Skills: Declarative rules (
.cursor/rules,RULE.md) and procedural skills (SKILL.md) that shape agent behavior.
Model Lineup (2025–2026)
| Model | Use Case | Notes |
|---|---|---|
| GPT-4o | General coding, fast completions | OpenAI’s flagship |
| Claude Sonnet 3.5 / Opus | Complex reasoning, long context | Anthropic |
| Gemini Pro | Alternative for completions | |
| Deepseek R1 / v3 | Cost-effective, strong reasoning | Self-hosted in US |
| Cursor Composer | Multi-file edits, agent tasks | Proprietary, fine-tuned |
| Cursor Fusion Tab | Inline completions | Proprietary, low latency |
| Codebase Understanding | Semantic search, context | Proprietary |
Pricing Tiers (2026)
- Hobby (Free): 2,000 completions, 50 slow premium requests/month.
- Pro ($20/mo): 500 fast premium requests, unlimited slow, $20 API agent usage.
- Pro Plus ($60/mo): 1,500 fast agent requests, extended context.
- Ultra ($200/mo): 5,000 fast requests, unlimited Max Mode, experimental models.
- Business ($40/user/mo): Privacy mode, SSO, admin dashboard.
- Enterprise: Custom pricing, audit logs, dedicated support.
5. Using Cursor Efficiently: MCP, Agents, Code Reviews, and More
MCP (Model Context Protocol)
MCP is an open standard (Anthropic, late 2024) that acts as a “USB-C port for AI”—letting Cursor connect to external tools and data sources. Instead of pasting API docs or database schemas into chat, you configure MCP servers that the agent can query directly.
Components:
- Server: Bridge to tools (databases, APIs, browsers).
- Client: Cursor’s engine deciding when to call tools.
- Host: Cursor’s UI.
Transports: Stdio (local, low latency) and SSE (remote, team sharing).
High-leverage integrations:
- Browser control: Navigate, click, fill forms for E2E testing.
- Databases: Postgres, Supabase—query and reason over schema.
- Linear, GitHub, Jira: Create tickets, PRs, link context.
- Figma: Pull design context, screenshots for implementation.
Best practices:
- Use
.cursorrulesto govern when agents use tools. - Never hardcode API keys; use env vars.
- Avoid connecting too many tools—performance degrades.
- MCP can reduce token consumption by 18–37% by fetching only what’s needed.
Agents and Subagents
Agents are the primary interface in Cursor. They:
- Plan multi-step tasks.
- Read files, run terminal commands, apply edits.
- Use subagents for parallel work (research, terminal, specialized tasks).
Subagents (v2.4, Jan 2026): Independent agents for discrete subtasks. Run in parallel, use their own context. Can spawn their own subagents (tree structure). Enables larger refactors and multi-file features.
Skills (SKILL.md): Procedural “how-to” instructions. Better for dynamic context than always-on rules. Invoke via slash commands when relevant.
Rules and Project Context
.cursor/rules: Directory of rule files. Agents automatically apply these. Use for conventions, architecture decisions, testing requirements.RULE.md: File-specific or project-level rules.CLAUDE.md: Documentation for AI (common in open source). Cursor respects these.
Example rule:
Always use .to_cents for legacy decimal money values.Never add noLayout meta to admin pages.Create specs for all new classes.Code Reviews
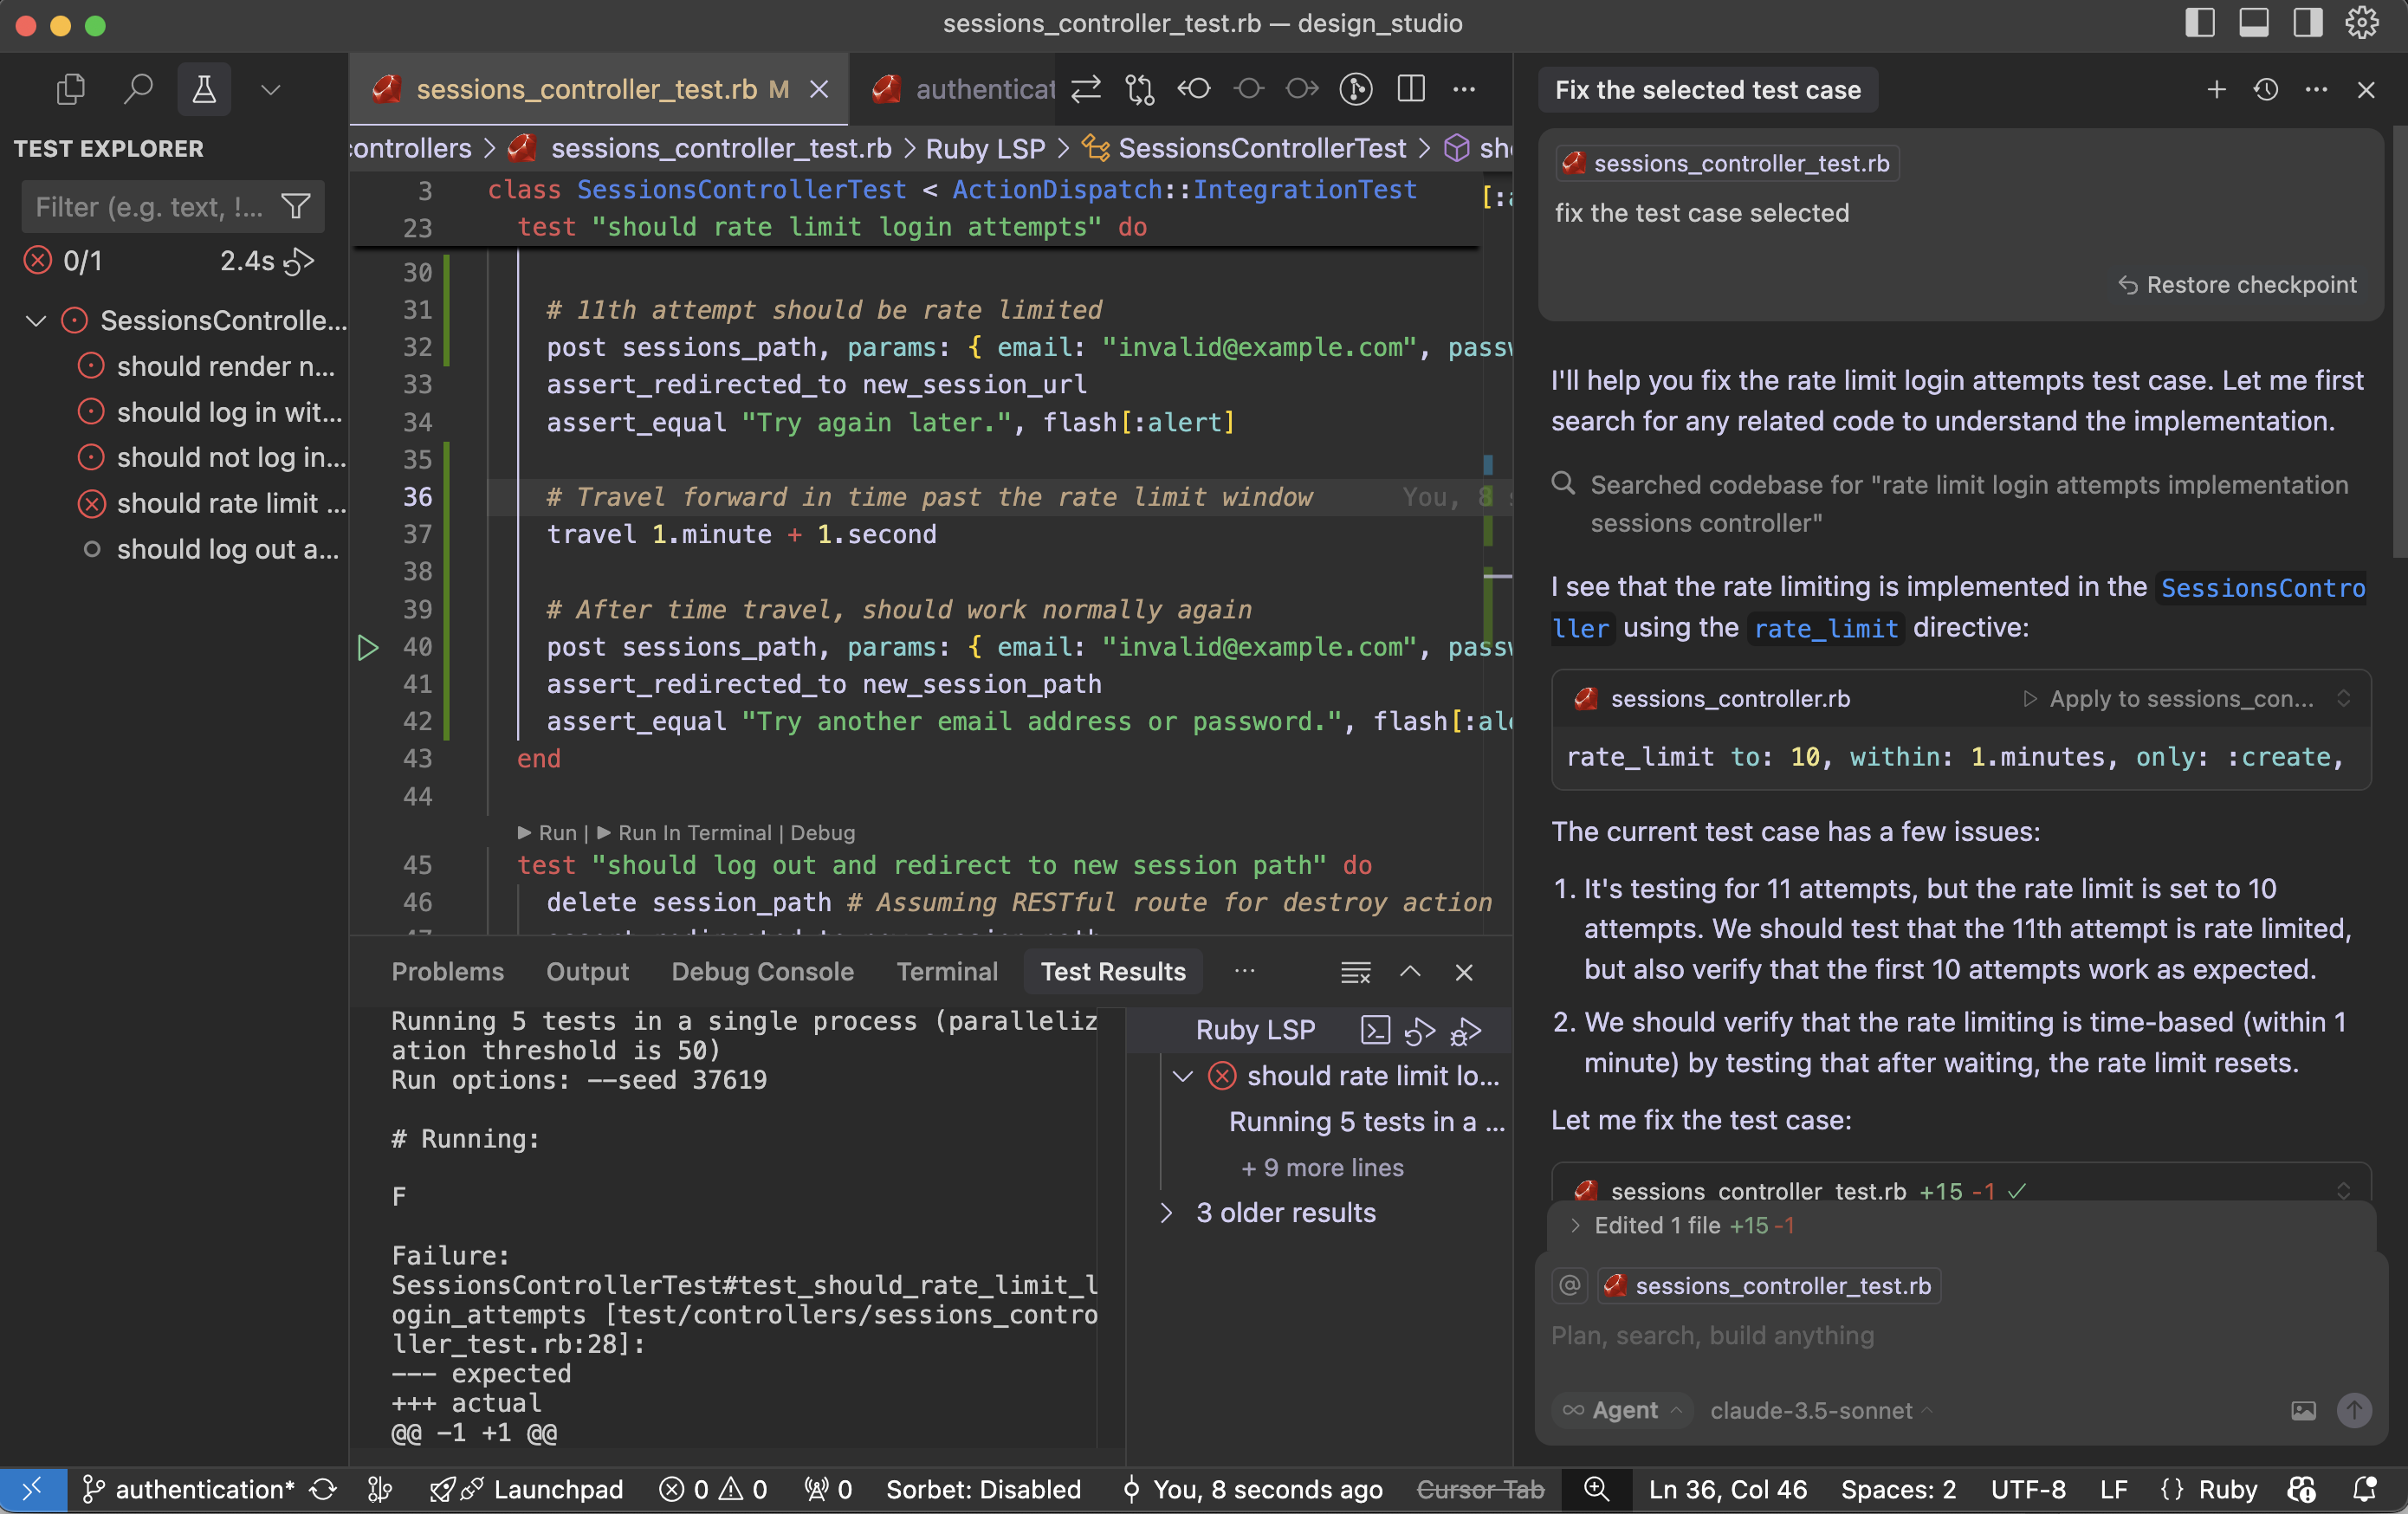
- Inline diffs: Agent shows changes in sidebar before applying.
- Cursor Blame (Enterprise): AI attribution—see what’s AI-generated vs human-written, with links to the conversation that produced each line.
- Plan mode: Agent generates a plan; you approve before execution. Use
/planto revisit.
Practical Workflow Tips
- Start with rules: Add
.cursor/rulesbefore heavy agent use. Saves iterations. - Use @-mentions:
@file,@folder,@docs,@webto scope context. - Agent for refactors, Tab for flow: Use agents for multi-file work; Tab for fast inline completion during focused coding.
- Lock browser before interactions: If using browser MCP—navigate first, then lock, then interact, then unlock.
- Skills for domain logic: Create
SKILL.mdfor project-specific workflows (e.g., “How we deploy,” “How we run migrations”).
6. Major Competitors
| Tool | Positioning | Strengths | Weaknesses |
|---|---|---|---|
| GitHub Copilot | Extension, ecosystem | 20M+ users, tight GitHub integration, multi-turn chat, agent mode | Less codebase-aware than Cursor; extension limits |
| Windsurf (ex-Codeium) | Budget-friendly | Generous free tier, Cascade agent mode ($15/mo) | Smaller ecosystem, less mature |
| Claude Code | Terminal + IDE integration | Best-in-class reasoning, SWE-bench 72–79%, flexible architecture | Pay-per-use can spike; terminal-first |
| Amazon Q Developer | AWS-centric | Free tier, AWS integration | Narrow for non-AWS work |
| Tabnine | Privacy-focused | Self-hosting, on-prem | Less capable agents |
| Sourcegraph Cody | Enterprise codebase | Optimized for large repos | Smaller feature set |
Cursor’s niche: Full IDE with deepest codebase integration, multi-model support, and agent-first design. Best for teams that want one tool for daily coding and complex refactors.
7. Advantages Over Claude Code (Claude Co-Work)
| Dimension | Cursor | Claude Code |
|---|---|---|
| Interface | Full IDE (VS Code fork) | Terminal + IDE extension |
| Setup | Install and go | API keys, extension setup |
| Cost predictability | Flat $20/mo Pro | Pay-per-use (~$3/M input tokens); can hit $300+ in hours |
| Offline | Tab completions work offline | Requires API |
| Context | Native codebase indexing | Relies on IDE extension context |
| Workflow | Single environment for edit, run, review | Split between terminal and editor |
| MCP | Built-in, rich ecosystem | Via extension |
Choose Cursor when: You want an all-in-one IDE, predictable costs, and minimal setup. Ideal for daily coding flow.
8. Drawbacks vs. Claude Code
| Dimension | Cursor | Claude Code |
|---|---|---|
| Reasoning quality | Strong, but Claude Code leads on complex tasks | Best-in-class; SWE-bench 72–79% vs Cursor ~62% |
| Refactoring scale | Excellent | Slightly better for large-scale, multi-repo refactors |
| Editor choice | Locked to Cursor (VS Code fork) | Use any editor; terminal-first |
| Model flexibility | Cursor’s model selection | Direct Anthropic API; latest Claude first |
| Autonomous operation | Agent + sandbox | Checkpoints, background tasks, subagents—more mature |
| Cost at scale | $20–200/mo fixed | Can be cheaper for light use; expensive for heavy |
Choose Claude Code when: You need maximum reasoning quality, want to keep your current editor, or have variable usage (pay only when you use it).
Many senior engineers use both: Cursor for daily flow; Claude Code for major refactors and complex debugging.
9. Alternatives to Consider in 2026
- GitHub Copilot Pro+ ($39/mo): If you’re deep in GitHub/GitHub Actions. Access to Claude Opus 4, GPT-5. Best ecosystem fit.
- Windsurf (free / $15 Cascade): If budget is primary. Solid free tier, capable agent mode.
- Claude Code + VS Code extension: If you prioritize reasoning and editor flexibility. Pay-per-use.
- Amazon Q Developer: If you’re AWS-native. Free tier, good for AWS-specific tasks.
- Tabnine: If you need self-hosting or strict data residency.
- Continue.dev: Open-source, self-hostable. For teams that want full control.
Stack strategy: Cursor for primary IDE + Claude Code for hard problems + Copilot for GitHub-centric workflows is a common “power user” setup.
10. The Future of Cursor and How Developers Will Use It
Where Cursor Is Heading (2026+)
- Cloud agents with computer use (Feb 2026): Agents run in isolated VMs, produce merge-ready PRs with videos/screenshots. Available on web, desktop, mobile, Slack, GitHub.
- Long-running agents: Plan-first execution for larger tasks. Fewer follow-ups, more complete PRs.
- Marketplace plugins: Pre-built integrations (Amplitude, AWS, Figma, Linear, Stripe) installable via
/add-plugin. - Self-driving codebases: Multi-agent research harness in preview.
- Composer 1.5: 20x scaling of reinforcement learning for reasoning.
- Agent sandboxing: Granular network and filesystem controls for security.
How Developers Will Use It
- Orchestration over authorship: Senior engineers will spend more time defining rules, skills, and MCP integrations than writing boilerplate. The agent writes; the human directs.
- Review as primary skill: With Cursor Blame and inline diffs, code review becomes the highest-leverage activity. Understanding why AI made a change matters more than writing the change.
- Domain-specific skills: Teams will maintain
SKILL.mdlibraries for their stack (e.g., “How we do auth,” “How we deploy to Fly.io”). - Hybrid local + cloud: Local agent for fast iteration; cloud agent for CI-like verification and demos.
- Cursor as platform: Plugins and MCP will turn Cursor into a hub for design, analytics, deployment—not just coding.
The Bottom Line
Cursor has reached $500M ARR and a $10B valuation by 2025. Enterprise adoption (Stripe, Box, NVIDIA) reports 30–50% roadmap throughput gains. The question for 2026 isn’t whether to use AI—it’s whether you’re using it as a junior engineer (tab completion only) or as a senior engineer (agents, rules, MCP, and strategic tool choice).
Master Cursor’s rules, MCP, and agent workflows. Pair it with Claude Code for hard problems. Keep your skills sharp on review and architecture. The developers who do this will define the next decade of software engineering.
Written from the perspective of a senior software engineer who has shipped production systems with Cursor, Claude Code, and Copilot.