If you’ve already built a Rails 8 app using the default SQLite setup and now want to switch to PostgreSQL, here’s a clean step-by-step guide to make the transition smooth:
1.🔧 Setup PostgreSQL in macOS
🔷 Step 1: Install PostgreSQL via Homebrew
Run the following:
brew install postgresql
This created a default database cluster for me, check the output. So you can skip the Step 3.
==> Summary
🍺  /opt/homebrew/Cellar/postgresql@14/14.17_1: 3,330 files, 45.9MB

==> Running `brew cleanup postgresql@14`...
==> postgresql@14
This formula has created a default database cluster with:
  initdb --locale=C -E UTF-8 /opt/homebrew/var/postgresql@14

To start postgresql@14 now and restart at login:
  brew services start postgresql@14

Or, if you don't want/need a background service you can just run:
  /opt/homebrew/opt/postgresql@14/bin/postgres -D /opt/homebrew/var/postgresql@14
Sometimes Homebrew does this automatically. If not:
initdb /opt/homebrew/var/postgresql@<version>
Or a more general version:
initdb /usr/local/var/postgres
Key functions of initdb: Creates a new database cluster, Initializes the database cluster’s default locale and character set encoding, Runs a vacuum command.
In essence, initdb prepares the environment for a PostgreSQL database to be used and provides a foundation for creating and managing databases within that cluster
🔷 Step 4: Create a User and Database
PostgreSQL uses a role-based access control. Create a user with superuser privileges:
# createuser creates a new Postgres user
createuser -s postgres
createuser is a shell script wrapper around the SQL command CREATE USER via the Postgres interactive terminal psql. Thus, there is nothing special about creating users via this or other methods
Then switch to psql:
psql postgres
You can also create a database:
createdb <db_name>
🔷 Step 5: Connect and Use psql
psql -d <db_name>
Inside the psql shell, try:
\l    -- list databases
\dt   -- list tables
\q    -- quit
Then go to http://localhost:3000 and confirm everything works.
7. Check psql manually (Optional)
psql -d your_app_name_development
Then run:
\dt     -- view tables
\q      -- quit
8. Update .gitignore
Note: If not already added /storage/*
Make sure SQLite DBs are not accidentally committed:
/storage/*.sqlite3
/storage/*.sqlite3-journal
After moving into PostgreSQL
I was getting an issue with postgres column, where I have the following data in the migration:
# migration
t.decimal :rating, precision: 1, scale: 1

# log
ActiveRecord::RangeError (PG::NumericValueOutOfRange: ERROR:  numeric field overflow
12:44:36 web.1  | DETAIL:  A field with precision 1, scale 1 must round to an absolute value less than 1.
12:44:36 web.1  | )
Value passed is: 4.3. I was not getting this issue in SqLite DB.
What does precision: 1, scale: 1 mean?
precision: Total number of digits (both left and right of the decimal).
scale: Number of digits after the decimal point
If you want to store ratings like 4.3, 4.5, etc., a good setup is:
t.decimal :rating, precision: 2, scale: 1
# revert and migrate for products table

✗ rails db:migrate:down VERSION=2025031XXXXX -t
✗ rails db:migrate:up VERSION=2025031XXXXXX -t
Then go to http://localhost:3000 and confirm everything works.
For a Ruby on Rails 8 application, the choice of database depends on your specific needs, but here’s a breakdown of the best options and when to use each:
PostgreSQL (Highly Recommended)
Best overall choice for most Rails apps.
Why:
First-class support in Rails.
Advanced features like full-text search, JSONB support, CTEs, window functions.
Strong consistency and reliability.
Scales well vertically and horizontally (with tools like Citus).
Used by: GitHub, Discourse, Basecamp, Shopify.
Use if:
You’re building a standard Rails web app or API.
You need advanced query features or are handling complex data types (e.g., JSON).
SQLite (For development/testing only)
Lightweight, file-based.
Fast and easy to set up.
But not recommended for production.
Use if:
You’re building a quick prototype or local dev/testing app.
NOT for multi-user production environments.
MySQL / MariaDB
Also supported by Rails.
Can work fine for simpler applications.
Lacks some advanced features (like robust JSON support or full Postgres-style indexing).
Not the default in many modern Rails setups.
Use if:
Your team already has MySQL infrastructure or legacy systems.
You need horizontal scaling with Galera Cluster or similar setups.
Others (NoSQL like MongoDB, Redis, etc.)
Use Redis for caching and background job data (not as primary DB).
Use MongoDB or other NoSQL only if your data model really demands it (e.g., unstructured documents, event sourcing).
Recommendation Summary:
Use Case
Recommended DB
Production web/API app
PostgreSQL
Dev/prototyping/local testing
SQLite
Legacy systems/MySQL infrastructure
MySQL/MariaDB
Background jobs/caching
Redis
Special needs (e.g., documents)
MongoDB (with caution)
If you’re starting fresh or building something scalable and modern with Rails 8, go with PostgreSQL.
Let’s break that down:
💬 What does “robust JSON support” mean?
PostgreSQL supports a special column type: json and jsonb, which lets you store structured JSON data directly in your database — like hashes or objects.
Why it matters:
You can store dynamic data without needing to change your schema.
You can query inside the JSON using SQL (->, ->>, @>, etc.).
You can index parts of the JSON — for speed.
🔧 Example:
You have a products table with a specs column that holds tech specs in JSON:
SELECT * FROM products WHERE specs->>'color' = 'black';
Or check if the JSON contains a value:
SELECT * FROM products WHERE specs @> '{"brand": "Libas"}';
You can even indexspecs->>'color' to make these queries fast.
💬 What does “full Postgres-style indexing” mean?
PostgreSQL supports a wide variety of powerful indexing options, which improve query performance and flexibility.
⚙️ Types of Indexes PostgreSQL supports:
Index Type
Use Case
B-Tree
Default; used for most equality and range searches
GIN (Generalized Inverted Index)
Fast indexing for JSON, arrays, full-text search
Partial Indexes
Index only part of the data (e.g., WHERE active = true)
Expression Indexes
Index a function or expression (e.g., LOWER(email))
Covering Indexes (INCLUDE)
Fetch data directly from the index, avoiding table reads
B-Tree Indexes: B-tree indexes are more suitable for single-value columns.
When to Use GIN Indexes: When you frequently search for specific elements within arrays, JSON documents, or other composite data types.
Example for GIN Indexes: Imagine you have a table with a JSONB column containing document metadata. A GIN index on this column would allow you to quickly find all documents that have a specific author or belong to a particular category.
Why does this matter for our shopping app?
We can store and filter products with dynamic specs (e.g., kurtas, shorts, pants) without new columns.
Full-text search on product names/descriptions.
Fast filters: color = 'red' AND brand = 'Libas' even if those are stored in JSON.
Index custom expressions like LOWER(email) for case-insensitive login.
💬 What are Common Table Expressions (CTEs)?
CTEs are temporary result sets you can reference within a SQL query — like defining a mini subquery that makes complex SQL easier to read and write.
WITH recent_orders AS (
  SELECT * FROM orders WHERE created_at > NOW() - INTERVAL '7 days'
)
SELECT * FROM recent_orders WHERE total > 100;
Breaking complex queries into readable parts.
Re-using result sets without repeating subqueries.
In Rails (via with from gems like scenic or with_cte):
Window functions perform calculations across rows related to the current row — unlike aggregate functions, they don’t group results into one row.
🔧 Example: Rank users by their score within each team:
SELECT
  user_id,
  team_id,
  score,
  RANK() OVER (PARTITION BY team_id ORDER BY score DESC) AS rank
FROM users;
Use cases:
Ranking rows (like leaderboards).
Running totals or moving averages.
Calculating differences between rows (e.g. “How much did this order increase from the last?”).
🛤 In Rails:
Window functions are available through raw SQL or Arel. Here’s a basic example:
User
  .select("user_id, team_id, score, RANK() OVER (PARTITION BY team_id ORDER BY score DESC) AS rank")
CTEs and Window functions are fully supported in PostgreSQL, making it the go-to DB for any Rails 8 app that needs advanced querying.
JSONB Support
JSONB stands for “JSON Binary” and is a binary representation of JSON datathat allows for efficient storage and retrieval of complex data structures.
This can be useful when you have data that doesn’t fit neatly into traditional relational database tables, such as nested or variable-length data structures.
Absolutely — storing JSON in a relational database (like PostgreSQL) can be super powerful when used wisely. It gives you schema flexibility without abandoning the structure and power of SQL. Here are real-world use cases for using JSON columns in relational databases:
Here are real-world use cases for using JSON columns in relational databases:
🔧 1. Flexible Metadata / Extra Attributes
Let users store arbitrary attributes that don’t require schema changes every time.
A lightweight version that only declares attribute accessors for keys inside a JSON column. Doesn’t include serialization logic — so you usually use it with a json/jsonb/text column that already works as a Hash.
👉 Example:
class User < ApplicationRecord
  store_accessor :settings, :theme, :notifications
end
This gives you:
user.theme, user.theme=
user.notifications, user.notifications=
🤔 When to Use Each?
Feature
When to Use
store
When you need both serialization and accessors
store_accessor
When your column is already serialized (jsonb, etc.)
If you’re using PostgreSQL with jsonb columns — it’s more common to just use store_accessor.
Querying JSON Fields
User.where("settings ->> 'theme' = ?", "dark")
Or if you’re using store_accessor:
User.where(theme: "dark")
💡 But remember: you’ll only be able to query these fields efficiently if you’re using jsonb + proper indexes.
🔥 Conclusion:
PostgreSQL can store, search, and index inside JSON fields natively.
This lets you keep your schema flexible and your queries fast.
Combined with its advanced indexing, it’s ideal for a modern e-commerce app with dynamic product attributes, filtering, and searching.
To install and set up PostgreSQL on macOS, you have a few options. The most common and cleanest method is using Homebrew. Here’s a step-by-step guide:
Switching to a feature-branch workflow with pull requests is a great move for team collaboration, code review, and better CI/CD practices. Here’s how you can transition our Rails 8 app to a proper CI/CD pipeline using GitHub and GitHub Actions.
🔄 Workflow Change: Feature Branch + Pull Request
1. Create a new branch for each feature/task:
git checkout -b feature/feature-name
2. Push it to GitHub:
git push origin feature/feature-name
3. Open a Pull Request on GitHub from feature/feature-name to main.
4. Enable branch protection (optional but recommended):
Note: You can set up branch protection rules in GitHub for free only on public repositories.
About protected branches
You can protect important branches by setting branch protection rules, which define whether collaborators can delete or force push to the branch and set requirements for any pushes to the branch, such as passing status checks or a linear commit history.
You can create a branch protection rule in a repository for a specific branch, all branches, or any branch that matches a name pattern you specify with fnmatch syntax. For example, to protect any branches containing the word release, you can create a branch rule for *release*
Go to your repo → Settings → Branches → Protect main.
Require pull request reviews before merging.
Require status checks to pass before merging (CI tests).
Basically github actions allow us to run some actions (ex: testing the code) if an event occurs during the code changes/commit/push (it mostly related to a branch).
Our Goal:When we push to a feature branch test the code before merging it to the main branch so that we can ensure nothing is broken before going the code into live.
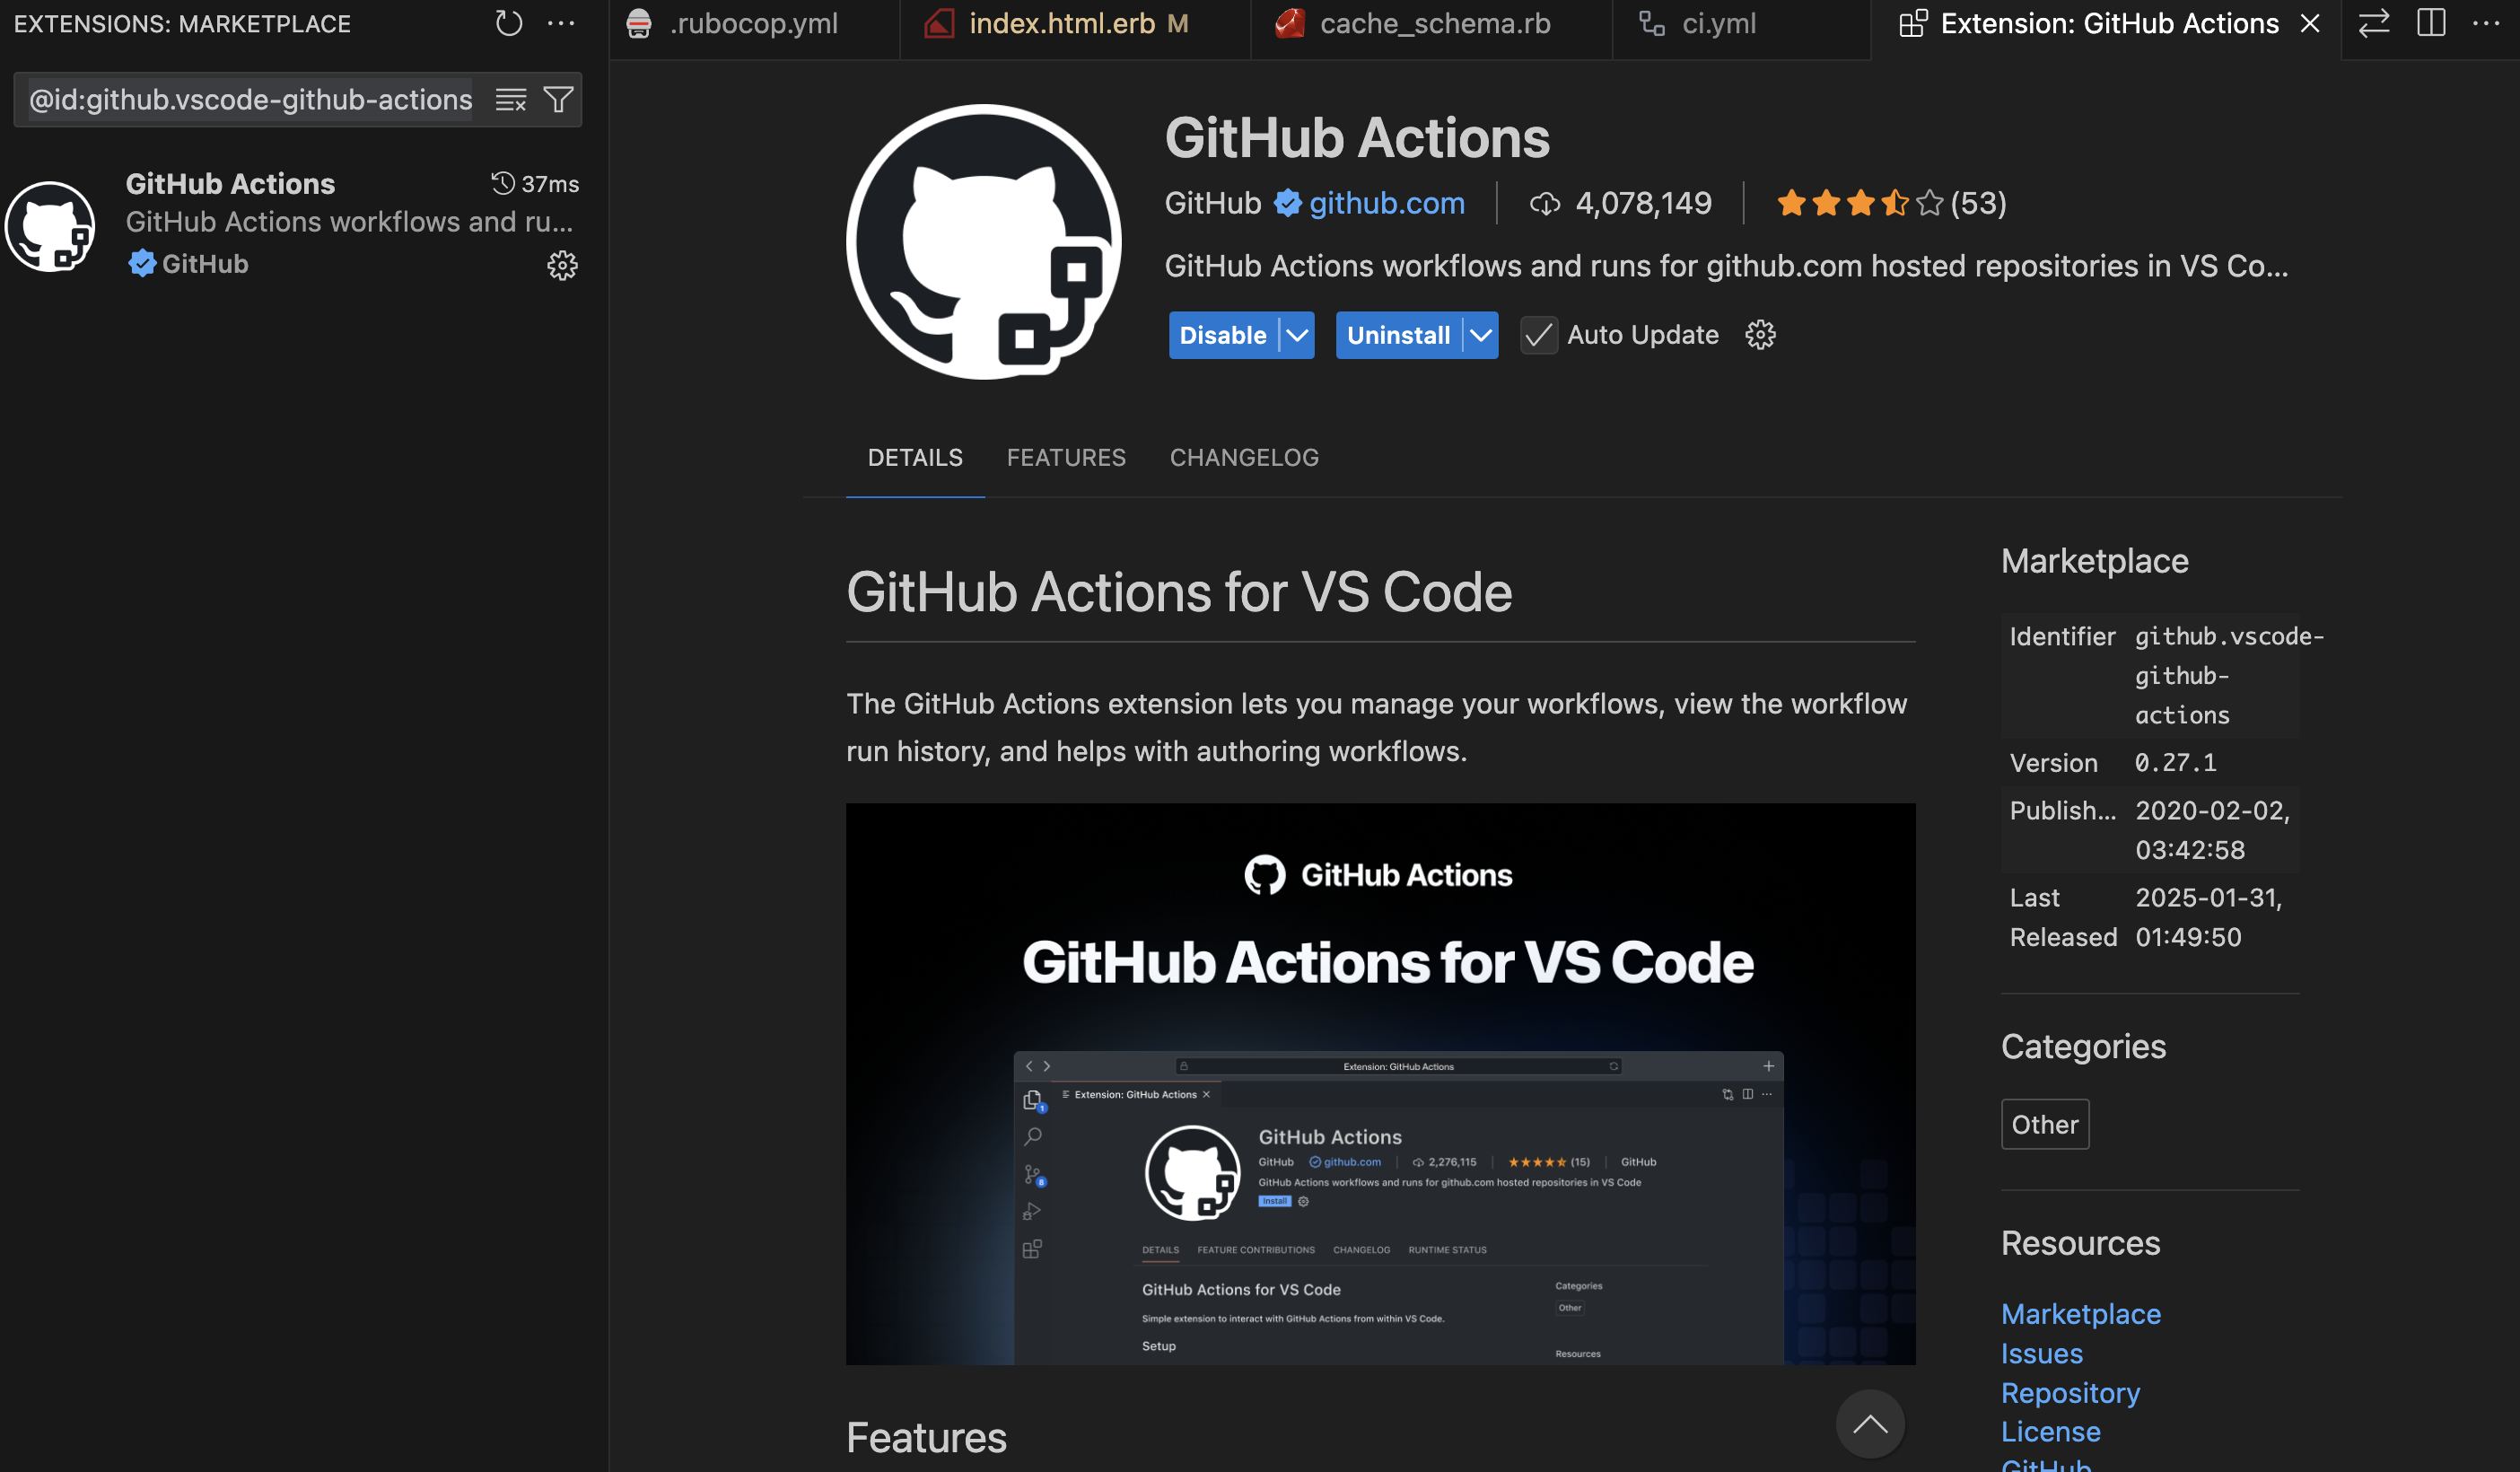
You can try the VS Code plugin for helping the Github Actions workflow (best for auto-complete the data we needed and auto-populate the env variables etc from our github account):
Sign in using your github account and grant access to the public repositories.
If you try to push to main branch, you will find the following error:
remote: error: GH006: Protected branch update failed for refs/heads/main.
remote:
remote: - Changes must be made through a pull request.
remote:
remote: - Cannot change this locked branch
To github.com:<username>/<project>.git
 ! [remote rejected] main -> main (protected branch hook declined)
We will be finishing Database and all other setup for our Web Application before starting CI/CD setup.
Performance optimization is critical for delivering fast, responsive Rails applications. This comprehensive guide covers the most important profiling tools you should implement in your Rails 8 application, complete with setup instructions and practical examples.
Why Profiling Matters
Before diving into tools, let’s understand why profiling is essential:
Identify bottlenecks: Pinpoint exactly which parts of your application are slowing things down
Optimize resource usage: Reduce memory consumption and CPU usage
Improve user experience: Faster response times lead to happier users
Reduce infrastructure costs: Efficient applications require fewer server resources
Essential Profiling Tools for Rails 8
1. Rack MiniProfiler
What it does: Provides real-time profiling of your application’s performance directly in your browser.
Why it’s important: It’s the quickest way to see performance metrics without leaving your development environment.
# In your controller or service object
result = RubyProf.profile do
  # Code you want to profile
end

printer = RubyProf::GraphPrinter.new(result)
printer.print(STDOUT, {})
For StackProf:
StackProf.run(mode: :cpu, out: 'tmp/stackprof.dump') do
  # Code to profile
end
require 'benchmark/ips'

Benchmark.ips do |x|
  x.report("addition") { 1 + 2 }
  x.report("addition with to_s") { (1 + 2).to_s }
  x.compare!
end
Advanced Features:
Benchmark.ips do |x|
  x.time = 5 # Run each benchmark for 5 seconds
  x.warmup = 2 # Warmup time of 2 seconds

  x.report("Array#each") { [1,2,3].each { |i| i * i } }
  x.report("Array#map") { [1,2,3].map { |i| i * i } }

  # Add custom statistics
  x.config(stats: :bootstrap, confidence: 95)

  x.compare!
end
# Memory measurement
require 'benchmark/memory'

Benchmark.memory do |x|
  x.report("method1") { ... }
  x.report("method2") { ... }
  x.compare!
end

# Disable GC for more consistent results
Benchmark.ips do |x|
  x.config(time: 5, warmup: 2, suite: GCSuite.new)
end
Sample Output:
Warming up --------------------------------------
            addition    281.899k i/100ms
  addition with to_s    261.831k i/100ms
Calculating -------------------------------------
            addition      8.614M (± 1.2%) i/s -     43.214M in   5.015800s
  addition with to_s      7.017M (± 1.8%) i/s -     35.347M in   5.038446s

Comparison:
            addition:  8613594.0 i/s
  addition with to_s:  7016953.3 i/s - 1.23x slower
Key Advantages
Accurate comparisons with statistical significance
Warmup phase eliminates JIT/caching distortions
Memory measurements available through extensions
Customizable reporting with various statistics options
10. Rails Performance (Dashboard)
What is Rails Performance?
Rails Performance is a self-hosted alternative to New Relic/Skylight that provides:
# config/initializers/rails_performance.rb
RailsPerformance.setup do |config|
  config.redis = Redis.new # optional, will use Rails.cache otherwise
  config.duration = 4.hours # store requests for 4 hours
  config.enabled = Rails.env.production?
  config.http_basic_authentication_enabled = true
  config.http_basic_authentication_user_name = 'admin'
  config.http_basic_authentication_password = 'password'
end
Accessing the Dashboard:
After installation, access the dashboard at:
http://localhost:3000/rails/performance
Custom Tracking:
# Track custom events
RailsPerformance.trace("custom_event", tags: { type: "import" }) do
# Your code here
end
# Track background jobs
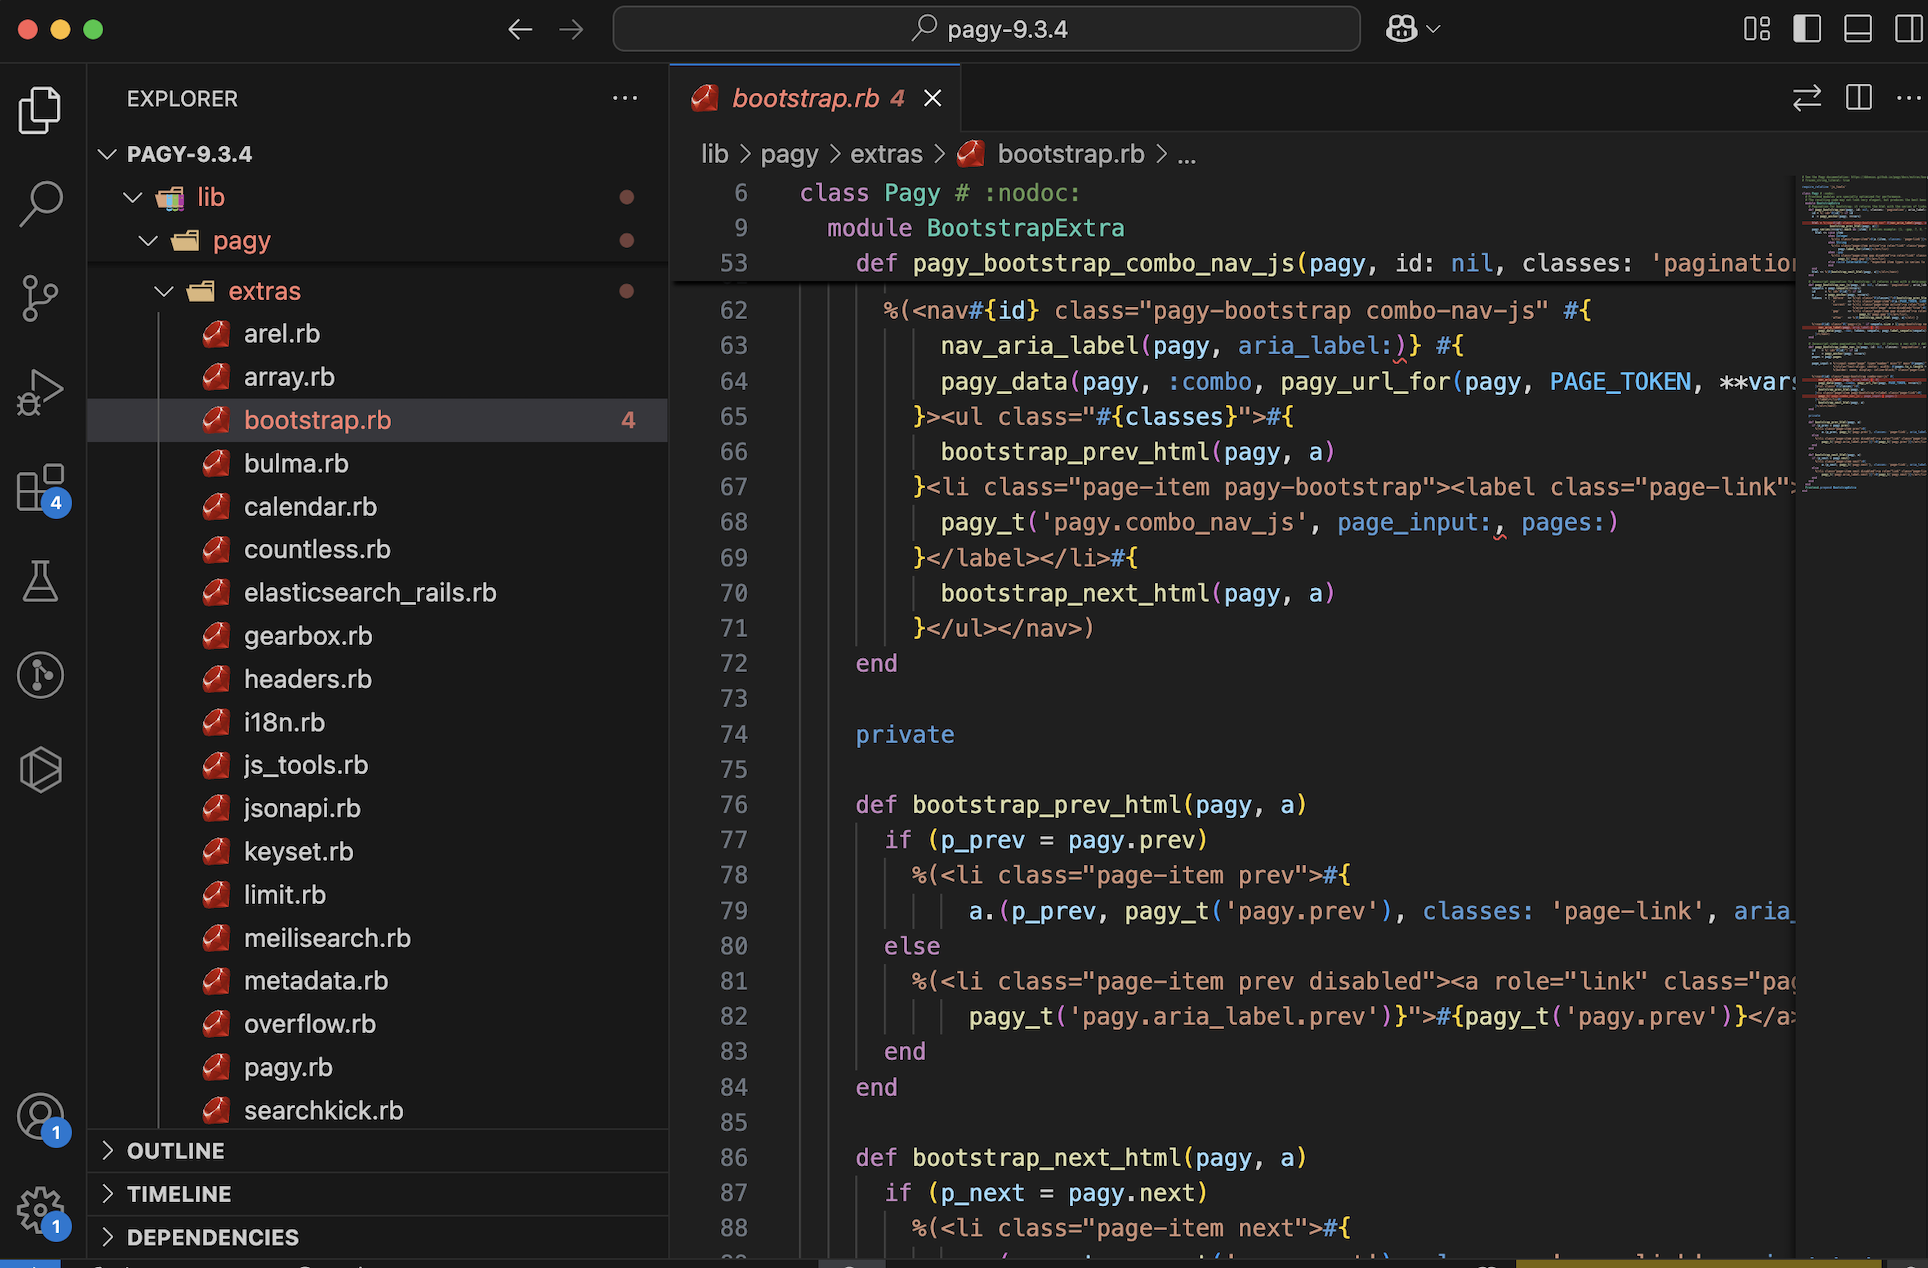
class MyJob < ApplicationJob
around_perform do |job, block|
RailsPerformance.trace(job.class.name, tags: job.arguments) do
block.call
end
end
end
# Add custom fields to requests
RailsPerformance.attach_extra_payload do |payload|
  payload[:user_id] = current_user.id if current_user
end

# Track slow queries
ActiveSupport::Notifications.subscribe("sql.active_record") do |*args|
  event = ActiveSupport::Notifications::Event.new(*args)
  if event.duration > 100 # ms
    RailsPerformance.trace("slow_query", payload: {
      sql: event.payload[:sql],
      duration: event.duration
    })
  end
end
Sample Dashboard Views:
Requests Overview:
Average response time
Requests per minute
Slowest actions
Detailed Request View:
SQL queries breakdown
View rendering time
Memory allocation
Background Jobs:
Job execution time
Failures
Queue times
Key Advantages
Self-hosted solution – No data leaves your infrastructure
Simple setup – No complex dependencies
Historical data – Track performance over time
Custom events – Track any application events
Background jobs – Full visibility into async processes
Implementing a Complete Profiling Strategy
For a comprehensive approach, combine these tools at different stages:
Development:
Rack MiniProfiler (always on)
Bullet (catch N+1s early)
RubyProf/StackProf (for deep dives)
CI Pipeline:
Derailed Benchmarks
Memory tests
Production:
Skylight or AppSignal
Error tracking with performance context
Sample Rails 8 Configuration
Here’s how to set up a complete profiling environment in a new Rails 8 app:
# Gemfile

# Development profiling
group :development do
  # Basic profiling
  gem 'rack-mini-profiler'
  gem 'bullet'

  # Deep profiling
  gem 'ruby-prof'
  gem 'stackprof'
  gem 'memory_profiler'
  gem 'flamegraph'

  # Benchmarking
  gem 'derailed_benchmarks', require: false
  gem 'benchmark-ips'

  # Dashboard
  gem 'rails_performance'
end

# Production monitoring (choose one)
group :production do
  gem 'skylight'
  # or
  gem 'appsignal'
  # or
  gem 'newrelic_rpm' # Alternative option
end
Then create an initializer for development profiling:
# config/initializers/profiling.rb
if Rails.env.development?
  require 'rack-mini-profiler'
  Rack::MiniProfilerRails.initialize!(Rails.application)

  Rails.application.config.after_initialize do
    Bullet.enable = true
    Bullet.alert = true
    Bullet.bullet_logger = true
    Bullet.rails_logger = true
  end
end
Conclusion
Profiling your Rails 8 application shouldn’t be an afterthought. By implementing these tools throughout your development lifecycle, you’ll catch performance issues early, maintain a fast application, and provide better user experiences.
Remember:
Use development tools like MiniProfiler and Bullet daily
Run deeper profiles with RubyProf before optimization work
Monitor production with Skylight or AppSignal
Establish performance benchmarks with Derailed
With this toolkit, you’ll be well-equipped to build and maintain high-performance Rails 8 applications.
You can see that in the query Tab in Debugbar, select * from products query has been replaced with limit query. But this is not the case where you go through the entire thousand hundreds of products, for example searching. We can think of view caching and SQL indexing for such a situation.
As Rails developers, we’ve all been there – your application starts slowing down as data grows, pages take longer to load, and memory usage spikes. Before you blame Rails itself or consider rewriting your entire application, you should profile your app to understand what’s really happening behind the scenes.
Most of the time, the issue lies in how the app is written: unnecessary SQL queries, excessive object allocations, or inefficient code patterns. Before you think about rewriting your app or switching frameworks, profile it.
That’s where Rails Debugbar shines— It helps you identify bottlenecks like slow database queries, excessive object allocations, and memory leaks – all from a convenient toolbar at the bottom of your development environment.
🤔 What is Rails Debugbar?
Rails Debugbar is a browser-integrated dev tool that adds a neat, powerful panel at the bottom of your app in development. It helps you answer questions like:
How long is a request taking?
How many SQL queries are being executed?
How many Ruby objects are being allocated?
Which parts of my code are slow?
It’s like a surgeon’s X-ray for your app—giving you visibility into internals without needing to dig into logs or guess. Get a better understanding of your application performance and behavior (SQL queries, jobs, cache, routes, logs, etc)
⚙️ Installation & Setup (Rails 8)
Prerequisites
Ruby on Rails 5.2+ (works perfectly with Rails 8)
A Ruby version supported by your Rails version
1. Add it to your Gemfile:
group :development do
  gem 'debugbar'
end
Then run:
bundle install
2. Add the Debugbar layout helpers in your application layout:
In app/views/layouts/application.html.erb, just before the closing </head> and </body> tags:
<%= debugbar_head if defined?(Debugbar) %>
...
<%= debugbar_body if defined?(Debugbar) %>
That’s it! When you restart your server, you’ll see a sleek Debugbar docked at the bottom of the screen.
You can see ActionCable interacting with debugbar_channel in logs:
Rails Debugbar includes several tabs. Let’s go through the most useful ones—with real-world examples of how to interpret and improve performance using the data.
1. Queries Tab
This tab shows all SQL queries executed during the request, including their duration in milliseconds.
Example:
You see this in the Queries tab:
SELECT * FROM users WHERE email = 'test@example.com'  (15ms)
SELECT * FROM products WHERE user_id = 1                 (20ms)
SELECT * FROM comments WHERE product_id IN (...)         (150ms)
You realize:
The third query is taking 10x more time.
You’re not using eager loading, and it’s triggering N+1 queries.
This loads the comments in a single query, reducing load time and object allocation.
2. Timeline Tab
Gives you a timeline breakdown of how long each part of the request takes—view rendering, database, middleware, etc.
Example:
You notice that rendering a partial takes 120ms, way more than expected.
<%= render 'shared/sidebar' %>
How to Fix:
Check the partial for:
Heavy loops or database calls
Uncached helper methods
Move the partial to use a fragment cache:
<% cache('sidebar') do %>
  <%= render 'shared/sidebar' %>
<% end %>
Another Example Problem: If you notice view rendering takes 800ms for a simple page.
Solution: Investigate partials being rendered. You might be:
Rendering unnecessary partials
Using complex helpers in views
Need to implement caching
# Before
<%= render @products %> # Renders _product.html.erb for each

# After (with caching)
<% @products.each do |product| %>
  <% cache product do %>
    <%= render product %>
  <% end %>
<% end %>
3. Memory Tab
Tracks memory usage and object allocations per request.
Example:
You load a dashboard page and see 25,000+ objects allocated. Yikes.
Dig into the view and see:
<% User.all.each do |user| %>
  ...
<% end %>
That’s loading all users into memory.
How to Fix:
Use pagination or lazy loading:
@users = User.page(params[:page]).per(20)
Now the object count drops dramatically.
4. Environment & Request Info
See request parameters, environment variables, session data, and headers.
Example:
You’re debugging an API endpoint and want to confirm the incoming headers or params—Debugbar shows them neatly in this tab.
It can help identify:
Wrong content-type headers
CSRF issues
Auth headers or missing cookies
💡 Debugbar Best Practices
Use it early: Don’t wait until your app is slow—profile as you build.
Watch out for hidden N+1 in associations, partials, or background jobs.
Keep an eye on object counts to reduce memory pressure in production.
Use fragment and Russian doll caching where needed, based on render timelines.
Regularly review slow pages with Debugbar open—it’s a development-time lifesaver.
💭 Final Thoughts
Rails Debugbar offers an easy, visual way to profile and optimize your Rails 8 app. Whether you’re debugging a slow page, inspecting a query storm, or chasing down memory leaks, this tool gives you insight without friction.
So before you overhaul your architecture or blame Rails, fire up Debugbar—and fix the real issues.
Rack provides a minimal, modular, and adaptable interface for developing web applications in Ruby. By wrapping HTTP requests and responses in the simplest way possible, it unifies and distills the bridge between web servers, web frameworks, and web application into a single method call.
Where is it used?
Rails (built on Rack)
Sinatra and Hanami
Middleware development
What is a Rack-Based Application?
A Rack-based application is any Ruby web application that implements the Rack interface. This means the app must follow Rack’s simple calling convention:
app = Proc.new do |env|
  ['200', { 'Content-Type' => 'text/html' }, ['Hello, Rack!']]
end
This returns an array of three elements:
HTTP status code ('200')
Headers ({ 'Content-Type' => 'text/html' })
Response body (['Hello, Rack!'])
Example: Basic Rack Application
require 'rack'

app = Proc.new do |env|
  ['200', { 'Content-Type' => 'text/html' }, ['Hello, Rack!']]
end

Rack::Handler::WEBrick.run app, Port: 9292
Run it with:
ruby my_rack_app.rb
Open http://localhost:9292 in your browser.
Does Rails Use Rack?
Yes, Rails uses Rack. Rack serves as the interface between Rails and web servers like Puma or WEBrick.
How Rails Uses Rack
When a request comes in:
The web server (Puma/WEBrick) receives it.
The server passes the request to Rack.
Rack processes the request and sends it through Rails middleware.
After passing through the middleware stack, Rails’ router (ActionDispatch) decides which controller/action should handle the request.
The response is generated, sent back through Rack, and returned to the web server.
Check /design_studio/config.ru file in our Rails 8 app is responsible for starting the server.
You can actually run a Rails app using just Rack!
Create a config.ru file / use existing one:
require_relative 'config/environment'
run Rails.application
Run it using Rack:
rackup -p 4343

open http://localhost:4343/products
This runs your Rails app without Puma or WEBrick, proving Rails works via Rack.
Is Rack a Server?
No, Rack is not a server. Instead, Rack is a middleware interface that sits between the web server (like Puma or WEBrick) and your Ruby application (like Rails or Sinatra).
How Does Rack Fit with Web Servers Like Puma and WEBrick?
Puma and WEBrick support Rack by implementing the Rack::Handler interface, allowing them to serve any Rack-based application, such as Rails and Sinatra.
Puma and WEBrick are not built “on top of” Rack—they are independent web servers.
However, they implement Rack::Handler, which means they support Rack applications.
This allows them to serve Rails, Sinatra, and other Rack-based applications.
The Relationship Between Rack, Web Servers, and Rails
Rack provides a standard API for handling HTTP requests and responses.
Web servers (Puma, WEBrick, etc.) implement Rack::Handler so they can run any Rack-based app.
Rails supports Rack by implementing the Rack interface, allowing it to interact with web servers and middleware.
How Rails Supports Rack
Rack Middleware: Rails includes middleware components that process requests before they reach controllers.
Rack Interface: Rails applications can be run using config.ru, which follows the Rack convention.
Web Server Communication: Rails works with Rack-compatible servers like Puma and WEBrick.
Illustration of How a Request Flows
The browser sends a request to the server (Puma/WEBrick).
The server passes the request to Rack.
Rack processes the request (passing it through middleware).
Rails handles the request and generates a response.
The response goes back through Rack and is sent to the server, which then passes it to the browser.
So, while Rack is not a server, it allows web servers to communicate with Ruby web applications like Rails.
Adding Middleware in a Rails 8 App
Middleware is a way to process requests before they reach your Rails application.
How Does Middleware Fit In?
Middleware in Rails is just a Rack application that modifies requests/responses before they reach the main Rails app.
Example: Custom Middleware
Create a new file in app/middleware/my_middleware.rb:
class MyMiddleware
  def initialize(app)
    @app = app
  end

  def call(env)
    status, headers, body = @app.call(env)
    body = ["Custom Middleware: "] + body
    [status, headers, body]
  end
end
Now, add it to Rails in config/application.rb:
config.middleware.use MyMiddleware
Restart your Rails server, and all responses will be prefixed with Custom Middleware:
Ruby has several terms that sound similar but serve different purposes. If you’ve ever been confused by things like Procfile, Rakefile, Rack, and Rake, this guide will clarify them all. Plus, we’ll cover additional tricky concepts you might have overlooked!
1. Procfile
What is it?
A Procfile is a text file used in deployment environments (like Heroku and Kamal) to specify how your application should be started.
Where is it used?
Platforms like Heroku, Kamal, and Foreman use Procfile to define process types (like web servers and workers).
We can also insert array elements into another Array. In the example below, odds elements are added to the numbers Array, starting from the position where *odds is called.
Example: Combining Required and Optional Keyword Arguments
def greet(name:, age: nil)
  puts "Hello, #{name}!"
  puts "You are #{age} years old." if age
end

greet(name: "Alice", age: 25)
# Output:
# Hello, Alice!
# You are 25 years old.
Example: Capturing Extra Keyword Arguments with **options
The ** operator captures any additional keyword arguments passed to the method into a hash.
Ruby has many terms that seem similar but have distinct uses. By understanding Procfile, Rake, Rack, and middleware in Rails 8, you’ll have a much clearer picture of how Ruby applications work under the hood. If you’re working on a Rails 8 app, take some time to explore these concepts further—they’ll definitely make your life easier!
To attach multiple images to a Product model in Rails 8, Active Storage provides the best way using has_many_attached. Below are the steps to set up multiple image attachments in a local development environment.
1️⃣ Install Active Storage (if not already installed)
We have already done this step if you are following this series. Else run the following command to generate the necessary database migrations:
rails active_storage:install
rails db:migrate
This will create two tables in your database:
active_storage_blobs → Stores metadata of uploaded files.
active_storage_attachments → Creates associations between models and uploaded files.
2️⃣ Update the Product Model
Configuring specific variants is done the same way as has_one_attached, by calling the variant method on the yielded attachable object:
add in app/models/product.rb:
class Product < ApplicationRecord
  has_many_attached :images do |attachable|
    attachable.variant :normal, resize_to_limit: [540, 720]
    attachable.variant :thumb, resize_to_limit: [100, 100]
  end
end
You just have to mention the above and rails will create everything for you!
Variants rely on ImageProcessing gem for the actual transformations of the file, so you must add gem "image_processing" to your Gemfile if you wish to use variants.
By default, images will be processed with ImageMagick using the MiniMagick gem, but you can also switch to the libvips processor operated by the ruby-vips gem.
3️⃣ Configure Active Storage for Local Development
By default, Rails stores uploaded files in storage/ under your project directory.
Ensure your config/environments/development.rb has:
config.active_storage.service = :local
And check config/storage.yml to ensure you have:
local:
  service: Disk
  root: <%= Rails.root.join("storage") %>
This will store the uploaded files in storage/.
4️⃣ Add File Uploads in Controller
Modify app/controllers/products_controller.rb to allow multiple image uploads:
class ProductsController < ApplicationController
  def create
    @product = Product.new(product_params)

    if @product.save
      redirect_to @product, notice: "Product was successfully created."
    else
      render :new
    end
  end

  private

  def product_params
    params.require(:product).permit(:name, :description, images: [])
  end
end
Notice images: [] → This allows multiple images to be uploaded.
Meanwhile we are setting up some UI for our app using Tailwind CSS, I have uploaded 2 images to our product in the rich text editor. Let’s discuss about this in this post.
Understanding Active Storage in Rails 8: A Deep Dive into Image Uploads
In our Rails 8 application, we recently tested uploading two images to a product using the rich text editor. This process internally triggers several actions within Active Storage. Let’s break down what happens behind the scenes.
How Active Storage Handles Image Uploads
When an image is uploaded, Rails 8 processes it through Active Storage, creating a new blob entry and storing it in the disk service. The following request is fired:
Processing by ActiveStorage::DirectUploadsController#create as JSON

Parameters: {"blob" => {"filename" => "floral-kurtha.jpg", "content_type" => "image/jpeg", "byte_size" => 107508, "checksum" => "GgNgNxxxxxxxjdPOLw=="}}
This request initiates a database entry in active_storage_blobs:
This process triggers the ActiveStorage::DiskController, handling file storage via a PUT request:
Started PUT "/rails/active_storage/disk/eyJfcmFpbHMiOxxxxx"
Disk Storage (0.9ms) Uploaded file to key: hut9d0zxssxxxxxx
Completed 204 No Content in 96ms
Retrieving Images from Active Storage
After successfully storing the file, the application fetches the image via a GET request:
Started GET "/rails/active_storage/blobs/redirect/eyJfcmFpbHMiOxxxxxxxxxxfQ==--f9c556012577xxxxxxxxxxxxfa21/floral-kurtha-2.jpg"
This request is handled by:
Processing by ActiveStorage::Blobs::RedirectController#show as JPEG
The file is then served via the ActiveStorage::DiskController#show:
Redirected to http://localhost:3000/rails/active_storage/disk/eyJfcmFpbHMiOnsiZGxxxxxxxxxd048aae4ab5c30/floral-kurtha-2.jpg
Updating Records with Active Storage Attachments
When updating a product, the system also updates its associated images. The following Active Storage updates occur:
UPDATE "action_text_rich_texts" SET "body" = .... WHERE "action_text_rich_texts"."id" = 1

UPDATE "active_storage_blobs" SET "metadata" = '{"identified":true}' WHERE "active_storage_blobs"."id" = 3

INSERT INTO "active_storage_attachments" ("name", "record_type", "record_id", "blob_id", "created_at") VALUES ('embeds', 'ActionText::RichText', 1, 3, '2025-03-31 11:46:13.464597')
Additionally, Rails updates the updated_at timestamp of the associated records:
UPDATE "products" SET "updated_at" = '2025-03-31 11:46:13.523640' WHERE "products"."id" = 1
Best Practices for Active Storage in Rails 8
Use Direct Uploads: This improves performance by uploading files directly to cloud storage (e.g., AWS S3, Google Cloud Storage) instead of routing them through your Rails server.
Attach Images Efficiently: Use has_one_attached or has_many_attached for file associations in models.
Avoid Serving Files via Rails: Use a CDN or proxy service to serve images instead of relying on Rails controllers.
Clean Up Unused Blobs: Regularly remove orphaned blob records using ActiveStorage::Blob.unattached.destroy_all.
Optimize Image Processing: Use variants (image.variant(resize: "300x300").processed) to generate resized images efficiently.
In Rails 8, Active Storage uses two main tables for handling file uploads:
1. active_storage_blobs Table
This table stores metadata about the uploaded files but not the actual files. Each row represents a unique file (or “blob”) uploaded to Active Storage.
Columns in active_storage_blobs Table:
id – Unique identifier for the blob.
key – A unique key used to retrieve the file.
filename – The original name of the uploaded file.
content_type – The MIME type (e.g., image/jpeg, application/pdf).
metadata – JSON data storing additional information (e.g., width/height for images).
service_name – The storage service (e.g., local, amazon, google).
byte_size – File size in bytes.
checksum – A checksum to verify file integrity.
created_at – Timestamp when the file was uploaded.
👉 Purpose: This table allows a single file to be attached to multiple records without duplicating the file itself.
Why Does Rails Need Both Tables?
Separation of Concerns:
active_storage_blobstracks the files themselves.
active_storage_attachmentslinks them to models.
Efficient File Management:
The same file can be used in multiple places without storing it multiple times.
If a file is no longer attached to any record, Rails can remove it safely.
Supports Different Attachments:
A model can have different types of attachments (avatar, cover_photo, documents).
A single model can have multiple files attached (has_many_attached).
Example Usage in Rails 8
class User < ApplicationRecord
  has_one_attached :avatar   # Single file
  has_many_attached :photos  # Multiple files
end
When a file is uploaded, an entry is added to active_storage_blobs, and an association is created in active_storage_attachments.
How Rails Queries These Tables
user.avatar # Fetches from `active_storage_blobs` via `active_storage_attachments`
user.photos.each { |photo| puts photo.filename } # Fetches multiple attached files
Conclusion
Rails 8 uses two tables to decouple file storage from model associations, enabling better efficiency, flexibility, and reusability. This structure allows models to reference files without duplicating them, making Active Storage a powerful solution for file management in Rails applications. 🚀
Where Are Files Stored in Rails 8 by Default?
By default, Rails 8 stores uploaded files using Active Storage’s disk service, meaning files are saved in the storage/ directory within your Rails project.
Default Storage Location:
Files are stored in: storage/ ├── cache/ (temporary files) ├── store/ (permanent storage) └── variant/ (image transformations like resizing)
The exact file path inside storage/ is determined by the key column in the active_storage_blobs table. For example, if a blob entry has: key = 'xyz123abcd' then the file is stored at: storage/store/xyz123abcd
How to Change the Storage Location?
You can configure storage in config/storage.yml. For example:
local:
  service: Disk
  root: <%= Rails.root.join("storage") %>

# Use bin/rails credentials:edit to set the AWS secrets (as aws:access_key_id|secret_access_key)
amazon:
  service: S3
  access_key_id: <%= Rails.application.credentials.dig(:aws, :access_key_id) %>
  secret_access_key: <%= Rails.application.credentials.dig(:aws, :secret_access_key) %>
  region: us-east-1
  bucket: your_own_bucket-<%= Rails.env %>
Then, update config/environments/development.rb (or production.rb) to use:
config.active_storage.service = :local # or :amazon for S3
How to Get the Stored File Path in Rails 8 Active Storage
Since Rails stores files in a structured directory inside storage/, the actual file path can be determined using the key stored in the active_storage_blobs table.
Get the File Path in Local Storage
If you’re using the Disk service (default for development and test), you can retrieve the stored file path manually:
Files are stored in the storage/ directory by default.
Use rails_blob_url or service_url to get an accessible URL.
Use variant to generate resized versions.
For production, it’s best to use a cloud storage service like Amazon S3.
Understanding has_one_attached and has_many_attached in Rails 8
Rails 8 provides a built-in way to handle file attachments through Active Storage. The key methods for attaching files to models are:
has_one_attached – For a single file attachment.
has_many_attached – For multiple file attachments.
Let’s break down what they do and why they are useful.
1. has_one_attached
This is used when a model should have a single file attachment. For example, a User model may have only one profile picture.
Usage:
class User < ApplicationRecord
  has_one_attached :avatar
end
How It Works:
When you upload a file, Active Storage creates an entry in the active_storage_blobs table.
The active_storage_attachments table links this file to the record.
If a new file is attached, the old one is automatically replaced.
Example: Attaching and Displaying an Image
user = User.find(1)
user.avatar.attach(io: File.open("/path/to/avatar.jpg"), filename: "avatar.jpg", content_type: "image/jpeg")

# Checking if an avatar exists
user.avatar.attached? # => true

# Displaying the image in a view
<%= image_tag user.avatar.variant(resize: "100x100").processed if user.avatar.attached? %>
2. has_many_attached
Use this when a model can have multiple file attachments. For instance, a Product model may have multiple images.
Usage:
class Product < ApplicationRecord
  has_many_attached :images
end
How It Works:
Multiple files can be attached to a single record.
Active Storage tracks all file uploads in the active_storage_blobs and active_storage_attachments tables.
Deleting an attachment removes it from storage.
Example: Attaching and Displaying Multiple Images
product = Product.find(1)
product.images.attach([
  { io: File.open("/path/to/image1.jpg"), filename: "image1.jpg", content_type: "image/jpeg" },
  { io: File.open("/path/to/image2.jpg"), filename: "image2.jpg", content_type: "image/jpeg" }
])

# Checking if images exist
product.images.attached? # => true

# Displaying all images in a view
<% if product.images.attached? %>
  <% product.images.each do |image| %>
    <%= image_tag image.variant(resize: "200x200").processed %>
  <% end %>
<% end %>
Benefits of Using has_one_attached & has_many_attached
Simplifies File Attachments – Directly associates files with Active Record models.
No Need for Extra Tables – Unlike some gems (e.g., CarrierWave), Active Storage doesn’t require additional tables for storing file paths.
Easy Cloud Storage Integration – Works seamlessly with Amazon S3, Google Cloud Storage, and Azure.
Variant Processing – Generates resized versions of images using variant (e.g., thumbnails).
Automatic Cleanup – Old attachments are automatically removed when replaced.
Final Thoughts
Active Storage in Rails 8 provides a seamless way to manage file uploads, integrating directly with models while handling storage efficiently. By understanding how it processes uploads internally, we can better optimize performance and ensure a smooth user experience.
In an upcoming blog, we’ll dive deeper into Turbo Streams and how they enhance real-time updates in Rails applications.