Install Learning Locker (NodeJS) in your Mac OSX

Visit the following link to install LL on CentOS, Fedora, Ubuntu, and Debian OS
http://docs.learninglocker.net/guides-installing/

Mac OS is not supported in the installation process specified above.

You can install Learning Locker in Mac OSX by custom installation.

Steps to Install LL in Mac OSX:

1. Clone the repo from learning locker git repo

$ git clone https://github.com/LearningLocker/learninglocker.git

Enter into the directory and install the requirements:

$ yarn install

You can be built 5 distinct services with this codebase.
2. Install services

If you want to install all services on the same machine, you can use the following one command:
$ yarn build-all

Install Services separately if you want to install each service in different servers

Install the UI Server
$ yarn build-ui-server

Install the UI Client
$ yarn build-ui-client

Install the API Server
$ yarn build-api-server

Install the Worker
$ yarn build-worker-server

Install CLI
$ yarn build-cli-server

Note: Copy the .env.example into a new .env file and edit as required

RUNNING THE SERVICES VIA PM2

Install pm2 , if you have not yet installed
$ npm i -g pm2

To start API, Scheduler, UI, Worker services, navigate to the LL working directory and run:

$ pm2 start pm2/all.json

INSTALLING THE XAPI SERVICE

Step 1: Clone the repo
$ git clone https://github.com/LearningLocker/xapi-service.git

Step 2: Enter into the directory and install the requirements and build

$ yarn install
$ yarn build

Note: Copy the .env.example into a new .env file and edit as required

To start the xAPI service, navigate to the xAPI Service working directory and run:

$ pm2 start pm2/xapi.json

You can check the service status:

$ pm2 status

$ pm2 restart all # restart all services

$ pm2 logs # view logs

Launch the UI:
http://localhost:3310/login, note that I have change the UI port in .env to 3310, as other services running in default port

TheLearningLockerMac

Now you have to create User for logging in. Lets create an Admin User by the following command.

$ node cli/dist/server createSiteAdmin [email] [organisation] [password]

In order to use this command you have to install the CLI server for LL, that I already mentioned in the installation steps.

An Admin Example
$ node cli/dist/server createSiteAdmin "MyEmailId" "CoMakeIT" โ€œmyPasswordโ€

You can run the migrations by the following command if any pending migrations exists

$ node cli/dist/server migrateMongo

LL-sign-in-error

Now try to Login with the credentials.

Ooopsโ€ฆ there is an issue, and we canโ€™t login

After doing some research I found the issue. We need to add a secret key base to our Application to work with JWT tokens.
Open .env file and find:

# Unique string used for hashing
# Recommended length, 256 bits
APP_SECRET=

Create a 256 bit length hash key and give as a value. As I am a Rails developer, It is easy for me to create one by going into any my Rails project and type

$ rake secret

I get One! ๐Ÿ™‚

Or you can use some online applications like: https://randomkeygen.com/

And do:
$ pm2 restart all

from LL project folder

LL-dashboard

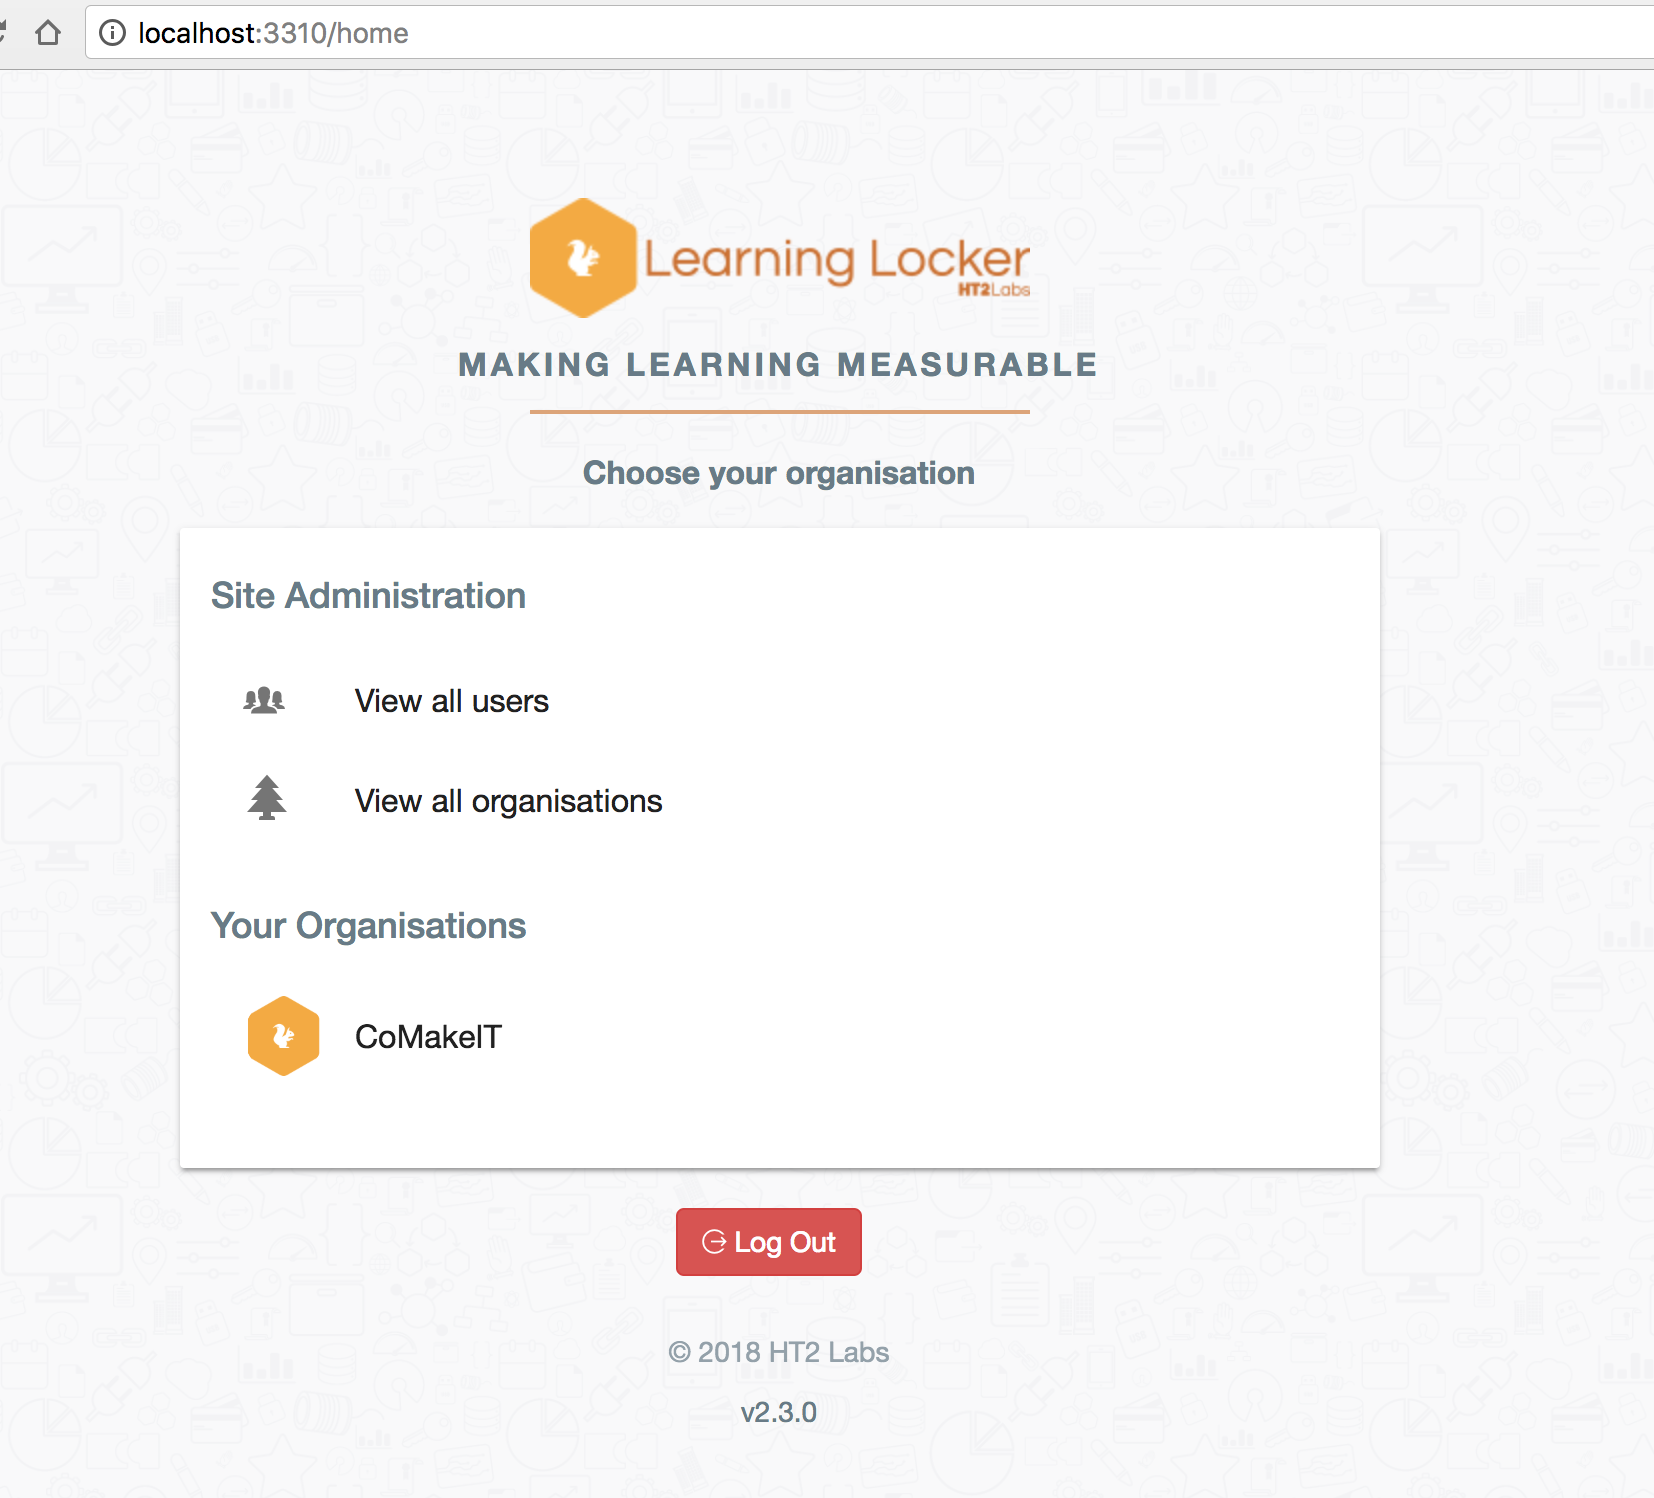
Try to sign in again

Wohh, Its done. Great. Now you can try some bit of dashboard items like Graphs. Go on.

Laravel – PHP web framework Vs Rails, Installation

Laravel is a php web framework which following the modelโ€“viewโ€“controller (MVC) architectural pattern. It is gaining more and more popularity nowadays.

It is almost followed Ruby on Rails framework pattern, not only for MVC structure but also for the pattern that Rails adopt for doing various tasks. It uses composer that installs the software snippets you needed to achieve a particular task as Rails does it with bundler to pick gems.

The drawback of Laravel is it cannot achieve the power of Ruby like meta-programming through php. So I need to write some more code in Laravel and its actually feels irritating if you want to write less code without the same repetitive patterns and keep it DRY.

Get and install composer

Goto (https://getcomposer.org/) Click download.

Run the following:

$ php -r "copy('https://getcomposer.org/installer', 'composer-setup.php');"

$ php -r "if (hash_file('SHA384', 'composer-setup.php') === '669656bab3166a7aff8a7506b8cb2d1c292f042046c5a994c43155c0be6190fa0355160742ab2e1c88d40d5be660b410') { echo 'Installer verified'; } else { echo 'Installer corrupt'; unlink('composer-setup.php'); } echo PHP_EOL;"

$ php composer-setup.php

$ php -r "unlink('composer-setup.php');"
๏ปฟ

This will install โ€˜composer.phar โ€˜ in the current directory.

Move that to bin folder to get it globally available as a command and rename it to composer

$ mv composer.phar /usr/local/bin/composer

Open new tab and Type

$ composer

Install Lareval

Using composer

$ composer create-project --prefer-dist laravel/laravel blog "5.4.*"
๏ปฟ

From laravel/laravel github repo OR via larval installer

$ laravel new blog
-bash: laravel: command not found

Install it:

$ composer global require "laravel/installer"

this makes it globally accessible

Make sure to place the $HOME/.composer/vendor/bin directory (or the equivalent directory for your OS) in your $PATH so the laravel executable can be located by your system.

Open ~/.bash_profile OR ~/.bashrc in Mac

and add the following line:

export PATH="$PATH:$HOME/.composer/vendor/bin"

save and exit

Open New tab type:

$ laravel
Laravel Installer 1.4.1
Usage:
  command [options] [arguments]

Check Laravel version:

$ php artisan --version
Laravel Framework 5.4.27

You are ready to go!

Install latest PHP version on Mac using homebrew

Check php latest version here: http://php.net/downloads.php
=> Update your homebrew

$ brew update
$ brew upgrade

=> Install a centralized repository for PHP-related brews: homebrew-php
https://github.com/Homebrew/homebrew-php

Requirements
* Homebrew
* Yosemite, El Capitan, and Sierra. Untested everywhere else.

Run the following in your command-line:

$ brew tap homebrew/homebrew-php

$ brew search php

will show you all php formula

We will Install php 7.1, because php 7.1.8 is the latest stable version till now (Aug 2017)

$ brew install php71

Check php version installed

$ php --version
PHP 7.1.8 (cli) (built: Aug  7 2017 15:02:19) ( NTS )
Copyright (c) 1997-2017 The PHP Group
Zend Engine v3.1.0, Copyright (c) 1998-2017 Zend Technologies

You are done.

PostgreSQL 9.3 : Installation on ubuntu 14.04

Hi guys, I just started installing postgres on my ubuntu VM. I referred some docs, and followed this one: https://www.digitalocean.com/community/tutorials/how-to-install-and-use-postgresql-on-ubuntu-14-04

Its pretty much explained in this page. But just explaining here the important things.

You can install postgres by ubuntu’s own apt packaging system. Update local apt repository.

$ sudo apt-get update
$ sudo apt-get install postgresql postgresql-contrib

Postgres uses role based access for the unix users. After the installation a default role called ‘postgres’ will be created. You can login to postgres account and start using or creating new roles with Postgres.

Sign in as postgres user

$ sudo -i -u postgres

Access the postgres console by

$ psql

But i cannot enter into the console and I got the following error:

postgres@8930a29k5d05:/home/rails/my_project$ psql
psql: could not connect to server: No such file or directory
        Is the server running locally and accepting
        connections on Unix domain socket "/var/run/postgresql/.s.PGSQL.5432"?

What could be the reason for this error?

So just gone through Postgres doc (http://www.postgresql.org/docs/9.3/static/server-start.html). You can see the same error under the section 17.3.2. Client Connection Problems. But the solution is not mentioned.

Original Reason: PostgreSQL Server was not running after the installation.

I tried rebooting the system and via init script the server should run automatically. But the server is not running again. I understood that something prevents postgres from running the server. What is it?

Just check your postgres server is running or not

$ sudo -aux | grep post
postgres@8930a29k5d05:/home/rails/my_project$ ps -aux | grep postgres
root       136  0.0  0.2  47124  3056 ?        S    06:10   0:00 sudo -u postgres -s
postgres   137  0.0  0.3  18164  3220 ?        S    06:10   0:00 /bin/bash
postgres   140  0.0  0.2  15572  2192 ?        R+   06:10   0:00 ps -aux
postgres   141  0.0  0.0   4892   336 ?        R+   06:10   0:00 grep post

The server is not running.

Run the server manually by

root@8930a29k5d05:/home/rails/my_project#  /etc/init.d/postgresql start
 * Starting PostgreSQL 9.3 database server
                                                                                                                                                         [ OK ] 
root@8930a29k5d05:/home/rails/my_project# ps aux | grep postgres
postgres   158  0.1  2.0 244928 20752 ?        S    06:28   0:00 /usr/lib/postgresql/9.3/bin/postgres -D /var/lib/postgresql/9.3/main -c config_file=/etc/postgresql/9.3/main/postgresql.conf
postgres   160  0.0  0.3 244928  3272 ?        Ss   06:28   0:00 postgres: checkpointer process

postgres   161  0.0  0.4 244928  4176 ?        Ss   06:28   0:00 postgres: writer process

postgres   162  0.0  0.3 244928  3272 ?        Ss   06:28   0:00 postgres: wal writer process

postgres   163  0.0  0.5 245652  6000 ?        Ss   06:28   0:00 postgres: autovacuum launcher process

postgres   164  0.0  0.3 100604  3336 ?        Ss   06:28   0:00 postgres: stats collector process

root       178  0.0  0.0   8868   884 ?        S+   06:28   0:00 grep --color=auto post
root@8930a29k5d05:/home/rails/my_project#

Now the server starts running. If still not works, then try to reconfigure your locales as mentioned here

$ dpkg-reconfigure locales

It is strange that, after installing such a popular database software, it doesn’t provide any information regarding the failure of its own server. It should give the developers some clue so that they can save their precious time.

The reason of this failure, what I concluded is
1. After installation we have to run the server manually
OR
2. I tried resetting the locales (So if no locales set in the machine may prevented the postgres from starting automatically?)

Details about pg gem error: Can’t find the ‘libpq-fe.h header when doing bundle in Rails

If you are getting errors like:

installing pdf-reader 1.3.3
Gem::Ext::BuildError: ERROR: Failed to build gem native extension.

/home/vagrant/.rvm/rubies/ruby-2.2.0/bin/ruby -r ./siteconf20150306-5919-1rr483p.rb extconf.rb
checking for pg_config... yes
Using config values from /usr/bin/pg_config
You need to install postgresql-server-dev-X.Y for building a server-side extension or libpq-dev for building a client-side application.
checking for libpq-fe.h... no
Can't find the 'libpq-fe.h header
*** extconf.rb failed ***
Could not create Makefile due to some reason, probably lack of necessary
libraries and/or headers. Check the mkmf.log file for more details. You may
need configuration options.

when trying to install pg gem,
you are just missing some dependancy library related to libpq. Install the following package


$ sudo apt-get install libpq-dev

then do


$ gem install pg -v 'version-no'

then do


bundle install

Details about Rails paperclip error: ‘There was an error processing the thumbnail for paperclip-reprocess’

I got this error while working with paperclip. The project was stable and I have no idea why this error happens at this point of time.

[paperclip] An error was received while processing: #
[paperclip] An error was received while processing: #<Paperclip::PaperclipError: There was an error processing the thumbnail for paperclip-reprocess20110822-2281-19969sz

So I was lazy to fix the error, and find that I have no imagemagick installed in my new system. After installing ‘imagemagick’ it got fixed.

$ sudo apt-get update
$ sudo apt-get install imagemagick --fix-missing

Install Rails 3.2 using rvm on redhat

Upgrade Packages

yum update

Installing Recommended Packages

yum install gcc-c++ patch readline readline-devel zlib zlib-devel 
yum install libyaml-devel libffi-devel openssl-devel make 
yum install bzip2 autoconf automake libtool bison iconv-devel

Install RVM ( Ruby Version Manager )

$ curl -L get.rvm.io | bash -s stable

Install Required Ruby Version

$ rvm install 1.9.3

Install rails

$ gem install rails --version '3.2.19'