Switching to a feature-branch workflow with pull requests is a great move for team collaboration, code review, and better CI/CD practices. Here’s how you can transition our Rails 8 app to a proper CI/CD pipeline using GitHub and GitHub Actions.
🔄 Workflow Change: Feature Branch + Pull Request
1. Create a new branch for each feature/task:
git checkout -b feature/feature-name
2. Push it to GitHub:
git push origin feature/feature-name
3. Open a Pull Request on GitHub from feature/feature-name to main.
4. Enable branch protection (optional but recommended):
Note: You can set up branch protection rules in GitHub for free only on public repositories.
About protected branches
You can protect important branches by setting branch protection rules, which define whether collaborators can delete or force push to the branch and set requirements for any pushes to the branch, such as passing status checks or a linear commit history.
You can create a branch protection rule in a repository for a specific branch, all branches, or any branch that matches a name pattern you specify with fnmatch syntax. For example, to protect any branches containing the word release, you can create a branch rule for *release*
Go to your repo → Settings → Branches → Protect main.
Require pull request reviews before merging.
Require status checks to pass before merging (CI tests).
Basically github actions allow us to run some actions (ex: testing the code) if an event occurs during the code changes/commit/push (it mostly related to a branch).
Our Goal:When we push to a feature branch test the code before merging it to the main branch so that we can ensure nothing is broken before going the code into live.
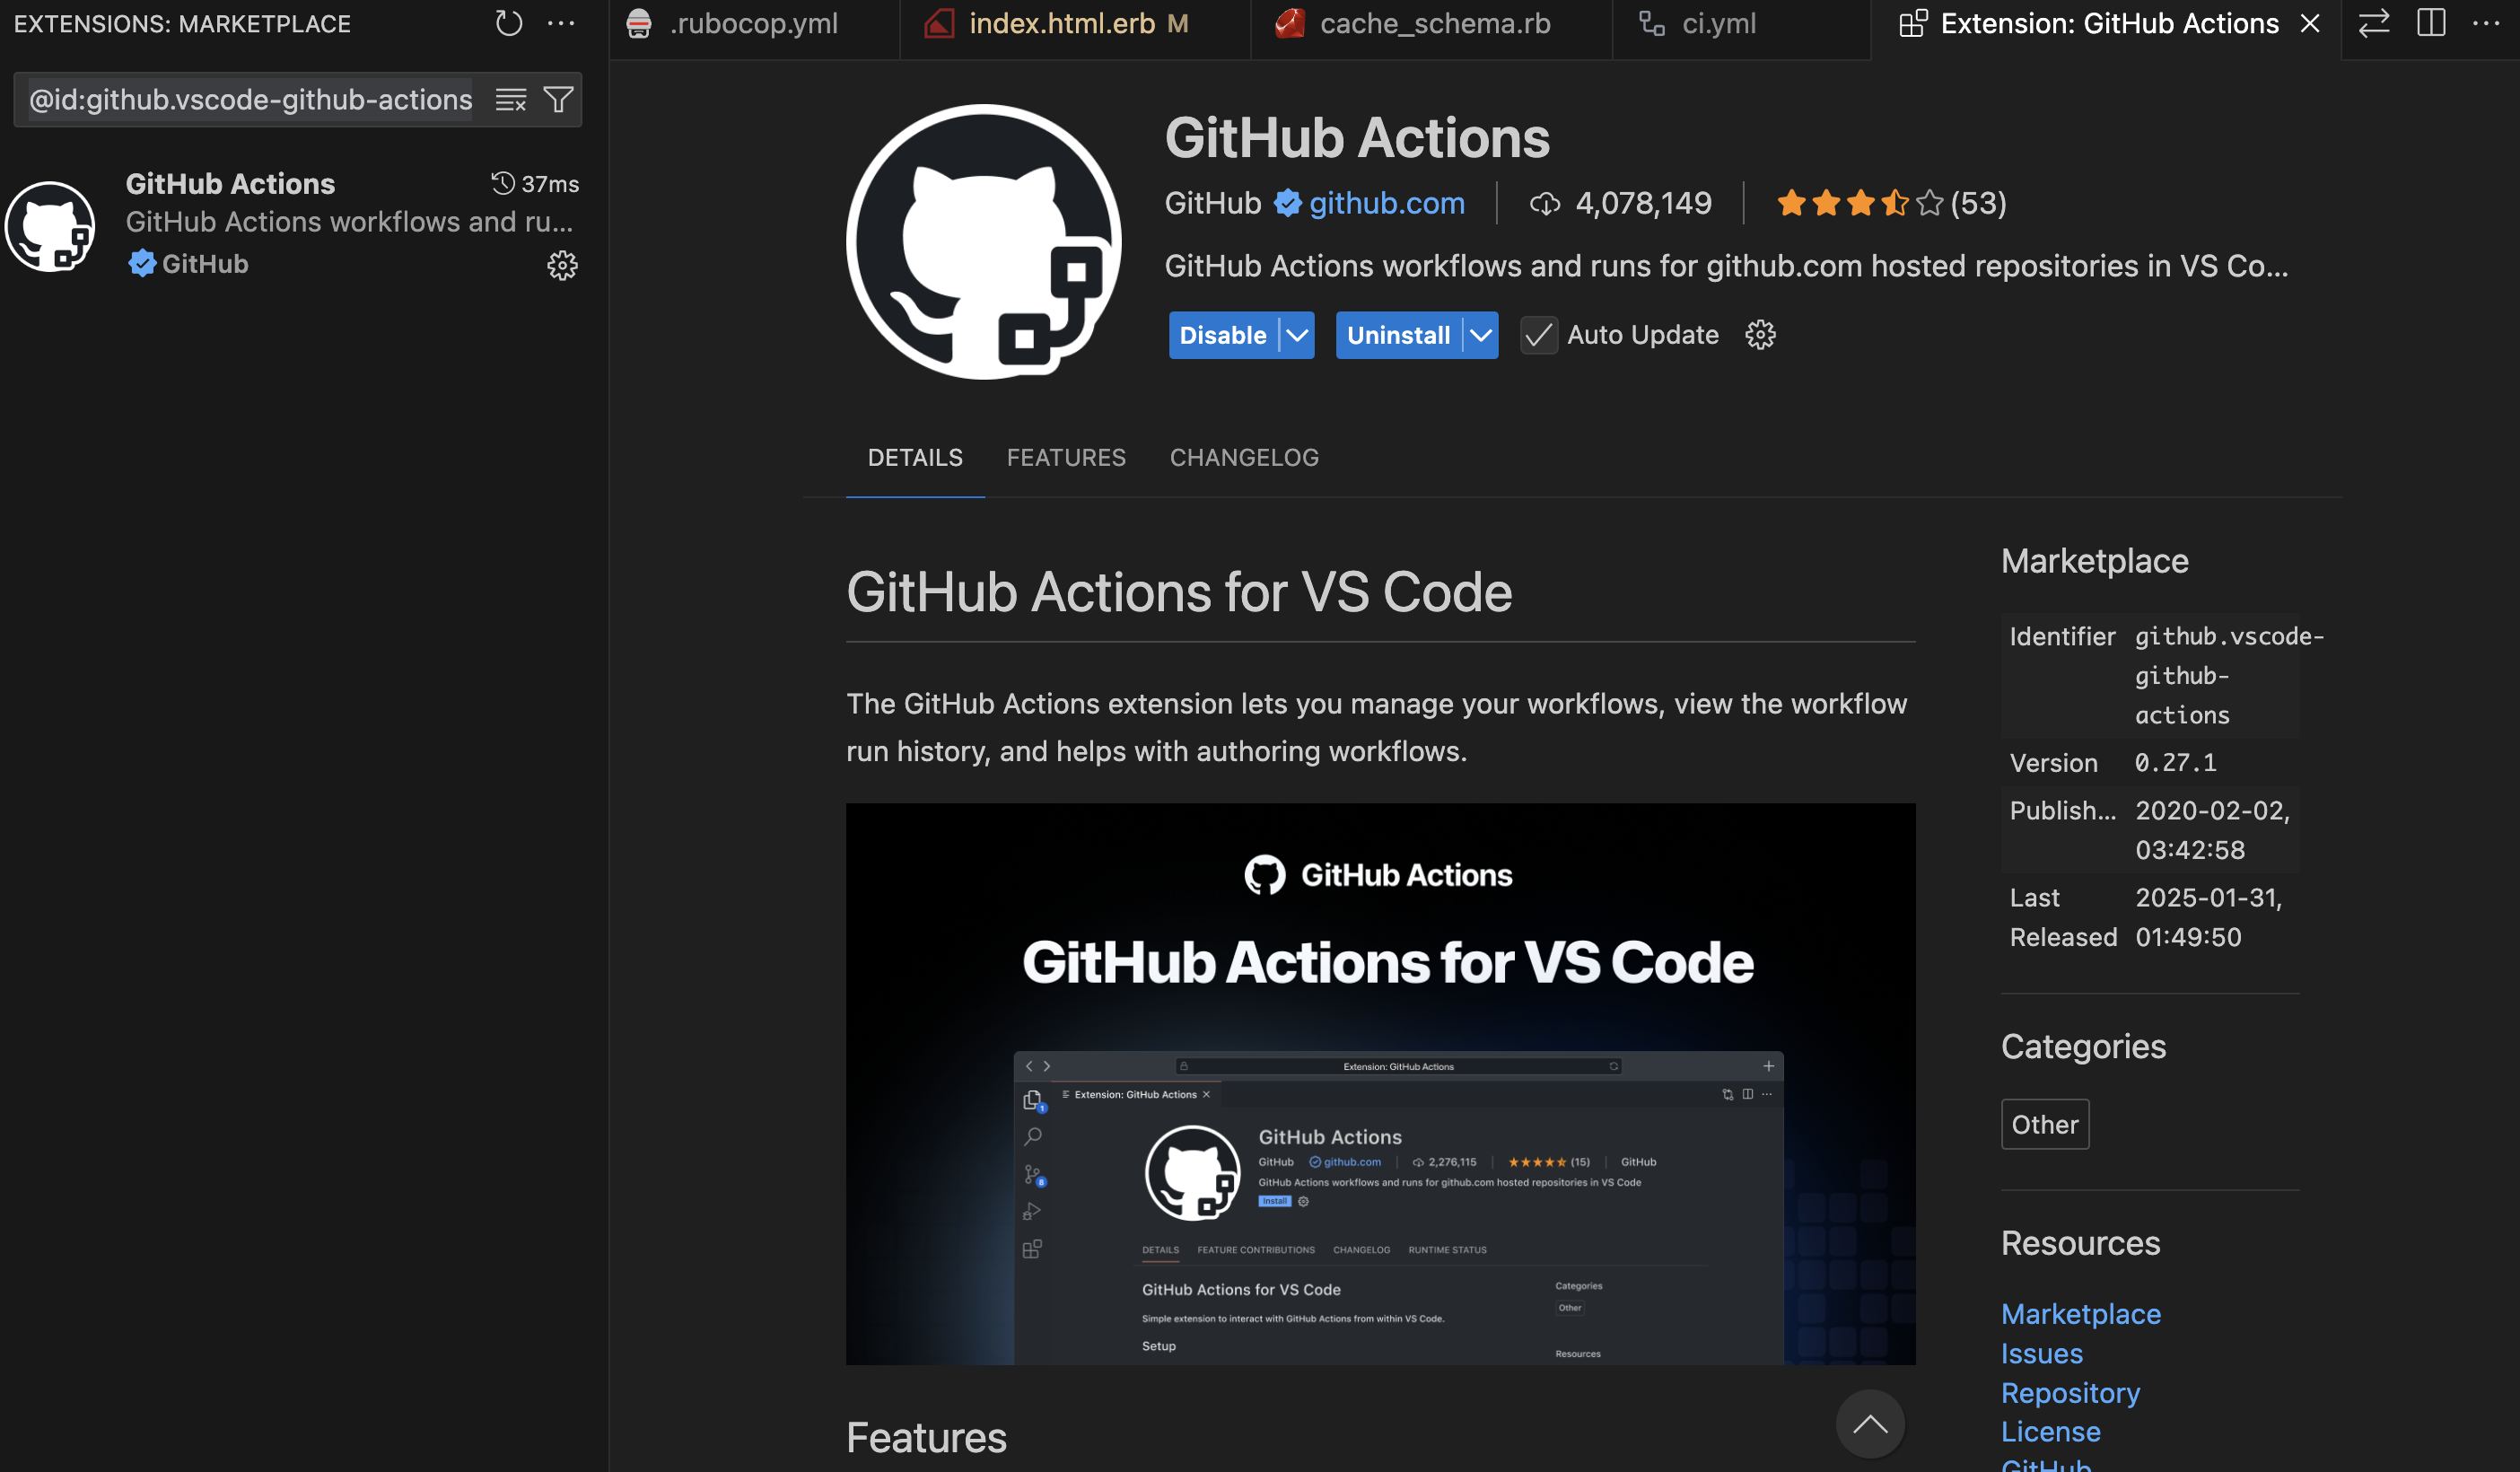
You can try the VS Code plugin for helping the Github Actions workflow (best for auto-complete the data we needed and auto-populate the env variables etc from our github account):
Sign in using your github account and grant access to the public repositories.
If you try to push to main branch, you will find the following error:
remote: error: GH006: Protected branch update failed for refs/heads/main.
remote:
remote: - Changes must be made through a pull request.
remote:
remote: - Cannot change this locked branch
To github.com:<username>/<project>.git
 ! [remote rejected] main -> main (protected branch hook declined)
We will be finishing Database and all other setup for our Web Application before starting CI/CD setup.
In Git, HEAD is a pointer to the latest commit in the current branch. It tells Git which commit you’re currently working on.
Types of HEAD States:
Normal (Attached HEAD) When HEAD points to the latest commit in a branch, it’s called an attached HEAD.
# show commits in single line with message
git log --oneline --graph

* 07cf493 (HEAD -> main, origin/main) feat: Implement tailwind css to product pages
* c3ee7d4 feat: Add images to products
* e342472 feat: Install tailwind css
* 40fc222 first commit
Detached HEAD If you check out a specific commit (not a branch), HEAD becomes detached.
✗ git checkout c242462
# undo detached HEAD
✗ git switch -

# or go back to main
✗ git checkout main
Common HEAD Uses in Commands
Reset Last Commit (Undo Latest Commit, Keep Changes)
git reset HEAD~1
HEAD~1 means “one commit before HEAD” (previous commit). This unstages the latest commit but keeps changes.
2. Unstage a Staged File
git reset HEAD filename
Removes filename from staged state but keeps changes.
3. Move HEAD to a Different Commit (Soft Reset)
git reset --soft HEAD~2
Moves HEAD back two commits but keeps all changes staged.
4. Hard Reset (Undo Everything, No Recovery)
git reset --hard HEAD~1
Moves HEAD one commit back and deletes all changes.
5. View HEAD Commit Hash
git rev-parse HEAD
Shows the exact commit hash HEAD is pointing to.
HEAD is simply Git’s way of tracking where you are in the commit history. It allows you to navigate, reset, and control commits efficiently.
Git useful commands ✍
# compare 2 commits to see what is changed from one to another
git diff e144462 c4ed9d4

# To ignore all changes in the working directory and reset it to match the latest commit
git restore .

# If You Also Want to Remove Untracked Files
git clean -fd

# completely wipe all changes in the working directory
git restore . && git clean -fd

# move uncommitted file into a special area
git stash

# get back the unstaged files into working tree
git stash pop

# other commands
git stash save "Add tailwind to product show"
git stash list
git stash pop stash@{2}
git stash show
git stash apply

# If you decide you no longer need a particular stash, you can delete it with git stash drop
git stash drop stash@{1}

# or you can delete all of your stashes with:
git stash clear
To get the new changes from the remote repo to your local repo do the following command:
git fetch
but remember this does not update your working directory. git fetch allows you to check the incoming commits using git log and you can merge those changes to your current branch using git merge.
git fetch + git merge = git pull
If all goes well without any code conflict with git pull your code is updated to Local Repo and Working directory. (Your branch is Fast-Forwarded)
When Do Stash and Pull Interact?
The connection arises in real-world workflows when you need to pull remote changes but you have local uncommitted work:
Scenario:
You’re working on a branch (main) with uncommitted changes.
You need to pull updates from the remote (git pull), but Git blocks this if your working directory is dirty (has uncommitted changes).
To resolve this, you:
Stash your changes (git stash) → clears the working directory.
Pull the updates (git pull).
Reapply your stash (git stash pop) to merge your changes with the newly pulled updates.
Git commit message:Best practices 🚀
1. Follow the Conventional Format
A well-structured commit message consists of:
A short summary (50 characters max)
A blank line
A detailed description (if necessary, up to 72 characters per line)
Example:
git commit -m "feat: Add user authentication with Devise" -m "Implemented Devise for user authentication, including:
- User sign up, login, and logout
- Email confirmation and password recovery
- Integration with Turbo Streams

Closes #42"
feat: Add user authentication with Devise

Implemented Devise for user authentication, including:
- User sign up, login, and logout
- Email confirmation and password recovery
- Integration with Turbo Streams

Closes #42
Explanation:
The first -m argument contains the commit title (short summary, 50 characters max).
The second -m argument contains the detailed description, with each bullet point on a new line.
The Closes #42 automatically links and closes GitHub/GitLab issue #42 when pushed.
Alternative Using a Text Editor (Recommended for Long Messages)
If your commit message is long, use:
git commit
This opens the default text editor (like Vim or Nano), where you can structure the message properly:
feat: Add user authentication with Devise

Implemented Devise for user authentication, including:
- User sign up, login, and logout
- Email confirmation and password recovery
- Integration with Turbo Streams

Closes #42
This keeps the message clean and readable. 🚀
2. Use a Clear and Concise Subject Line
Limit the first line to 50 characters.
Start with an imperative verb (e.g., “Add”, “Fix”, “Refactor”, “Improve”).
Avoid generic messages like “Update” or “Fix bug”.
perf: Optimize database queries for dashboard stats
4. Include Context and Motivation
Explain why a change was made if it’s not obvious.
✅ Good:
refactor: Extract user authentication logic to service object

Moved authentication logic from controllers to a dedicated
service object to improve testability and maintainability.
5. Reference Issues and PRs
Use Closes #123 to automatically close the issue.
Use Refs #456 if it’s related but not closing the issue.
Example:
feat: Implement image upload in profile settings

Users can now upload profile pictures. The uploaded images
are stored using Active Storage.

Closes #89
6. Keep Commits Small and Focused
Each commit should:
Represent a single logical change.
Avoid mixing refactoring with new features.
✅ Good:
Commit 1:refactor: Extract helper method for API requests
Commit 2:feat: Add API endpoint for fetching user statistics
❌ Bad:
Commit 1:feat: Add API endpoint and refactor helper methods
7. Use Present Tense
Write commit messages in present tense, not past tense.
✅ Good:
fix: Handle nil values in user profile settings
❌ Bad:
Fixed nil values issue in user profile settings
Following these best practices ensures readable, maintainable, and searchable commit history. 🚀
You create feature branches (e.g., feature-x) for development.
You want to keep your history clean and structured.
1️⃣ git merge → Use When You Want to Keep Full History (Default Approach)
📌 What It Does?
Combines feature branch commits into main, keeping all commit history.
Creates a new merge commit (Fast-forward if no diverging commits).
Easy to understand but can clutter history with many small commits.
📌 When to Use?
✅ If you want a full commit history, including every small commit. ✅ When working in teams where visibility of each commit matters.
📌 Example (Merging feature-x into main):
git checkout main
git pull origin main   # Ensure main is up to date
git merge feature-x
git push origin main
2️⃣ git rebase → Use When You Want a Clean, Linear History
📌 What It Does?
Moves (reapplies) all commits from the feature branch on top of the latest main.
No merge commit → keeps history linear and clean.
Can cause conflicts if multiple people are rebasing.
📌 When to Use?
✅ When working solo and want a clean, linear history. ✅ Before merging a feature branch to avoid unnecessary merge commits. ✅ If you regularly update your feature branch with main.
📌 Example (Rebasing feature-x onto main Before Merging):
git checkout feature-x
git pull origin main   # Ensure main is up to date
git rebase main        # Moves feature branch commits on top of the latest main
If there are conflicts, resolve them, then:
git rebase --continue
Then merge into main:
git checkout main
git merge feature-x   # Fast-forward merge (clean)
git push origin main
3️⃣ git squash → Use When You Want a Single Commit for a Feature
📌 What It Does?
Combines multiple commits in the feature branch into one commit before merging.
Keeps history very clean but loses commit granularity.
📌 When to Use?
✅ If a feature branch has many small commits (e.g., fix typo, refactor, debugging). ✅ When you want one clean commit per feature. ✅ If your team follows a “one commit per feature” policy.
📌 Example (Squashing Commits Before Merging into main):
Step 1: Squash commits interactively
git checkout feature-x
git rebase -i main
Step 2: Mark commits to squash
You’ll see:
pick abc123 First commit
pick def456 Second commit
pick ghi789 Third commit
Change all but the first pick to squash (s), like this:
pick abc123 First commit
squash def456 Second commit
squash ghi789 Third commit
Save and exit.
Step 3: Push the squashed commit
git push origin feature-x --force # Required after rewriting history
Step 4: Merge into main
git checkout main
git merge feature-x
git push origin main
Another git squash example. Suppose you have created a branch for adding a feature and you do 2 more commits one for refactoring and other for commenting on the feature. Now you have 3 commits in the feature-x branch.
Now you think better I would commit these 3 commit together and push it as one feature commit. Now what you do? follow the bel0w steps:
# this tells git you want to do some action upon the last 3 commits
git rebase -i HEAD~3
Now you can see 3 commits in your default editor prefixed: pick. Change the last 2 commit pick to squash and save the file. Now Another file popup in the editor to change the commit message for this one squashed commit. Ignore the messages start with # . Keep/modify the commit message which is not starting with # and save the file. This rewrites the history and save as one commit.
For daily work, keep your feature branch updated with main:
git checkout feature-x
git pull origin main
git rebase main
Before merging into main, If you want full history:
git merge feature-x
If you want a clean history:
git rebase main
If you want a single commit per feature:
git squash
Merge into main and push:
git checkout main
git merge feature-x
git push origin main
🤔 What’s the Problem with Merge Commits?
A merge commit happens when you run:
git merge feature-x
and Git creates an extra commit to record the merge.
Example merge commit:
commit abc123 (HEAD -> main)
Merge: def456 ghi789
Author: You <you@example.com>
Date:   Sat Mar 29 12:00:00 2025 +0000

    Merge branch 'feature-x' into 'main'
Why Do Some Developers Avoid Merge Commits?
1️⃣ Cluttered History
Merge commits pollute history when feature branches have multiple commits.
Running git log shows lots of merge commits, making it harder to track actual code changes.
Example of messy history with merge commits: * Merge branch 'feature-x' (Merge Commit) * Fix typo in error message * Add validation for user input * Implement user authentication * Merge branch 'feature-y' (Merge Commit) * Fix UI issue
2️⃣ Harder to Track Changes
git log gets filled with merge commits instead of meaningful commits.
git blame might point to a merge commit, making debugging harder.
❌ Merge commits are not always bad! Sometimes, they are necessary:
Merging Long-Lived Feature Branches
If a branch exists for weeks or months, it has many commits.
A merge commit documents when the feature was merged.
Merging Changes from a Release Branch
Example: Merging release-v1.0 into main should have a merge commit.
Handling Complex Conflicts
When resolving big merge conflicts, a merge commit shows exactly when conflicts were fixed.
🔑 Final Answer: When to Avoid Merge Commits?
🚫 Avoid merge commits when you want a clean history ✅ Use rebasing (git rebase) before merging to keep history linear. ✅ Use squashing (git rebase -i) to avoid unnecessary commits in a feature branch.
🔹 If you’re working solo or in a small team, rebase before merging to keep history simple. 🔹 If you’re working in a large team with long-lived branches, merge commits may be useful for tracking.
🔥 Finally Best Practices for Your Development Process
Before merging, update your branch without a merge commit:
git checkout feature-x
git pull --rebase origin main
Squash unnecessary commits (optional):
git rebase -i main
Merge the branch (fast-forward, no merge commit):
git checkout main
git merge feature-x  # Fast-forward merge, no merge commit