
The guide is for creating a React Native app for our design studio web application made with Ruby On Rails 8. Let me start by explaining the fundamentals and then walk you through the entire setup process.
What is React Native? 🤔
React Native is a framework developed by Facebook (now Meta) that allows you to build mobile applications using JavaScript and React. It enables you to write code once and deploy it on both iOS and Android platforms.
Why Use React Native? 🎯
Key Benefits:
- Cross-Platform Development: Write once, run on both iOS and Android
- Code Reusability: Share up to 90% of code between platforms
- Native Performance: Uses native components, not webviews
- Hot Reloading: See changes instantly during development
- Large Community: Extensive libraries and community support
- Cost-Effective: Faster development with smaller teams
- Facebook Backing: Strong ecosystem and continuous updates
React Native vs React: Key Differences 📊
| Aspect | React | React Native |
|---|---|---|
| Target Platform | Web browsers | Mobile devices (iOS/Android) |
| DOM | Virtual DOM | Native components |
| Styling | CSS | StyleSheet API (CSS-like) |
| Components | HTML elements (<div>, <p>, etc.) | Native components (<View>, <Text>, etc.) |
| Navigation | React Router | React Navigation |
| Deployment | Web servers | App stores |
| Development | Browser dev tools | Mobile simulators/devices |
Setting Up Your React Native Development Environment 🛠️
Let me guide you through creating your React Native app step by step:
Step 1: Install Prerequisites
First, let’s check your current setup and install the necessary tools:
Ran tool
We’ll need to install several tools. Let me guide you through each one:
1. Node.js & npm/yarn
# Check if Node.js is installed
node --version
npm --version

# If not installed, download from https://nodejs.org/
# Or install via Homebrew (recommended for macOS):
brew install node
2. React Native CLI
npm install -g @react-native-community/cli
3. For iOS Development (macOS only):
# Install Xcode from Mac App Store

# Install CocoaPods
# Homebrew
brew install cocoapods

# Later
# Update with Homebrew
brew upgrade cocoapods

# OR use ruby gem
sudo gem install cocoapods
4. For Android Development:
- Install Android Studio
- Set up Android SDK
- Configure environment variables
Step 2: Create Your React Native App
Let’s navigate to our react folder and create the app. Let’s create our React Native app for the design studio.
Run these commands in our terminal:
# Navigate to your react directory
cd ~/react

# Create a new React Native app
npx react-native init DesignStudioApp

# Navigate to the new app directory
cd DesignStudioApp

🎉 Our DesignStudioApp has been created successfully!
What Happened
The React Native CLI successfully:
- ✅ Downloaded the template
- ✅ Copied template files
- ✅ Processed the template
- ✅ Installed dependencies
- ✅ Initialized Git repository
✅ CocoaPods is Already Installed!
CocoaPods version 1.16.2_1 is properly installed via Homebrew in our system.
CocoaPods manages dependencies for your Xcode projects.
You specify the dependencies for your project in a simple text file: your
Podfile. CocoaPods recursively resolves dependencies between libraries, fetches source code for all dependencies, and creates and maintains an Xcode workspace to build your project. The latest released Xcode versions and the prior version are supported.
What This Means 📋
CocoaPods Installation Details:
- ✅ Version: 1.16.2_1 (latest stable)
- ✅ Location: /opt/homebrew/Cellar/cocoapods/1.16.2_1/
- ✅ Main Command: pod is available
- ✅ Complete Installation: All necessary files are present
# Let's Verify CocoaPods is Working
pod --version
1.16.2
Now Let’s Try Installing iOS Dependencies 📱
Since CocoaPods is working, let’s try to install the iOS dependencies for our DesignStudioApp:
cd DesignStudioApp/ios && pod install
....
[Hermes] Using release tarball from URL: https://repo1.maven.org/maven2/com/facebook/react/react-native-artifacts/0.80.1/react-native-artifacts-0.80.1-hermes-ios-debug.tar.gz
Step 3: Understanding the Project Structure 📁
After creating the app, you’ll see this structure:
DesignStudioApp/
├── android/          # Android-specific code
├── ios/              # iOS-specific code
├── node_modules/     # Dependencies
├── src/              # Your app source code (you'll create this)
├── App.tsx           # Main app component
├── index.js          # Entry point
├── package.json      # Dependencies and scripts
├── metro.config.js   # Metro bundler configuration
└── ...
Step 4: Key Files Explained 📝
App.tsx – Main component (like App.js in React web)index.js – Entry point that registers your apppackage.json – Dependencies and scriptsandroid/ & ios/ – Platform-specific native code
Step 5: Running Your App (No XCode installed) 🚀
For iOS Simulator:
# Make sure you're in the DesignStudioApp directory
npx react-native run-ios

Install Xcode: Xcode Component Selection for React Native Development 🛠️
For React Native development, you should select BOTH:
✅ Required Components:
- macOS15.5 (built-in) – ✅ Select this
- iOS 18.5 – ✅ Select this (Essential for React Native)
Why You Need Both 📱
| Component | Why You Need It | What It Provides |
|---|---|---|
| macOS15.5 | Basic development tools | Xcode IDE, build tools, debugger |
| iOS 18.5 | iOS app development | iOS Simulator, iOS SDK, device support |
Select BOTH components because:
- macOS15.5 (built-in) ✅
- Core Xcode functionality
- Build tools and compiler
- Essential for any development
- iOS 18.5 ✅
- iOS Simulator – Test your React Native app
- iOS SDK – Required for building iOS apps
- Device support – Deploy to real iPhones

Step-by-Step Instructions 📋
Point System to Full Xcode Installation
sudo xcode-select --switch /Applications/Xcode.app/Contents/Developer

xcode-select --print-path

xcodebuild -version
Xcode 16.4
Now Try:
# Install iOS Dependencies Again
cd DesignStudioApp && cd ios && pod install
🎉 CocoaPods Installation Complete!
All iOS dependencies have been successfully installed!
What Just Happened ✅
- ✅ 74 dependencies installed from Podfile
- ✅ 73 total pods installed successfully
- ✅ React Native modules all configured
- ✅ Hermes engine installed (JavaScript engine)
- ✅ Xcode workspace created
Hermes is an open-source JavaScript engine optimized for React Native. For many apps, using Hermes will result in improved start-up time, decreased memory usage, and smaller app size when compared to JavaScriptCore. Hermes is used by default by React Native and no additional configuration is required to enable it.
Important Note 📝
The system created a .xcworkspace file – this is what you’ll use instead of .xcodeproj from now on.
# Step 5: Now Let's Run Your App on iOS!

✗ npx react-native run-ios
info Found Xcode workspace "DesignStudioApp.xcworkspace"
info No booted devices or simulators found. Launching first available simulator...
info Launching iPhone 16 Pro (iOS 18.5)
info Building (using "xcodebuild -workspace DesignStudioApp.xcworkspace -configuration Debug -scheme DesignStudioApp -destination id=XXXX-XXXXX-XXXX-XXXX

Step 1: Install iOS Dependencies 📦
Open your terminal and run these commands:
# Navigate to your app directory
cd ~/react/DesignStudioApp

# Install iOS dependencies
cd ios && pod install && cd ..
This will install all the necessary iOS libraries and dependencies.
Step 2: Run the iOS App 📱
Option A: Use React Native CLI (Recommended)
Open a new terminal window (keep Metro running in the first one) and run:
cd ~/react/DesignStudioApp
npx react-native run-ios
Option B: Use Xcode Directly
# Open the iOS project in Xcode
cd ~/react/DesignStudioApp
xed ios/DesignStudioApp.xcworkspace
Then press the “Run” button (▶️) in Xcode.
What Should Happen 🎯
- iOS Simulator opens – A virtual iPhone will appear
- App builds – You’ll see build progress in terminal
- App launches – Your DesignStudioApp will open in the simulator
- Metro connects – The app connects to the development server
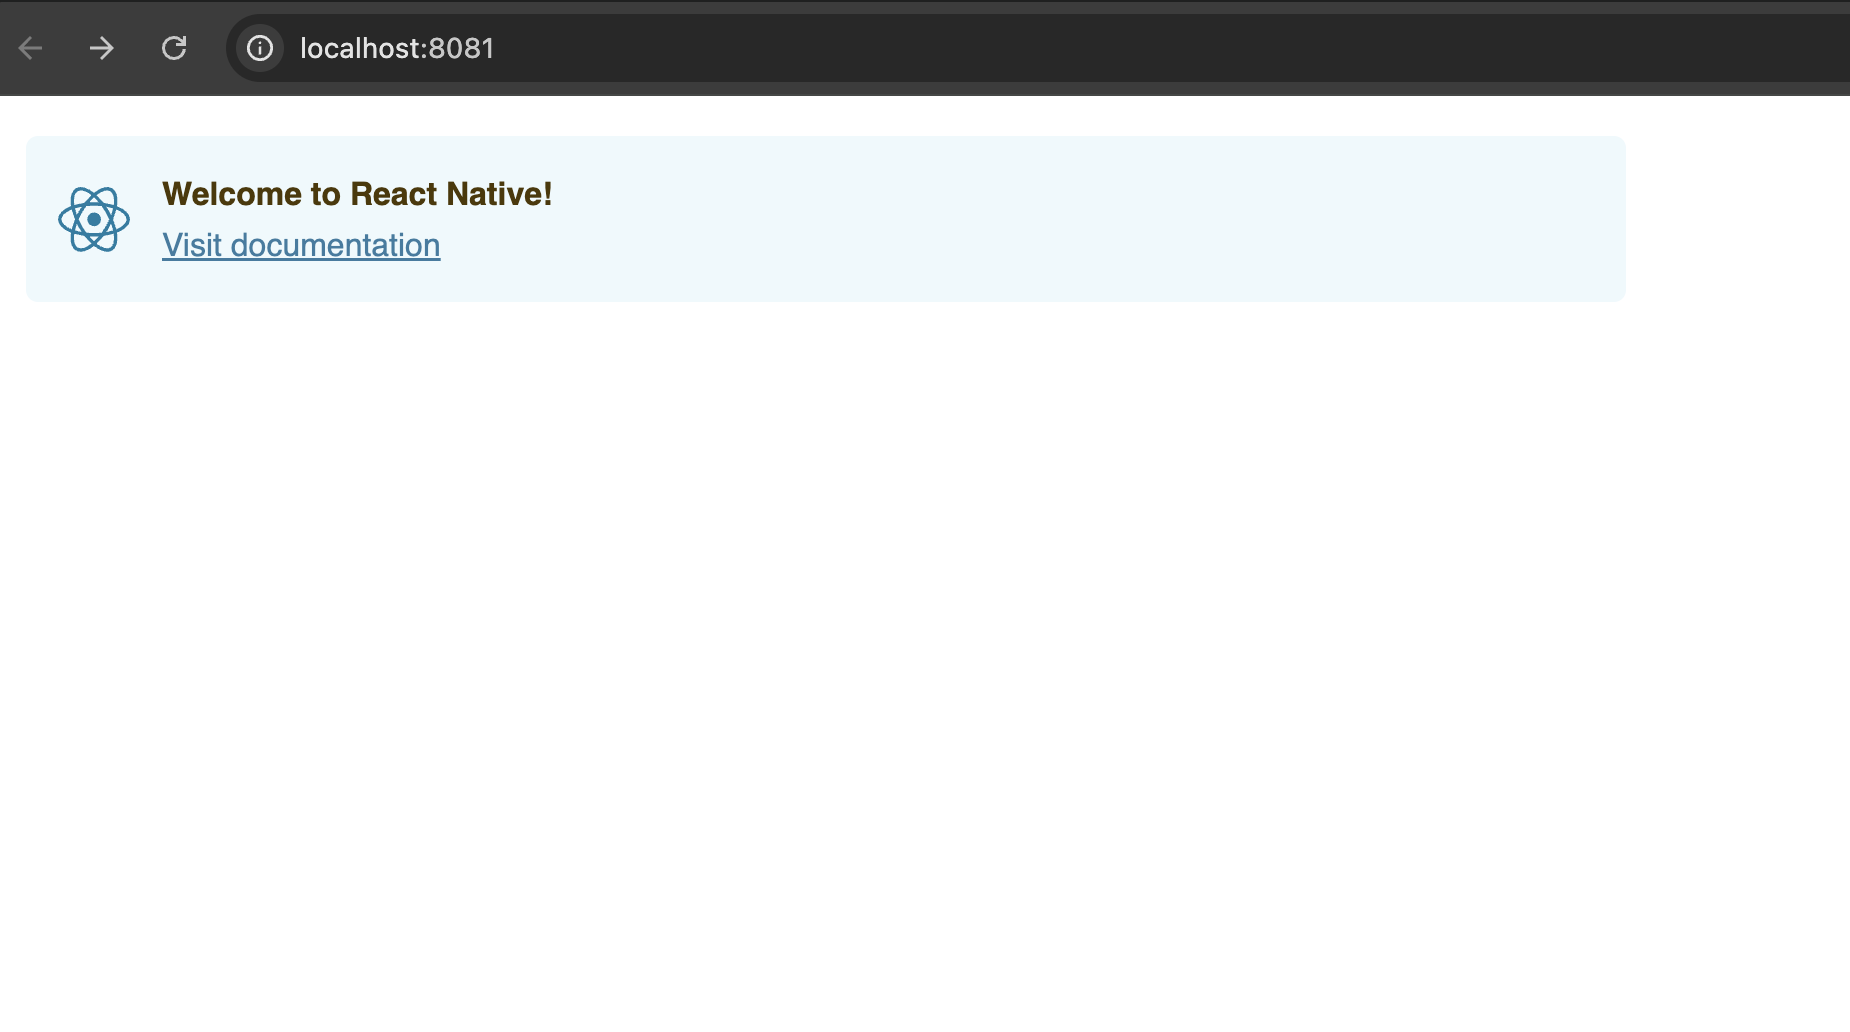
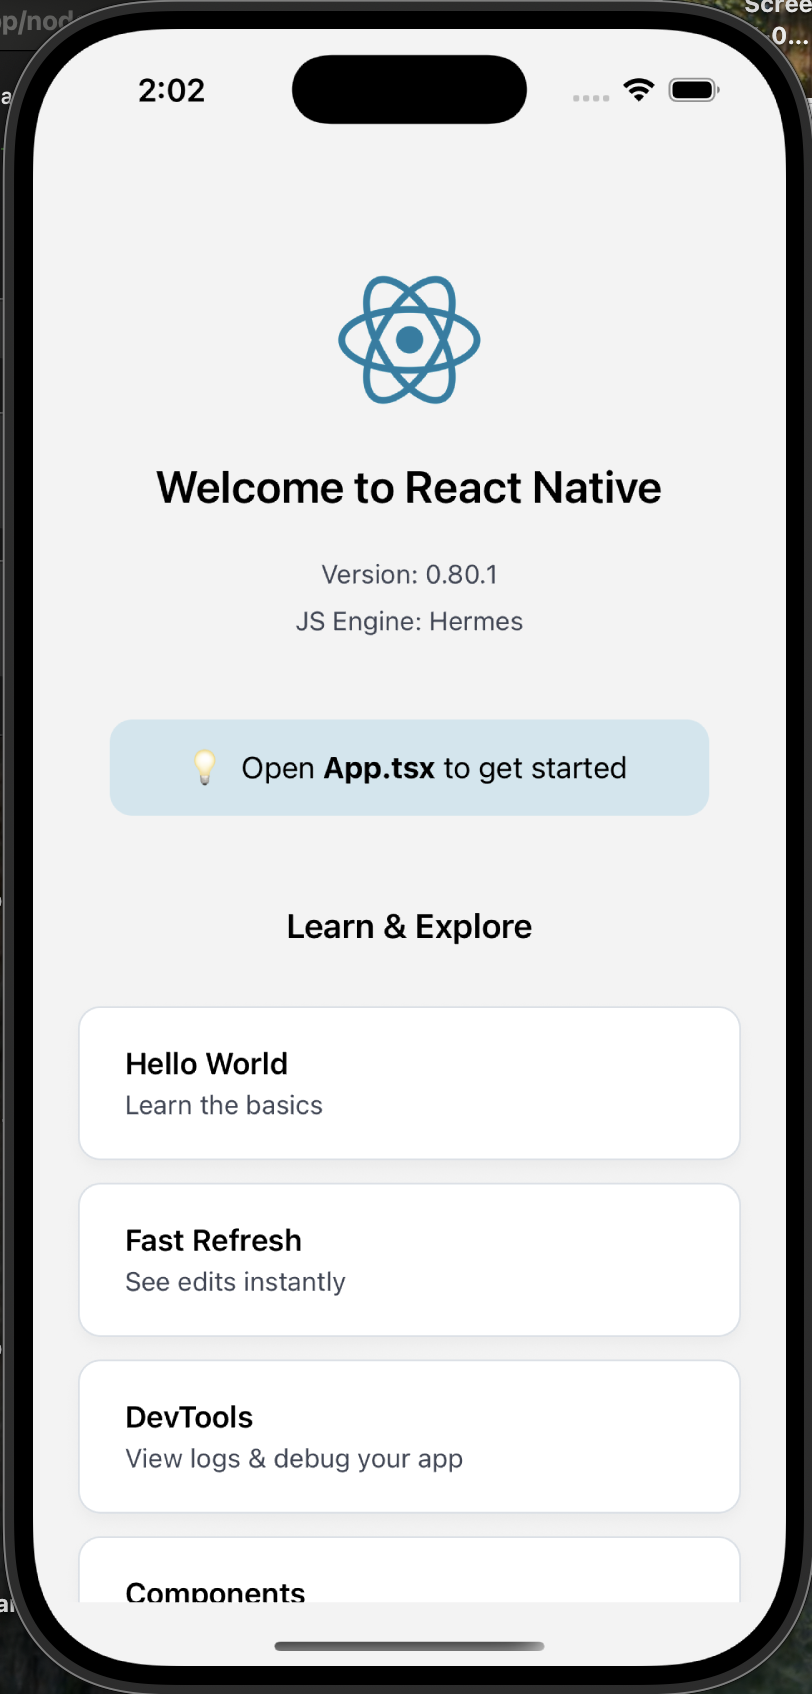
Expected Output 📱
You should see the default React Native welcome screen with:
- React Native logo
- “Welcome to React Native” message
- Various getting started links
- Debug information
Common Issues & Solutions 🔧
Issue 1: “No iOS Simulator Available”
# List available simulators
xcrun simctl list devices

# If no simulators, create one in Xcode:
# Xcode > Window > Devices and Simulators > Create Simulator
Issue 2: “Build Failed”
# Clean and rebuild
cd ~/react/DesignStudioApp
npx react-native run-ios --clean
Issue 3: “Metro not responding” – not used metro
# Reset Metro cache
npx react-native start --reset-cache
Quick Commands Summary 📝
# Terminal 1: Start Metro
cd ~/react/DesignStudioApp
npx react-native start

# Terminal 2: Run iOS app
cd ~/react/DesignStudioApp
npx react-native run-ios
What You’ll See 👀
Your app should display:
- React Native welcome screen
- “Welcome to React Native” text
- Various learning resources
- Debug information
Testing Your App 🧪
Once running, you can:
- ⌘+D – Open developer menu
- ⌘+R – Reload the app
- ⌘+T – Open new simulator
- Shake gesture – Open dev menu on device
Next Steps After Success 🚀
Once your app is running:
- Edit App.tsx – Make changes to see hot reload
- Add navigation – React Navigation
- Add UI components – For your design studio
- Add features – Camera, image picker, etc.
Run These Commands Now! 💻
Open your terminal and execute:
cd ~/react/DesignStudioApp
cd ios && pod install && cd ..
npx react-native run-ios
This should launch your DesignStudioApp in the iOS simulator! 🎉
For Android Emulator:
# Start Android emulator first, then:
npx react-native run-android
Step 6: Understanding Core Components 📱
Let me show you the main React Native components we’ll use:
Basic Components:
<View>– Like<div>in React web<Text>– Like<p>or<span>in React web<Image>– For displaying images<ScrollView>– Scrollable container<TouchableOpacity>– Touchable button<TextInput>– Input field<FlatList>– Efficient list rendering
Example App.tsx:
import React from 'react';
import {
  SafeAreaView,
  ScrollView,
  StatusBar,
  StyleSheet,
  Text,
  View,
  TouchableOpacity,
  Image,
} from 'react-native';

const App = () => {
  return (
    <SafeAreaView style={styles.container}>
      <StatusBar barStyle="dark-content" />
      <ScrollView contentInsetAdjustmentBehavior="automatic">
        <View style={styles.header}>
          <Text style={styles.title}>Design Studio App</Text>
          <Text style={styles.subtitle}>Welcome to your creative space</Text>
        </View>

        <View style={styles.content}>
          <TouchableOpacity style={styles.button}>
            <Text style={styles.buttonText}>Get Started</Text>
          </TouchableOpacity>
        </View>
      </ScrollView>
    </SafeAreaView>
  );
};

const styles = StyleSheet.create({
  container: {
    flex: 1,
    backgroundColor: '#f8f9fa',
  },
  header: {
    padding: 24,
    alignItems: 'center',
  },
  title: {
    fontSize: 24,
    fontWeight: 'bold',
    color: '#333',
  },
  subtitle: {
    fontSize: 16,
    color: '#666',
    marginTop: 8,
  },
  content: {
    padding: 24,
  },
  button: {
    backgroundColor: '#007AFF',
    padding: 16,
    borderRadius: 8,
    alignItems: 'center',
  },
  buttonText: {
    color: 'white',
    fontSize: 18,
    fontWeight: '600',
  },
});

export default App;
Step 7: Styling in React Native 🎨
React Native uses a StyleSheet API similar to CSS:
import { StyleSheet } from 'react-native';

const styles = StyleSheet.create({
  container: {
    flex: 1,              // Like flex: 1 in CSS
    backgroundColor: '#fff',
    padding: 20,
  },
  text: {
    fontSize: 16,
    color: '#333',
    textAlign: 'center',
  },
});
Key Styling Differences:
- Use
backgroundColorinstead ofbackground-color - Use
flexDirectioninstead offlex-direction - All style properties are camelCase
- No cascade – styles are component-specific
Step 8: Development Tools 🔧
Metro Bundler – Automatically starts when you run the app
React Native Debugger – For debugging
Flipper – Advanced debugging tool
Step 9: Common Commands 💻
# Start Metro bundler
npx react-native start

# Run on iOS
npx react-native run-ios

# Run on Android
npx react-native run-android

# Clear cache
npx react-native start --reset-cache

# Install dependencies
npm install
# or
yarn install
Step 10: Next Steps for Our Design Studio App 🎨
For the design studio app, you might want to add:
- Navigation – React Navigation
- UI Components – NativeBase, React Native Elements
- Image Handling – React Native Image Picker
- Animations – React Native Reanimated
- State Management – Redux Toolkit or Zustand
- Network Requests – Axios or fetch
- Storage – AsyncStorage
To get started right now, run these commands in your terminal:
cd ~/react/DesignStudioApp

npx react-native run-ios  # or run-android
This will create and run our first React Native app! 🎉
Check our App in Github: https://github.com/MIRA-Designs/DesignStudioMobileApp
Issues: https://github.com/MIRA-Designs/DesignStudioMobileApp/issues
What is NPX? 🤔
NPX is a package runner tool that comes with npm (Node Package Manager). It was introduced in npm version 5.2.0 and is now a standard part of the npm ecosystem.
NPX Full Name:
- NPX = Node Package eXecute
- It’s a command-line tool for executing npm packages
How NPX Works 🔧
Basic Concept:
Instead of installing packages globally, npx allows you to:
- Run packages directly without installing them permanently
- Execute the latest version of a package
- Avoid global installation clutter
NPX vs NPM Installation:
| Method | Command | What Happens |
|---|---|---|
| Traditional | npm install -g create-react-appcreate-react-app my-app | Installs globally, then runs |
| NPX | npx create-react-app my-app | Downloads, runs, then removes |
Why Use NPX? 🎯
1. No Global Installation Required
# Old way - install globally first
npm install -g create-react-app
create-react-app my-app

# NPX way - run directly
npx create-react-app my-app
2. Always Latest Version
# NPX ensures you get the latest version
npx create-react-app my-app

# vs global install might be outdated
npm install -g create-react-app  # Might be old version
create-react-app my-app
3. Saves Disk Space
- No need to store packages globally
- Temporary downloads are cleaned up automatically
4. Avoids Version Conflicts
- Different projects can use different versions
- No global version conflicts
Common NPX Use Cases 📱
1. Creating Projects
# React Native
npx react-native init MyApp

# React Web App
npx create-react-app my-web-app

# Next.js
npx create-next-app my-next-app

# Vue.js
npx create-vue my-vue-app

# Expo (React Native)
npx create-expo-app my-expo-app
2. Running Development Tools
# TypeScript compiler
npx tsc --init

# Linting
npx eslint .

# Testing
npx jest

# Package auditing
npx npm-check-updates
3. One-time Scripts
# Check bundle size
npx bundlesize

# Generate documentation
npx jsdoc

# Code formatting
npx prettier --write .
How NPX Works Behind the Scenes 🔍
When you run npx some-package:
- Checks locally – Is the package in
node_modules/.bin? - Checks globally – Is it installed globally?
- Downloads temporarily – If not found, downloads to temp folder
- Executes – Runs the package
- Cleans up – Removes temporary files
Example Flow:
npx create-react-app my-app
- ✅ Check: Is
create-react-appin localnode_modules? No. - ✅ Check: Is it installed globally? No.
- ⬇️ Download: Downloads latest
create-react-appto temp folder - ▶️ Execute: Runs
create-react-app my-app - 🗑️ Cleanup: Removes temporary files
NPX Command Options 🛠️
Basic Syntax:
npx [options] <command>[@version] [command-args...]
Useful Options:
# Force download (ignore local/global)
npx --ignore-existing create-react-app my-app

# Use specific version
npx create-react-app@4.0.0 my-app

# Check what would be executed
npx --version create-react-app

# Run from specific package
npx -p typescript tsc --init
NPX vs NPM: Key Differences 📊
| Aspect | NPM | NPX |
|---|---|---|
| Purpose | Package manager | Package executor |
| Installation | npm install | No installation needed |
| Storage | Permanent (node_modules) | Temporary |
| Usage | Install, then run | Run directly |
| Updates | Manual (npm update) | Always latest |
Real-World Examples 🌟
For Our React Native Project:
# Create the app
npx react-native init DesignStudioApp

# Instead of:
npm install -g @react-native-community/cli
react-native init DesignStudioApp
Development Workflow:
# Start Metro bundler
npx react-native start

# Run on iOS
npx react-native run-ios

# Run on Android
npx react-native run-android
Other Useful Commands:
# Check React Native version
npx react-native --version

# Upgrade React Native
npx react-native upgrade

# Doctor (check environment)
npx react-native doctor
Benefits Summary 🎉
For Developers:
- ✅ Cleaner system – No global package clutter
- ✅ Always updated – Latest versions automatically
- ✅ Faster setup – No pre-installation needed
- ✅ Less conflicts – No version conflicts
For Projects:
- ✅ Consistent environments – Everyone uses same versions
- ✅ Easier setup – New team members can start quickly
- ✅ Better CI/CD – Consistent builds
Pro Tips 💡
- Use NPX for project creation – Always use npx for scaffolding tools
- Check before installing globally – Ask yourself: “Do I need this globally?”
- Use specific versions when needed –
npx package@version - Great for CI/CD – Ensures consistent tool versions
NPX is essentially a way to “try before you buy” – run packages without the commitment of installing them permanently! It’s become an essential tool in modern JavaScript development. 🚀
Let’s see in Part 2.. Happy React Native Development 🚀
