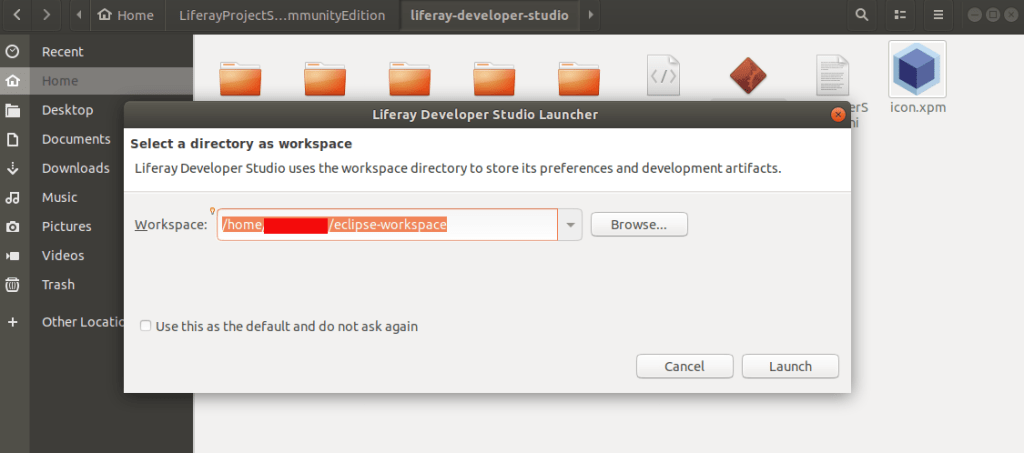
This is how Liferay Studio Workspace home page look like
You can create liferay plugins / projects etc from here.
Step 3. Click on right corner first button and open perspective.
select Liferay plugins
Open Perspective
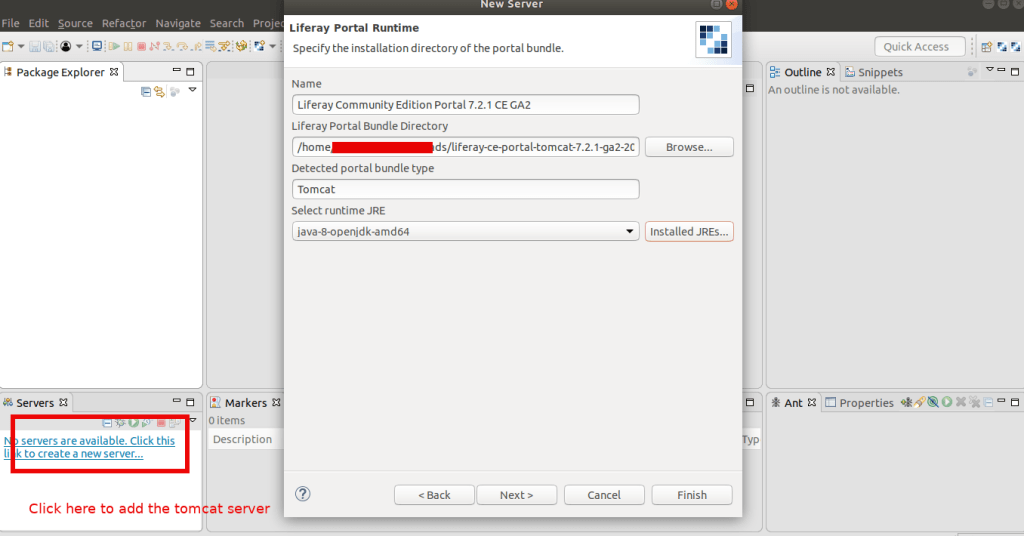
Step 4. Left bottom corner there is ‘Servers’ Tab
right click on it and select ‘New’ -> ‘Server’
Select ‘Liferay inc’ -> Liferay 7.x and click next
Add the tomcat server to your SDK to control the server from SDK. This helps you to see the server logs and other live status in IDE
Select the tomcat server path from your downloaded liferay portal
Make sure you are using the timestamp folder in the path of the server, else it not gonna work. It will show you an error like this:
If you start the tomcat server and try to access it without the timestamp PATH
You can add an existing resources created if available like theme etc to the server. If you don’t have any resources don’t worry. We are going to cover this in next chapter.
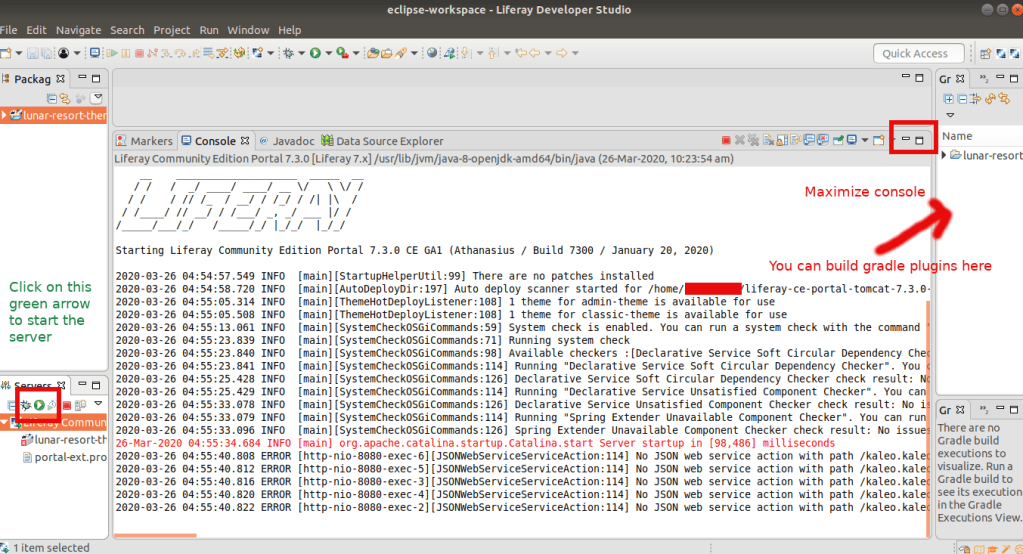
Click on the server name on the bottom left corner and you can see the configurations of the server.
Server Started. You can see the server logs in the console
Hi, I’m Abhilash! A seasoned web developer with 15 years of experience specializing in Ruby and Ruby on Rails. Since 2010, I’ve built scalable, robust web applications and worked with frameworks like Angular, Sinatra, Laravel, Node.js, Vue and React.
Passionate about clean, maintainable code and continuous learning, I share insights, tutorials, and experiences here. Let’s explore the ever-evolving world of web development together!
View all posts by Abhilash